|
|

|
|

|
|
|
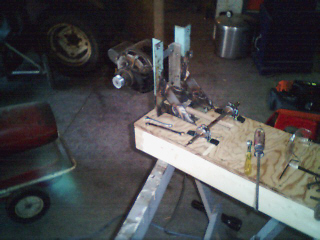
1. The base frame, not much to tell here, amazing how
well those notches turned out to be just right in the end.
|
|
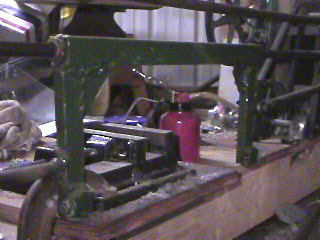
2. My daughter was the photographer for a while, she took
this one while I drilled out one of the jack shaft frame's members.
|
|
|
|
|

|
|
|
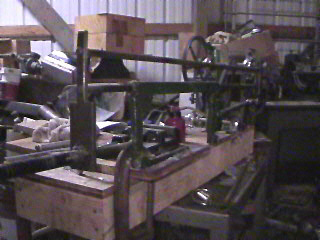
3. Heres the front view of the motor and jack shafts.
|
|
4. And the rear view....
|
|
|
|
|
|
|
|
5. Here is some details on blade frame. I diverted from
the Gingery design due to material. My design used square tubing for the top element
with 2 pieces of 1/2" pipe welded into each end. The oil-lite bushings were
insterted into the outside ends of the pipes.
Nice and sturdy but a bit on
the heavy side. I find that I must hold on to the handle and releive a little of
the downward pressure as I use the saw, at least with the blades I have now.
|
|
6. And here you have a side view of the completed hacksaw.
I am currently using a purchased vise but I am seriously concidering building the
one described in the book.
|
|
|

|
|
|
|
|
7. And a front view. I've done a lot of sawing with it
since completing the saw. Still miss a band saw, but my arm feels a whole lot better!
|
|
|
|
|
|

|
|