Coming back from a short holiday on North Stradbroke Island it is time to get the big planks moved.
To lift them onto the frames the crane that is installed in the roof of the shed comes in handy again... (We didn't really pay attention to that when we were looking for a shed, but life would be difficult without)
 hull
Sept 2003
hull
Sept 2003
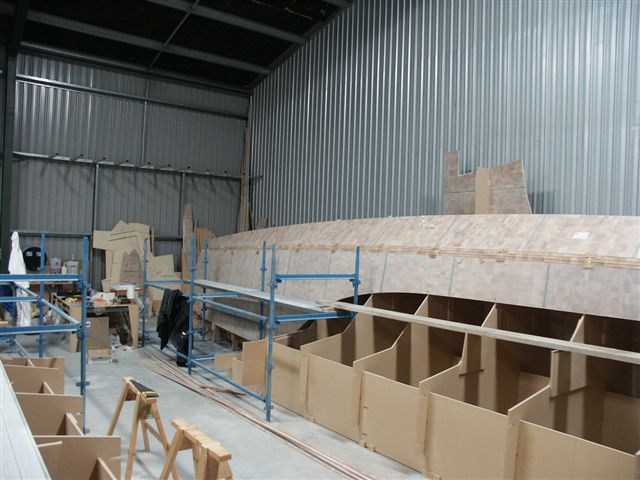
With the big planks it already nearly looks like a hull...

even from the front, though there is still the crash box bit missing,
but
 hulls Sept 2003
there is a gap.
To close this we need to be able to get there first, so some scaffolding is needed. The beautiful blue scaffolding is IRON so setting this up all around the two hulls made us save the gym fees again.
 strip planking Sept 2003
Filling the gap is little effect for a lot of activity. But we didn't want her to look like a real multi chine but nice and rounded. Here the strip planks are dry fitted ( It really is one plank with two curve cuts).
 hulls Sept 2003
And the hull starts to look complete.
 Strip planking Sept 2003
Then the plank is glued and the curve cuts are filled.
Now there will be not a lot of progress visible for the near future.
Next steps:
- sand the strip planking
- put glassing on all joins
- sheet the underwater area with kevlar
- fair and sand underwater (this will feel like an endless loop)
- build bow crash box
- chamfer panels
- wingdeck
- fair and sand (AGAIN)
- paint under water
- skeg
- beef up central underwater area for beaching