|
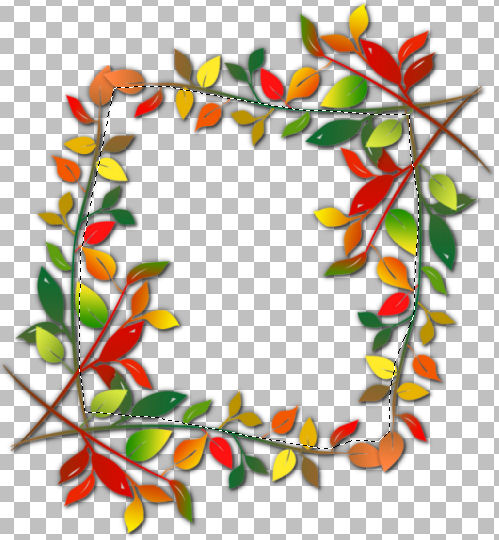
Autumn Tender Leaf Frame
Needed: Jasc/Corel Paint Shop Pro. Tube of Choice - For this tutorial, I used a delightful pay to use tube image created by Suzanne Woolcott. You can now purchase Suzanne Woolcott's Gorjuss graphics at her online store, located here. Supplies: Included in the zip are: Rich_Colored Leaves from Stock.XChng This was a jpg image tubed by me. Also included is the David Rakofski tenderleaf font. This beautiful font and many more lovely leaf fonts and dingbats can be found at Font Space. This tutorial is geared to those who have a knowledge of PSP and have worked with the eraser, raster deform and free hand selection tools. Optional - Any additional elements, scraps or papers you wish to include. I add this because you may want to substitute and use your own elements. Remember, tuts are just guides - the finished product with your creativity, is yours. SETTINGS USED IN THIS TUTORIAL Drop Shadow: Vertical Offset 2, Horizontal Offset 2, Opacity 80, Blur 5, Color Black Creating the Frame Open the Rich_Colored Leaves PSP file. You will notice it is a very big file because this is where we will be creating the tender leaf frame. If in doubt as to placement - refer to my tag above. Step 1 Go to Image/Rotate/Free Rotate/Direction 90 Left. Step 2 Go to Layer duplicate and Repeat Step 1. Step 3 Left click your mover tool and move these sections in place. Step 4 Repeat Step 2 and go to Layers/Arrange/Move to bottom and repeat Step 3. Step 5 Repeat Steps 2 and 3 and go to Layers/Merge/Merge Visible. Step 6 Go to Effects/3D Effects/Drop Shadow and use the settings from above. Step 7 Left click the freehand selection tool set to point to point. In the inside of the frame, draw a selection around it.
Step 8 If you are using a solid color or gradient, go to Layers/New Raster Layer and flood fill this selection with your color. If you are using a paper, copy and paste this paper as a new layer. Step 9 Go to Selections/Invert and click the delete key. Go to Selections/Select None. Step 10 Go to Layers/Arrange/Move Down. We want either the solid color, gradient or paper beneath the leaf frame. Step 11 Go to the layer where you added your gradient, solid color or paper. You may notice that your color is not totally covering the entire area that you had selected inside the frame. If this is the case, left click your deform tool, and holding down the left mouse button, pull outward where you see nodes surrounding the image. Step 12 Now that you have the entire inner portion totally filled, you may see that the outside of the frame has excess color showing around the edges. Here is where the eraser tool will be used. Set your eraser to a round shape with a hardness of 50, Step 25, Density, Thickness and Opacity set to 100 and carefully erase around the edges. Step 13 Open up your layer palette and make sure you are on the top layer. Go to Layers/New Raster Layer and flood fill with white. Go to Layers/Arrange/Send to bottom so that the white layer is below the frame. Adding Your Tube Graphic and Finishing the Tag Step 1 Open up your layer palette and go to the layer where you have either added a paper or flood filled with a solid color and gradient. Open up your tube graphic and copy and paste it over this layer. Resize as necessary and move into place. Instead of doing this as a selection and inverting and deleting, we are instead going to do this step using our eraser tool. We are doing it this way because we want the lovely autumn leaves to partially cover the main image. Also, you will have total control of the tube image placement. Step 2 Carefully erase all portions of the tube that are outside of the frame area. Step 3 If you have any additional elements to add, do so now. Step 4 Go to Image/Resize using the percent option at 90% or smaller, bicubic and resize all layers checked. Step 5 Add your copyright information and save as a psp file. This is now your template. Text will be added later. Adding Text Step 1 At the material palette, in the bottom color box, select the Red-Orange-Yellow gradient with Angle 90 and repeats 0. Make the top color box null. Step 2 Locate the tenderleaf font and add your text leaving the stroke set to 0. Step 3 Apply the drop shadow from above two times. Step 4 Go to Layers/Merge/Merge all (flatten) and save as a jpg. We hope you enjoyed this tutorial. Purrs, Nikki, Nichie and Sue
|