|
Coffee Time
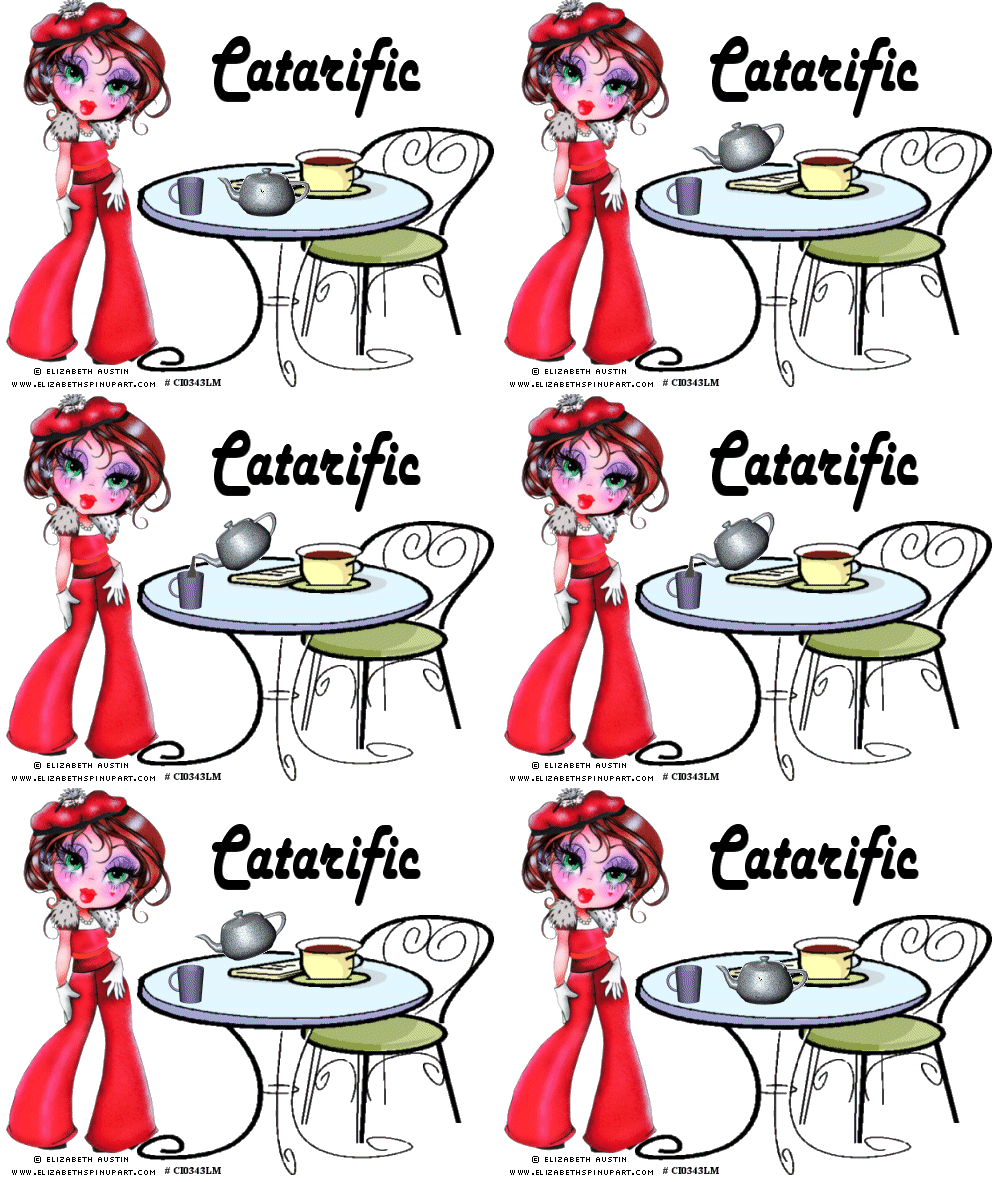
Step 1 At Animation Shop, go to File/Open and locate the psp or psd file. With the mouse, right click on the psp file and go to Duplicate Selected. Once you do, you should see F:2 which means 2 frames. Repeat the duplicated selected again and you will now see F:3 which means 3 frames. Repeat again, and you will now have F:5 - meaning 5 frames. Repeat once more and you should have 9 frames. Step 2 Go to View/Normal Viewing. Holding down the shift key, left click the 6th, 7th, 8th and 9th frame so that they are selected. Right click on any one of these frames and go to duplicate selected. You should now have 13 frames. Go to Edit/Select All and all your frames of your tag file should now have blue around them. Step 3 Open up the cpot02 animation file. You will see that file also consists of 13 frames, the exact same number as we have for the tag file. Again, go to Edit/Select All so that all the frames of the coffee pot animation also have blue around them. Go to Animation/Mirror to reverse the frames and then go to Edit/Copy. Make the tag file active and go to Edit/Paste into Current Frame. Making sure you are now at the FIRST frame of the tag file and holding down the left mouse button, place the cpot02 animation on the left front area of your table and release the mouse button. You should now have the animation frames in all the 13 frames of your tag file. Step 4 Left click the control and A Key to select all the frames. Right click on one of the frames and go to frame properties and type in 15. Step 5 Before we continue to save the animation, let's first click the Customize button to make sure you have all the correct settings for this animation. Click the Customize button and you will see three tabs: Colors, Optimizations and Partial Transparency. Here is what each setting should be under the separate tabs: Colors 255 Colors, Optimized Median Cut and Error Diffusion should be checked. Optimizations The middle three selections should be checked. The top and bottom selections - unchecked. Partial Transparency Convert pixels less than 40 should be checked. Yes blend with this color and make sure that the color in the color box is WHITE. After
customizing all the animation settings, click Ok and click Next and you will get
the following screens: Step 6 Make sure to save your image as a gif file. We hope you enjoyed this tutorial. Purrs, Nikki, Nichie and Sue
|
