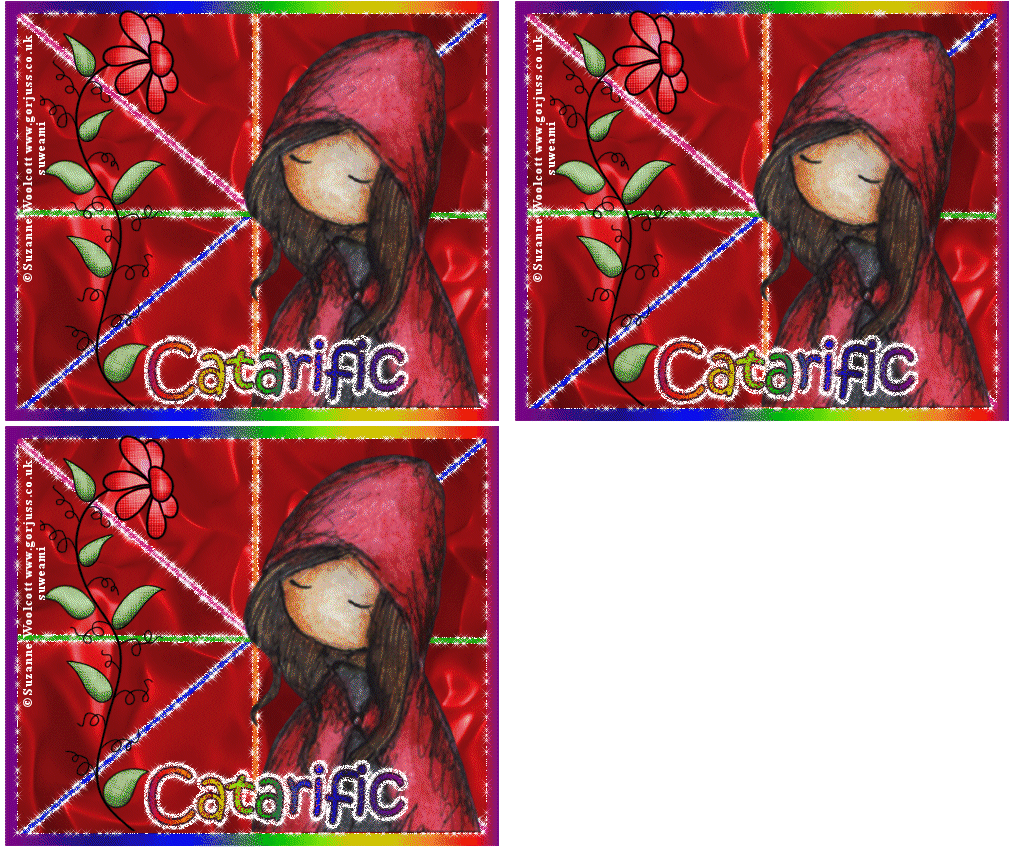
|
CONSTELLATION FAST TRACK TAG
Step 1 At Animation Shop, go to File/Open and locate the psp or psd file. Go to View Normal Viewing. Click the control and A keys to activate all the frames.Step 2 Before we continue to save the animation, let's first click the Customize button to make sure you have all the correct settings for this animation. Click the Customize button and you will see two tabs: Colors and Optimizations. Here is what each setting should be under the two separate tabs: Colors 255 Colors, Optimized Median Cut and Error Diffusion should be checked. Optimizations The middle three selections should be checked. The top and bottom selections - unchecked. After customizing these animation
settings, click Ok and click Next and you will get the following screens: Step 4 Make sure to save your image as a gif file. ADDING THE TEXT Step 1 Go back to Paint Shop Pro and open a new transparent image 330 width x 115 height. Step 2 At the Material Palette, in the top color box, select the color black. In the bottom color box, select the rainbow gradient with Angle 90 and Repeats 0. Step 3 Type your text with a font size approximately 48 and stroke set to 2. If you are using vector text, go to Layers/Convert to Raster Layer. Step 4 Go to Layers/Merge/Merge Visible. Step 5 Go to Effects/Plugins/EyeCandy 4000/Gradient Glow with these settings: Under Basic - Glow Width 3.00, Soft Corners 25, Overall Opacity 100 and Draw Only Outside Selection Checked. Under Color - Fat, color white and opacity 100% Step 6 Go to Layers/Duplicate. Do this once more so that you now have three name layers. Step 7 Open up your layer palette and go to the bottom layer. Go to Selections/Select All Selections/Float Selections/Defloat Step 7 Go to Effects/Plugins/Alien Skin Xenofex 2/Constellation and use these settings:
DO NOT DESELECT Step 8 Go to the middle layer and repeat Step 7 but click the random seed button. DO NOT DESELECT Step 9 Go to the top layer and repeat Step 7 but click the random seed button. Step 10 Go to Selections/Select None and save as a psp or psd file. Step 11 In animation shop open the text image. Go to View/Normal Viewing and click the control and A keys to activate all the frames. Go to Edit/Copy. Step 12 Make the tag image active and click the control and A keys to Select all the frames. Make sure you are on Frame 1. Go to Edit/Paste into Selected Frame and in Frame 1, holding down the left mouse button, place the text. Once you have the text where you want it, release the left mouse button and the text will be in all 3 frames. Step 13 Go to File/Save as and rename your file and again, go through the steps of saving the file but do not worry about checking the settings again. Once you get to the finish screen, you have your tag with your text. We hope you enjoyed this tutorial. Purrs, Nikki, Nichie and Sue
|

