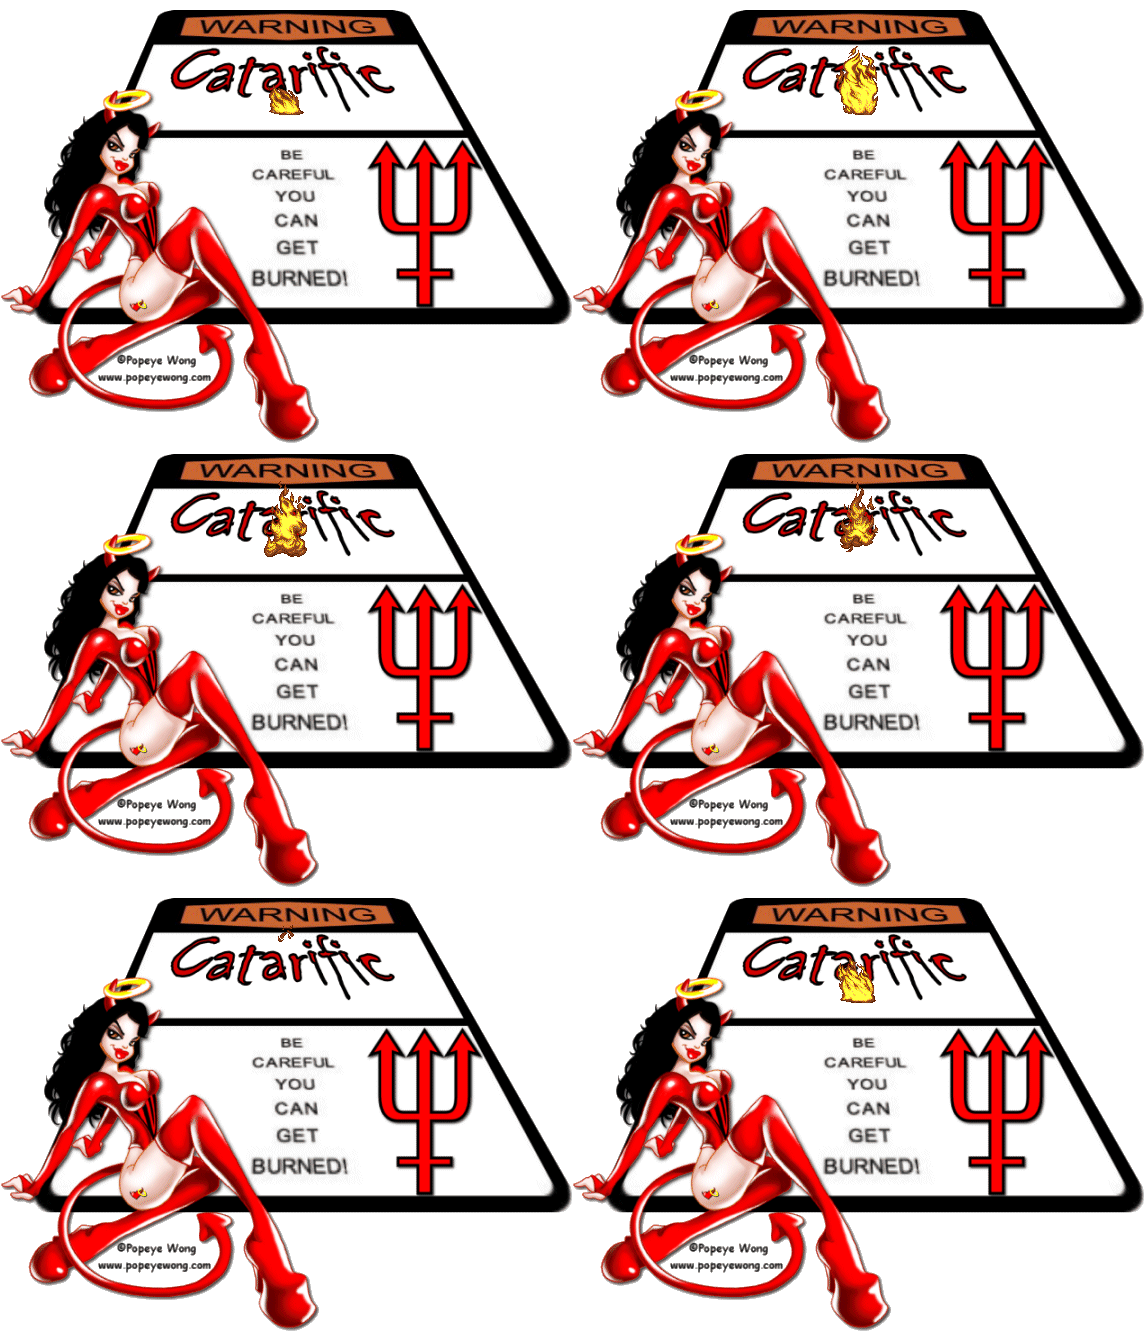
|
FIRE ALERT TAG
Supplies Jasc/Corel's Paint Shop Pro any version. Tube of Choice - The tube image I am using is one from the artwork of Popeye Wong. You can download this graphic in tube form and many more at Popeye Wong's extraordinary online gallery. The warning sign, fire animation and pitchfork graphic can be downloaded here. Font of Choice
SETTING USED IN THIS TUTORIAL Drop Shadow Setting: Vertical Offset 2, Horizontal Offset 2, Opacity 80, Blur 5, Color Black
Step 1 Unzip the fire file and open up the warning sign. Go to Image/Canvas Size and for width and height type in 800. This will give you plenty of room to work. Left click the Raster Deform Tool. Once you do, you will see nodes around the perimeter and inside the graphic. Holding down the control key, with your left mouse button, left click the right BOTTOM corner node of the graphic. Keeping the left mouse key held down, move the right corner node over to the right which will expand the bottom portion of the tag. Once you have the tag expanded, let go of the right mouse key and left click on any of the tools on the tool bar. This will cause the nodes to disappear. You can crop off the top of the tag but do leave room on the sides and bottom for your graphic and copyright information. Step 2 Go to Layer/New Raster Layer. Open up the tube image you will be using and go to Edit/Copy. Make the tag image active and go to Edit/Paste as New Layer. Resize the image so that it fits on the tag by going to Image/Resize using the percent option, bicubic and resize all layers NOT checked. Step 3 Apply a drop shadow by going to Effects/3D Effects/Drop Shadow either using my settings or one of your own, favorites. Step 4 Open up the pitchfork graphic and copy and paste it to the tag. If the image is too large, resize it using the same instructions as in Step 2. Step 5 Go to Layers/New Raster Layer and apply your copyright information. Step 6 Go to Layers/New Raster Layer and apply your text at the top of the tag at about the same area as you see mine. When applying your text, make sure to use the vector option at about size 48. When you apply your text this way, your text will also have nodes surrounding it. Holding down the control key, with your left mouse button, left click the right top corner node of the text. Keeping the left mouse key held down, move the right corner node over to the left which will give your text a flatter look. Apply a drop shadow as you did before. Step 7 Go to Layers/Merge/Merge Visible. If your tag is larger than 572 x 444, go to Image/Resize and Resize your tag using the percent option, bicubic and resize all layers checked. Save this file as a psp file. We will now proceed to animation shop, to finish off the tag. Click here to continue.
|
