|
FLOWERBOX TAG
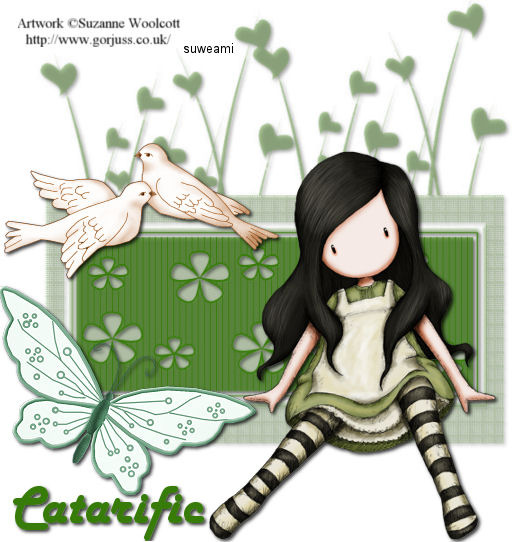
Supplies Jasc/Corel's Paint Shop Pro. Supplies to Download. This file contains the flowerbox mask created by me and the beautiful butterflies and dove pairs created by Rainbow Coffi. The full collection of Rainbow Coffi's wonderful images is housed at PSP Playground. Anyone can join, free of charge. To view and obtain Rainbow Coffi's superb graphic tubes, do join PSP Playground, where Rainbow Coffi's and many other wonderful artist tubes are shared. Tube of Choice - For this tutorial, I used a delightful image created by Suzanne Woolcott. You can purchase her wonderful art in tube and full form at AMI which stands for Artistic Minds, Inc.
SETTING USED IN THIS TUTORIAL
Drop Shadow: Vertical Offset 2, Horizontal Offset 2, Opacity 80, Blur 5, Color Black Step 1 Open up your tube graphic, flowerbox mask, and a new transparent image 550 width by 550 height. At the Material Palette, select a deep (but not dark), solid color for your basic tag. Flood fill the transparency with that color. Step 2 Go to Layers/New Mask Layer/From Image. At the source window's drop down menu, locate the flowerbox mask with source luminance and invert mask data checked. Click ok. Step 3 Go to Layers/Merge/Merge group. Step 4 Go to Effects/3D Effects/Drop Shadow and use the settings from above. Step 5 Go to Layers/Merge/Merge All (flatten). Step 6 Make your tube graphic active and go to Edit/Copy. Make your tag image active and go to Edit/Paste as New Layer. If the tube graphic is too large, go to Image/Resize using the percent option, bicubic and resize all layers NOT checked. Step 7 Repeat Step 4, applying the drop shadow. Step 8 Open up the Rainbow Coffi butterfly graphics. Left click the selection tool, set to rectangle, and draw a rectangle around the selection. Do not worry if another image becomes part of your selection. Go to Edit/Copy. Make the tag image active and go to Edit/Paste as New Layer. Left click the selection tool and draw a rectangle around the areas of the graphic you do not want to keep (that which attached itself to your butterfly). Click the delete key and go to Selections/Select None. If you need to delete more, just draw another selection around that portion, click the delete key and go to Selections/Select None. Left click the mover tool and move the image to position it on your tag. Step 9 Repeat Step 4. Step 10 Open the Rainbow Coffi doves. Repeat Step 8 to select the doves you want to use. If you could not get a clean copy of the doves but have other graphics attached, again select the portions you do not want, click the delete key and go to Selections/Select None. Step 11 Go to Layers/Merge/Merge All (flatten) and add your copyright information. Save this file as a jpg without the text. This will be your template. Step 12 Go to Layers/New Raster Layer, add your text and the same drop shadow as above. Go to Layers/Merge/Merge All (flatten) and save your tag with another name so that your template will still be intact. We hope you enjoyed this tutorial. Purrs, Nikki, Nichie and Sue
|
