|
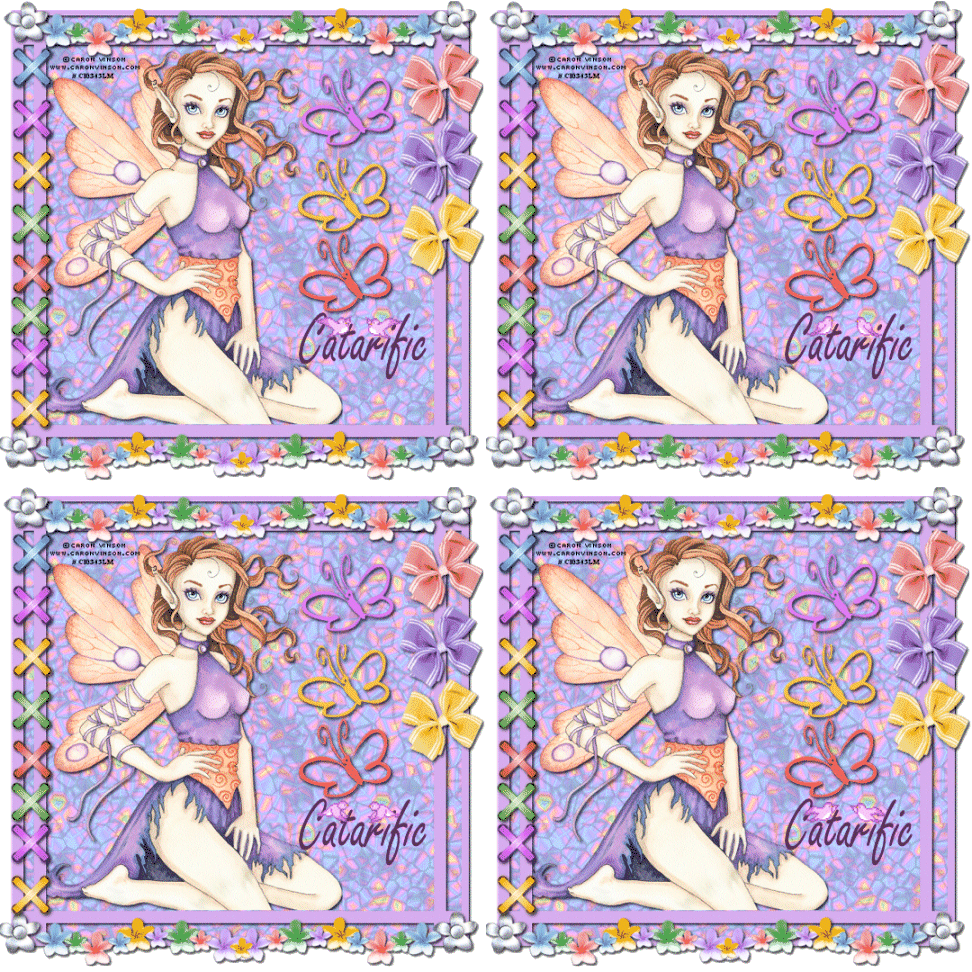
FLOWER FRAME SCRAP TAG
Supplies Jasc/Corel's Paint Shop Pro. Tube of Choice - The tube image I am using is a commercial licensed image created by Caron Vinson and licensed through CILM. CILM stands for Creative Image Licensing and Management and it is through CILM that you can purchase Caron Vinson's breathtaking images in full or tube form as well as images from many other outstanding artists. Accessories Summer Fun Scrap Kit by Fiona Tomlinson. This beautiful scrap kit is being distributed with permission as part of this tutorial. If you love scrap kits, please do join Fiona's Yahoo Group, ScrappyDayz, by clicking here. Animated Birds can be downloaded at Peachie's Collection by clicking here. Download the pink or blue flying birds on page 7 because they are small with only 4 frames to work with.
SETTING USED IN THIS TUTORIAL Magic Wand Settings used in this tutorial are: Mode: Add/Shift, Match Mode: RGB Value, Tolerance 0, Contiguous checked, Feather: 0, Anti-Alias checked and outside selected Drop Shadow: Vertical Offset 2, Horizontal Offset 2, Opacity 80, Blur 5, Color Black Step 1 Open up the template, your tube image, pattern and the Summer Fun scrap kit. At the Material Palette, select a color for your template's frame - one that coordinates with the scrap kit, pattern and your tube image. Step 2 Left click the magic wand tool and use the settings from above. Left click the magic wand on any portion of the frame to select it. Flood fill the frame with the color you selected in Step 1 but DO NOT Deselect. Step 3 Go to Effects/3D Effects/Drop Shadow and use the settings from above. Go to Selections/Select None. Step 4 Left click the selection tool set to rectangle, Mode: Add/Shift, Feather 0 and Anti-Alias checked. Draw a selection that covers the entire tag area - but be careful not to draw the rectangle outside the tag's frame. You just want the selection to cover the template but not the outside transparency surrounding the template. Step 5 Go to Layers/New Raster Layer. At the Material Palette, left click the top color box and when the color selection window opens, left click the pattern tab. At the drop down menu, locate pattern 2 (the pattern accessory with this tutorial) setting the scale to 100% and angle to 0. Flood fill the transparency with this pattern and go to Selections/Select None. Step 6 Go to Layers/Arrange/Send to bottom. Go to Layers/Merge/Merge Visible. You will now have your template with your pattern beneath it. Step 7 Open your tube graphic and go to Edit/Copy. Make the tag image active and go to Edit/Paste as New Layer. If the tube graphic is too large, go to Image/Resize using the percent option, bicubic and resize all layers NOT checked. Place your tube graphic within the center portion of the template. Step 8 Go to Effects/3D Effects/Drop Shadow and use the settings from above. Step 9 Have the Summer Fun Scrap Kit open. Select the flower row and go to Edit/Copy. Make the tube graphic active and go to Edit/Paste as New Layer. Left click the mover tool and place the flower row at the top of the tag. The element will need to be resized smaller. Go to Image/Resize using the percent option, bicubic and resize all layers checked. Step 10 Repeat Step 8 applying the drop shadow. Step 11 Go to Layers/Duplicate. Left click the mover tool and move the flower row to the bottom of the template. Step 12 At the Summer Fun Scrap Kit, select another element (such as the butterflies) and go to Edit/Paste as New Image. With your selection tool, select a butterfly and go to Edit/Copy. Make the tag graphic active and go to Edit/Paste as New Layer. If you pasted a portion of another butterfly with the one you selected, just left click the selection tool and draw a selection around the area you wish to crop away and click the delete key. Left click the mover tool and move your butterfly where you would like it on the tag. Step 13 Repeat Step 8 applying the drop shadow. Step 14 Continue having fun adding the scrap elements to your tag on new layers and applying a drop shadow on the elements. Step 15 When you are finished adding your elements, go to Layers/Merge/Merge Visible. Step 16 Go to Image/Resize, using the percent option at 90%, Bicubic and resize all layers checked. Step 17 Go to Adjust/Sharpness/Sharpen. Step 18 Add your text and copyright information and go to Layers/Merge/Merge Visible and save your tag as a PSP or PSD file. We will now finish the tag in animation shop, applying the bird animation. Click here to continue.
|
