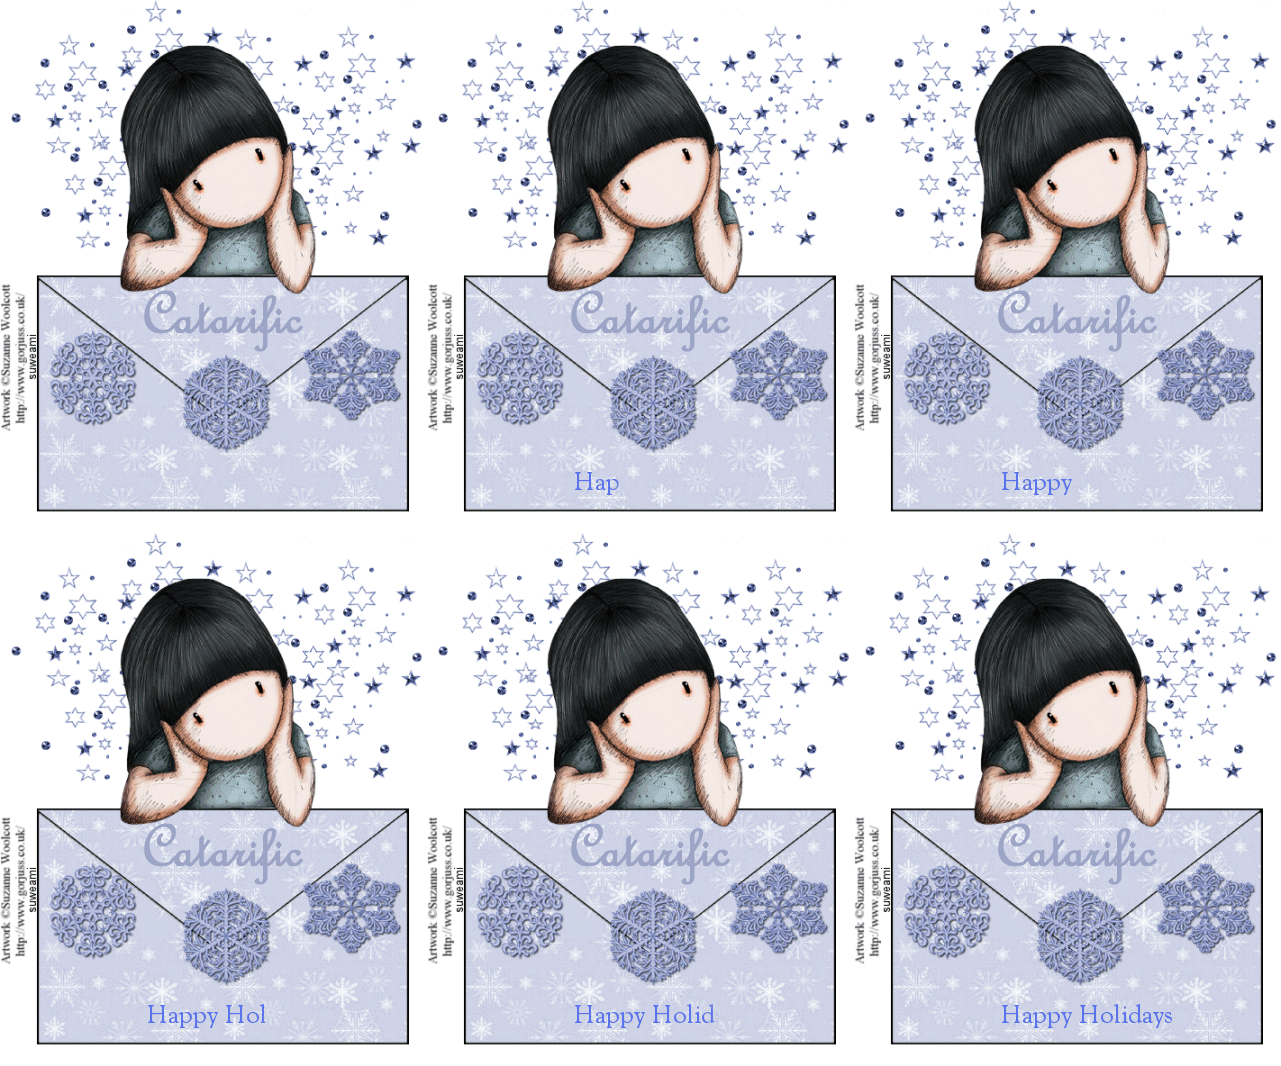
|
HOLIDAY ENVELOPE
Step 1 Open up the psp or psd tag image you created and go to View/Normal Viewing. Click the Control and A Keys to activate all the frames. Step 2 Open up the happy holidays animation psp file, go to View/Normal Viewing. Click the Control and A keys to activate all the frames and go to Edit/Copy. Make the tag image active and go to Edit/Paste into selected frame. Holding down the left mouse key, go to the very first frame and at the bottom of the envelope and close to the middle, release the left mouse key and you should see your text. If the text is not centered, click the undo key and paste again. For some reason, you may not be able to see your text until you release the left mouse key because the first frame is a blank frame (no text in it at all). Step 3 Click the control and A keys to activate all the frames. Right click on one of the frames, go to frame properties and type in 20. Left click on frame #1 to activate it. Right click, go to frame properties and type in 100. Left click on the very last frame to activate it. Right click, go to frame properties and type in 200. Step 4 Before we continue to save the animation, let's first click the Customize button to make sure you have all the correct settings for this animation. Click the Customize button and you will see two tabs: Colors and Optimizations Here is what each setting should be under the two tabs: Colors 255 Colors, Optimized Median Cut and Error Diffusion should be checked. Optimizations The middle three selections should be checked. The top and bottom selections - unchecked. After
customizing all the animation settings, click Ok and click Next and you will get
the following screens: Step 5 Make sure to save your image as a gif file. You will now have your basic tag WITHOUT your text. Step 6 To add text, go to File/New. For Animation Properties make the width and height 300 and have transparent checked. Left click the text tool and when the text entry box opens, select your text and font size, type in your text, and click ok. Step 7 Make your text file active and go to Edit/Copy. Now go to Edit/Propagate Paste. Go to Edit/Propagate Paste once more. (For some reason if you do this two times - the propagate paste will take). Left click the control and A keys to activate all the frames in your tag file and go to Edit/Paste into Selected Frame. Holding down the left mouse button, go to the very first frame, and release your mouse button. The text should now be in all the frames. If the propagate paste did not work (and sometimes it does not, for whatever reason), repeat this step again. But, as said, before, if you go to the Propagate Paste twice it seems to work every time! Resave your tag with another name. Doing this method, you can offer tags to multiple people without having to do each tag from beginning to end. We hope you enjoyed this tutorial. Purrs, Nikki, Nichie and Sue
|
