|
Holy Cow!
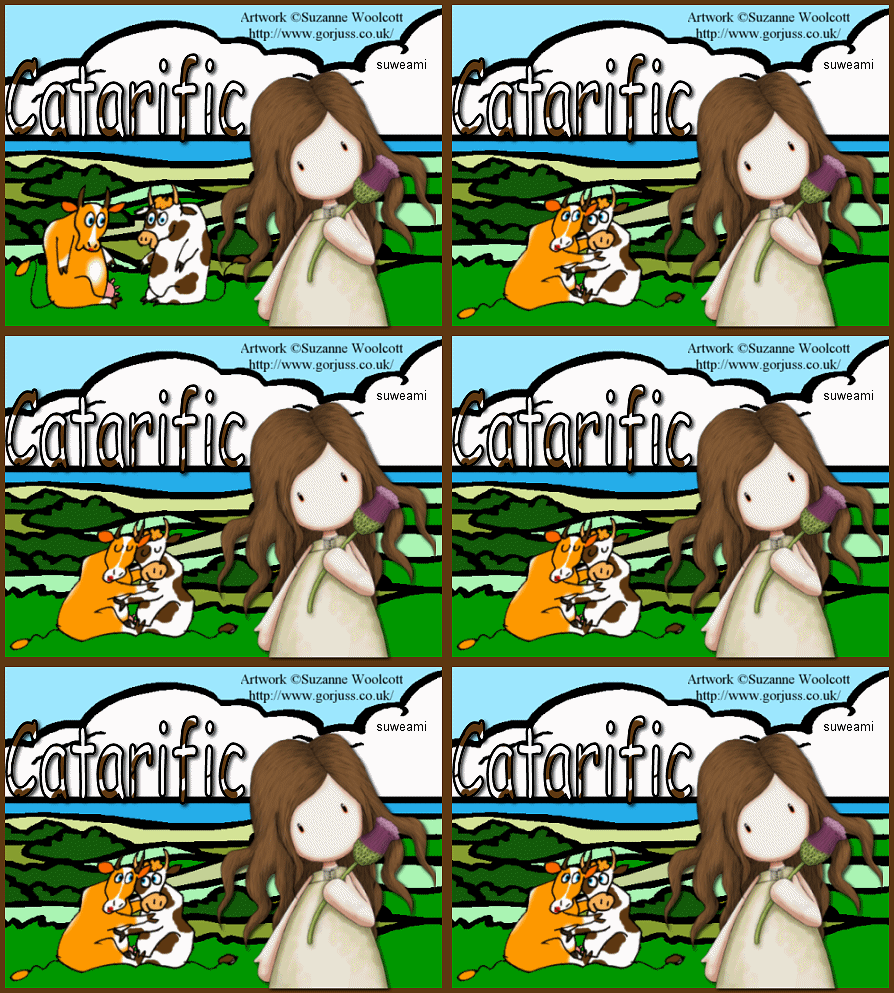
Step 1 At Animation Shop, go to File/Open and locate the psp or psd file.Step 2 With the mouse, right click on this file and go to Duplicate Selected. Once you do, you should see F:2 which means 2 frames. Repeat the duplicated selected again and you will now see F:3 which means 3 frames. Repeat the duplicated selected again, and you will now have 5 frames. Repeat the duplicated one more time, and you will now have 9 frames. Step 3 Go to View/Normal Viewing. Holding down the control key, left click the A key to activate all the frames. Step 4 Open up the cow animation. Holding down the control key, left click the A key to activate all the frames. Go to Animation/Resize Animation using the percent option at either 90% or 80%, Resize Type: Smart Size and maintain aspect ratio checked. Go to Edit/Copy. Make the tag image active and go to the very first frame and go to Edit/Paste into selected frame. Holding down the left mouse button, place the cow animation in such a way that the grass from the animation blends into the green portion of the tag. If you the grass is overlapping either on the image or the border, click the undo key and make your animation smaller. I resized the animation down 90% twice so that the cows worked with the image I was using. Once the images are blended well, release the left mouse key and your cow animation will now be in all the frames of your tag. Step 5 Left click frame 1. Right click on frame 1, go to frame properties and type in 100. Step 6 Left click frame 2. Right click on frame 2, go to frame properties and type in 50. Step 7 Left click frame 9. Right click on frame 9, go to frame properties and type in 100. Step 8 Before we continue to save the animation, let's first click the Customize button to make sure you have all the correct settings for this animation. Click the Customize button and you will see two tabs: Colors and Optimizations. Here is what each setting should be under the two tabs. Colors (This is a bit different than usual) 255 Colors, Optimized Octree and Error Diffusion should be checked. Optimizations The middle three selections should be checked. The top and bottom selections - unchecked. After customizing these animation settings, click Ok and click Next and you will get the following screens: After customizing all the animation settings, click Ok and click Next and you will get the following screens: Screen 1 Animation versus output Size - just click next. Screen 2 Optimization process - just click next. Screen 3 Optimization preview - just click next. Screen 4 Optimization results - click finish. Step 9 Make sure to save your image as a gif file. We hope you enjoyed this tutorial. Purrs, Nikki, Nichie and Sue
|
