|
METAMORPHOSIS TAG
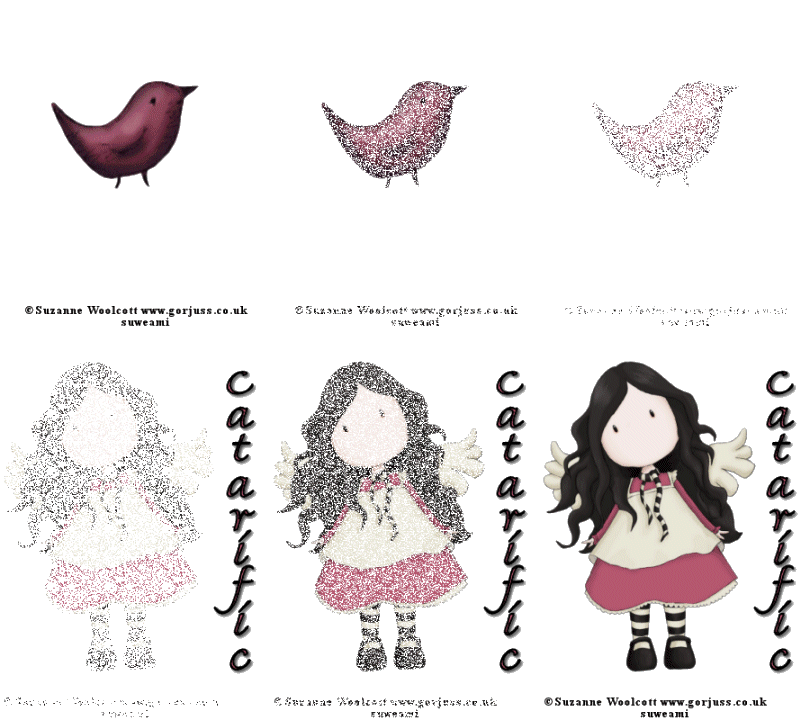
Supplies Jasc/Corel Paint Shop Pro. An Animal, Butterfly, or Bird tube of Choice and a Fairy or Angel Graphic Image Tube of Choice by the same artist. I used the delightful images created by Suzanne Woolcott. You can purchase her wonderful art in tube and full form at AMI which stands for Artistic Minds, Inc. Step 1 Open up two transparent images 300 width by 400 height and open up the two graphic tubes you will be using. Step 2 Make the Animal/Butterfly/or Bird image active and go to Edit/Copy. Make the transparency active and go to Edit/Paste as New Layer. If the image is too large, go to Image/Resize using the percent option, Bilinear Resample and Resize all Layers Not checked. Step 3 Go to Layers/Merge/Merge Visible. Apply the copyright to the merged layer and save this image as a psp or psd file. Do not apply your text on this graphic. Step 4 Make the fairy or angel tube active and go to Edit/Copy. Make the second transparency active and go to Edit/Paste as New Layer. If the image is too large, go to Image/Resize using the percent option, Bilinear Resample and Resize all Layers Not checked. Do leave enough room for the copyright and to later add text either horizontal or diagonally. Step 5 Go to Layers/Merge/Merge Visible. Step 6 Apply the copyright to the merged layer and save this image as a psp or psd file - do not close this file after saving it. Step 7 Go to Layer/New Raster Layer and apply your text. Once your text is applied, go to Edit/Copy/Edit Paste as New Image. If your text is a vector text, go to Layers/Convert to Raster Layer and save your text as a psp file. On your original angel or fairy tag - just close it - DO NOT SAVE the text on it. You should now have 3 psp files. - The angel or fairy, the Animal/Butterfly/or Bird, and the text file. We are now ready to animate. IN ANIMATION SHOP Step 8 Open up the Animal/Butterfly/or Bird psp or psd file. Go to Effects/Insert Image Transition and use these settings:
Step 9 Go to View/Normal View Normal Viewing. Go to Animation/Resize Animation with percent of original at 90% and Resize Type Bicubic Resample. Step 10 Open up the Angel or Fairy psp or psd file and go to Effects/Insert Image Transition using the same exact settings as you did for the butterfly. Step 11 Repeat Step 9. Step 12 Make the Angel or Fairy Animation active. Click the Control and A keys to activate all the frames. Go to Edit/Copy. Step 13 Make the Animal/Butterfly/or Bird animation active and left click on the very last frame only to make that frame active. Go to Edit/Paste after Current Frame. Step 14 Go to Animation/Reverse Frames so that your fairy frames will now work in reverse. Step 15 Left click the Frame 1 to activate it and go to Animation/Frame Properties and type in 200. Left click Frame 5 to activate it and go to Animation/Frame Properties and type in 25. Left click the very last frame to activate it and go to Animation/Frame Properties and type in 250. Step 16 We are now ready to save the animation. But before we continue to save the animation, let's first click Customize to make sure you have all the correct settings for this animation. Click the Customize button and you will see three tabs: Colors, Optimizations and Partial Transparency. Here is what each setting should be under the separate tabs: Colors 255 Colors, Optimized Median Cut and Error Diffusion should be checked. Optimizations The middle three selections should be checked. The top and bottom selections - unchecked. Partial Transparency Convert pixels less than 40 should be checked. Yes blend with this color and make sure that the color in the color box is WHITE. After
customizing all the animation settings, click Ok and click Next and you will get
the following screens: Step 17 Make sure to save your image as a gif file. ADDING THE TEXT Step 18 Holding down the control key, left click all the fairy or angel frames to activate them. Open up your text psp or psd file and go to Edit/Copy. Go to Edit/Propagate Paste. Go to the very first selected fairy or angel frame and go to Edit/Paste into Selected Frame. Holding down the left mouse button, place the text exactly where you want it on the first selected fairy or angel frame and then release the left mouse button. Go to file/save as, rename the file and resave as you did above (without checking the settings). We hope you enjoyed this tutorial and will give it a try. Purrs, Nikki, Nichie and Sue
|

