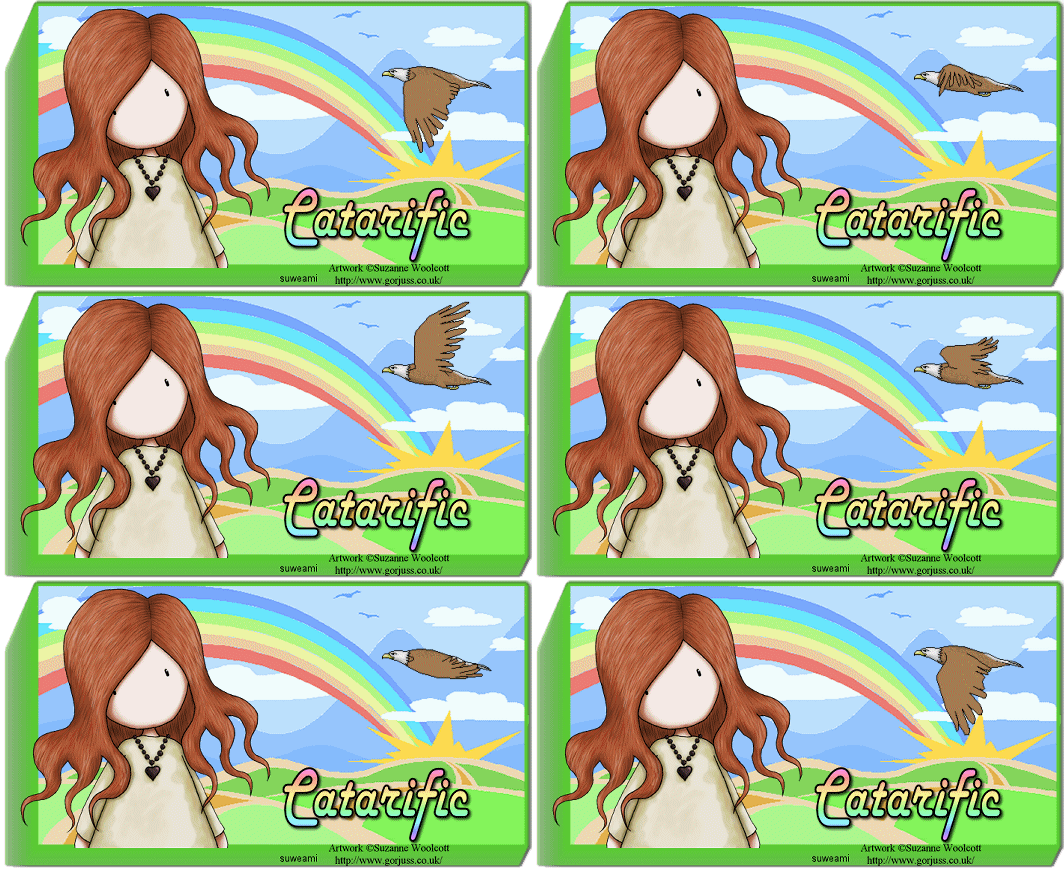
|
Morning is Breaking
Step 1 At Animation Shop, go to File/Open and locate the psp or psd file.With the mouse, right click on this file and go to Duplicate Selected. Once you do, you should see F:2 which means 2 frames. Repeat the duplicated selected again and you will now see F:3 which means 3 frames. Repeat again, and you will now have F:5 - meaning 5 frames. Repeat again, and you will now have F:9 - meaning 9 frames. Left click the 9th frame, right click and go to Duplicate Selected. Left click on the 10th frame, right click once more and once more go to Duplicate Selected. You should now have 11 frames. Step 2 Go to View/Normal Viewing. Holding down the control key, left click the A key to activate all the frames. Step 3 Open up the eagle animation file. Left click the control and A key to activate all the frames. Step 4 Go to Animation/Resize Animation using the percent option at 80%, Resize Type: Smart Size and Maintain Aspect Ratio checked. Step 5 Go to Edit/Copy. Make the tag image active and make sure you are at the the very first frame and go to Edit/Paste into selected frame. Holding down the left mouse button, place the eagle animation just a little bit above the sun which is peeking out. You don't want to place the eagle too high because you will need room for the wing span. Once you have the animation placed, release the left mouse button. Step 6 Make sure all your frames are activated (control and A keys). Right click on any frame, left click on frame properties and type in 25. Step 7 Before we continue to save the animation, let's first click the Customize button to make sure you have all the correct settings for this animation. Click the Customize button and you will see two tabs: Colors and Optimizations Here is what each setting should be under the two tabs: Colors 255 Colors, Optimized Octree and Error Diffusion should be checked. Optimizations The middle three selections should be checked. The top and bottom selections - unchecked. After customizing the animation settings, click Ok and click Next and you will get the following screens:
Screen 1 Step 8 Make sure to save your image as a gif file. We hope you enjoyed this tutorial. Purrs, Nikki, Nichie and Sue
|
