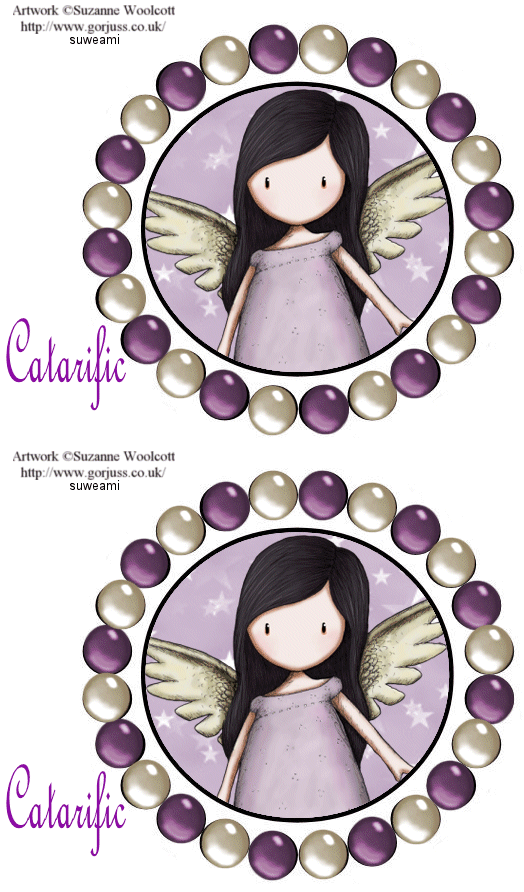
|
Pearl Blinkie
Supplies Jasc/Corel's Paint Shop Pro. Tube of Choice - For this tutorial, I used a delightful image created by Suzanne Woolcott. You can purchase her wonderful art in tube and full form at AMI which stands for Artistic Minds, Inc. Supplies to Download: This file contains the following: Multicolor Pearls and Pearl blinkie template created by me Seamless Star tile created by Kels or you can use your own seamless background tile
SETTINGS USED IN THIS TUTORIAL
Magic Wand: Mode: Add/Shift, Match Mode: RGB Value, Tolerance 18, Contiguous checked, Feather: 0, Anti-Alias checked and outside selected. Step 1 Open up the Pearl blinkie template, Kels seamless pattern (or your own) and the tube image you will be using. Left click the magic wand and use the settings from above. Left click the magic wand into the circular portion of the tag. Step 2 Make the Kels seamless pattern (or your own seamless pattern) active and go to Edit/Copy. Make the tag template active and go to Edit/Paste into selection. DO NOT DESELECT. Step 3 Go to Adjust/Hue and Saturation/Colorize and move the sliders until you get a color that will work well with the tube graphic you are using. DO NOT DESELECT. Step 4 Make your tube graphic active and go to Edit/Copy. Make the tag template active and go to Edit/Paste as New Layer. Left click the mover tool and move the image so that part of it fits within the selection. If the image is too large, go to Image/Resize using the percent option, bicubic and resize all layers NOT checked. Move the image within the selection, go to Selections/Invert, click the delete key and go to Selections/Select None. Go to Layers/Merge/Merge All (flatten). Step 5 On the flattened layer add both your copyright information and your text. If you did add your text and copyrights on different layers, go to Layers/Merge/Merge All (flatten(. Step 6 Go to Layers/Duplicate so that you now have two layers. Open up the layer palette, and left click the eye on the top layer to close it off. You will see a red X. Make sure you are now on Layer 1 (it will be highlighted in blue). Step 7 Select one of the multicolor pearls and go to Edit/Copy. Make the tag template active and go to Edit/Paste as New Selection. Make sure you do not paste this as a new layer. Holding down your left mouse button, move the pearl within one of the circles on your template. Release the left mouse button and go to Selections/Select None. Step 8 Go to Edit/Paste as New Selection and this time skip a circle and place the pearl in the following circle and go to Selections/Select None. Continue pasting the same color pearl all around the tag, placing the pearl in alternating circles. Step 9 Select a second color pearl and repeat Steps 7 and 8, pasting the pearl in the alternating remaining circles until the entire template is filled with pearls. Step 10 Open your layer palette and left click the red X on the top layer to open that layer up. Make sure you are now on the top layer. It will be highlighted in blue. Using the same color pearls, you will fill the top layer with alternating pearls. But this is very important. When placing your first pearl on the top layer, make sure that on the bottom layer beneath, the pearl in that same spot is NOT the same color as you are placing in the exact spot on the layer above. Once you are sure this is not the same color pearl, continue placing this pearl in alternating circles on the template. Step 11 Repeat Step 9, using the second pearl color, pasting it in the alternating remaining circles. Step 12 Left click the crop tool and draw a rectangle around the areas of the tag you wish to keep, eliminating any excess white palette. Save your file as a psp or psd file. We will complete the tag in animation shop. Click here to continue.
|
