|
THE POWER WITHIN
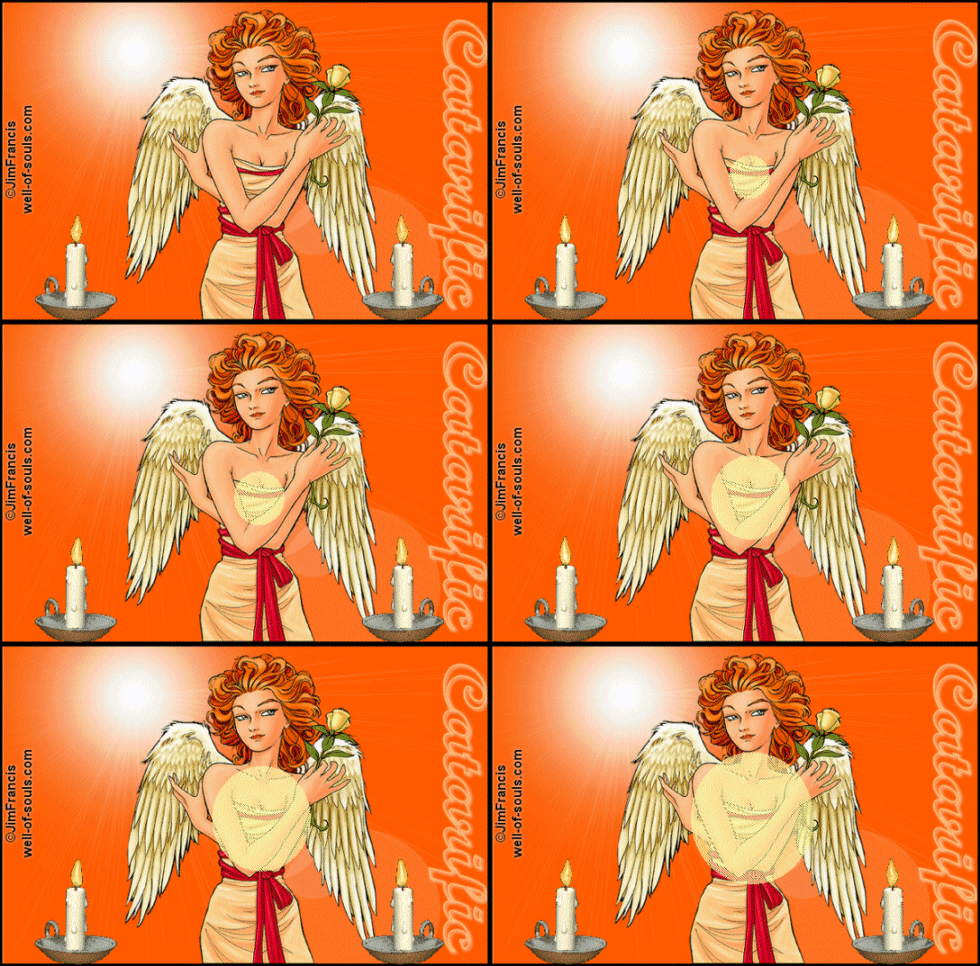
Step 1 At Animation Shop, go to File/Open and locate the psp or psd file.Step 2 With the mouse, right click on this file and go to Duplicate Selected. Once you do, you should see F:2 which means 2 frames. Repeat the duplicated selected again and you will now see F:3 which means 3 frames. Repeat the duplicated selected again, and you will now have 5 frames. Step 3 Go to View/Normal Viewing. Left click Frame 5 to activate it. Right click on Frame 5 and go to Duplicate Selected once more and you should now have 6 frames. Right click on the 6th frame and once more go to duplicate selected and you should now have 7 frames. Left click the control and A keys to activate all the frames. Step 4 Open up the animated candle. Holding down the control key, left click the A key to activate all the frames. Step 5 Go to Edit/Copy. Make the tag image active and go to the very first frame and go to Edit/Paste into selected frame. Holding down the left mouse button, place the animated candle at the bottom left of the tag. Once you have the animation placed, release the left mouse button. Step 6 Making sure all the frames of your candle are activated, go to Animation/Mirror Go to Edit/Copy. Make the tag image active. Have all the frames active (Control A) and go to Edit/Paste into selected frame. Holding down the left mouse button, place the animated candle at the bottom right of the tag. Once you have the animation placed, release the left mouse button. Step 7 Open up the animated circular light and and go to View/Normal Viewing. Holding down the control key, left click on frames 2 through frames 7. Go to Edit/Copy. On your tag image, left click on frames 2 through 7 and go to Edit/Paste into selected frame. Holding down the left mouse button, place the animated circular light on the chest area of the main tag graphic. Once you have the animation placed, release the left mouse button. Step 8 Left click the control and A keys to active all the frames. Right click on one of the frames and go to frame properties and type in 55. Step 9 Left click on the first frame to activate it. RIght click on the first frame, go to frame properties and type in 100. Step 10 Left click on the last frame to activate it. RIght click on the last frame, go to frame properties and type in 200. Step 11 Go to Animation/Resize Animation using the percent option at 85% or smaller, smart size and maintain aspect ratio checked. Step 12 Before we continue to save the animation, let's first click the Customize button to make sure you have all the correct settings for this animation. Click the Customize button and you will see two tabs: Colors and Optimizations. Here is what each setting should be under the two tabs. Colors 255 Colors, Optimized Median Cut and Error Diffusion should be checked. Optimizations The middle three selections should be checked. The top and bottom selections - unchecked. After
customizing these animation settings, click Ok and click Next and you will get
the following screens: Step 13 Make sure to save your image as a gif file. We hope you enjoyed this tutorial. Purrs, Nikki, Nichie and Sue
|
