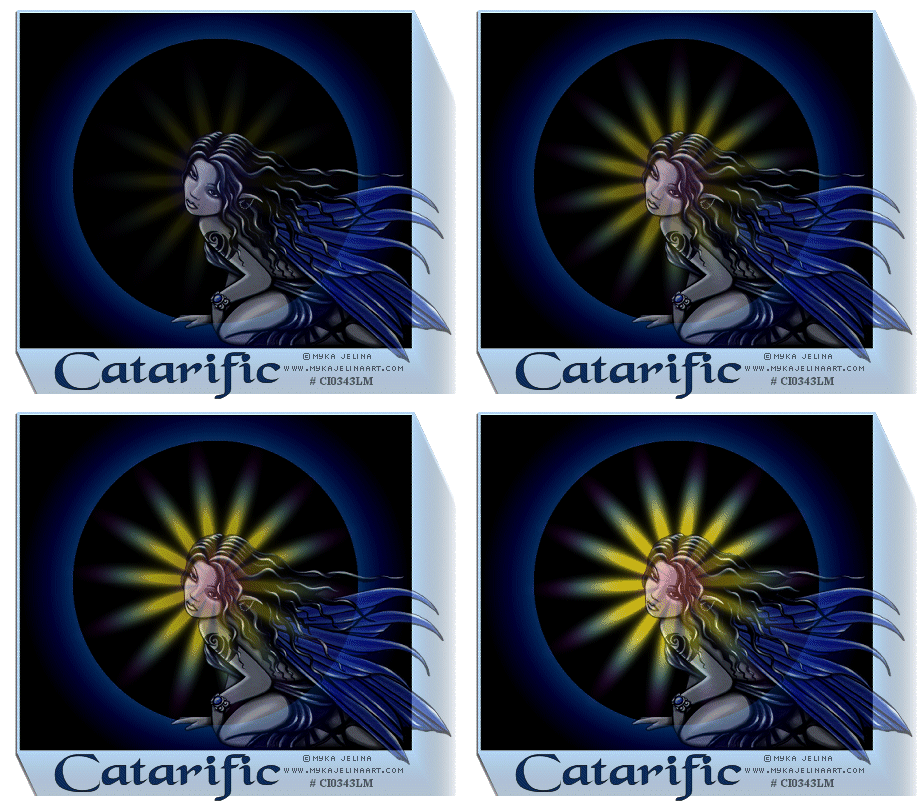
|
PULSATION Continued.....
Step 1 At Animation Shop, go to File/Open and locate the two psp or psd files. One file is the original tag file with all the layers. The other is the top layer that has the graphic, text and copyright information. Make the main tag image file active. Step 2 Go to View/Normal Viewing. Step 3 Make the file with the graphic, text and copyright information active and go to Edit/Copy. Make the tag image active and click the control and A keys to activate all the frames. Go to Edit/Propagate Paste. Now go to Edit/Paste into selected frame. Holding down your left mouse key, place your image content in the very FIRST frame exactly where you want it to be. Once you have it in the exact location, release your left mouse key and your image, text, copyright information will now be in every frame. Step 4 If you want a smaller image, go to Animation/Resize Animation. Percent of Original at about 90% or smaller and Resize Type: Bicubic Resample. Step 5 Click the Shift and A keys to activate all the frames. Go to Animation/Frame Properties and type in 15. Step 6 Go to File/Save As and name your file. Be sure to add a .gif extension to your file. You will be taken through a number of screens: But before we continue to save the animation, let's first click the Customize Button to make sure you have all the correct settings for this animation. You will see three tabs: Colors, Optimizations and Partial Transparency Here is what each setting should be under those tabs: Colors 255 Colors, Optimized Median Cut and Error Diffusion should be checked. Optimizations The middle three selections should be checked. The top and bottom selections - unchecked. Partial Transparency Convert Pixels - less than 40% Yes Blend with this color - color in the box should be white. After customizing these settings,
click Ok and click Next and you will get the following screens: Step 7 Make sure to save your image as a gif file. We hope you enjoyed this tutorial and will give it a try. Purrs, Nikki, Nichie and Sue
|
