|
SLIDE BABY!
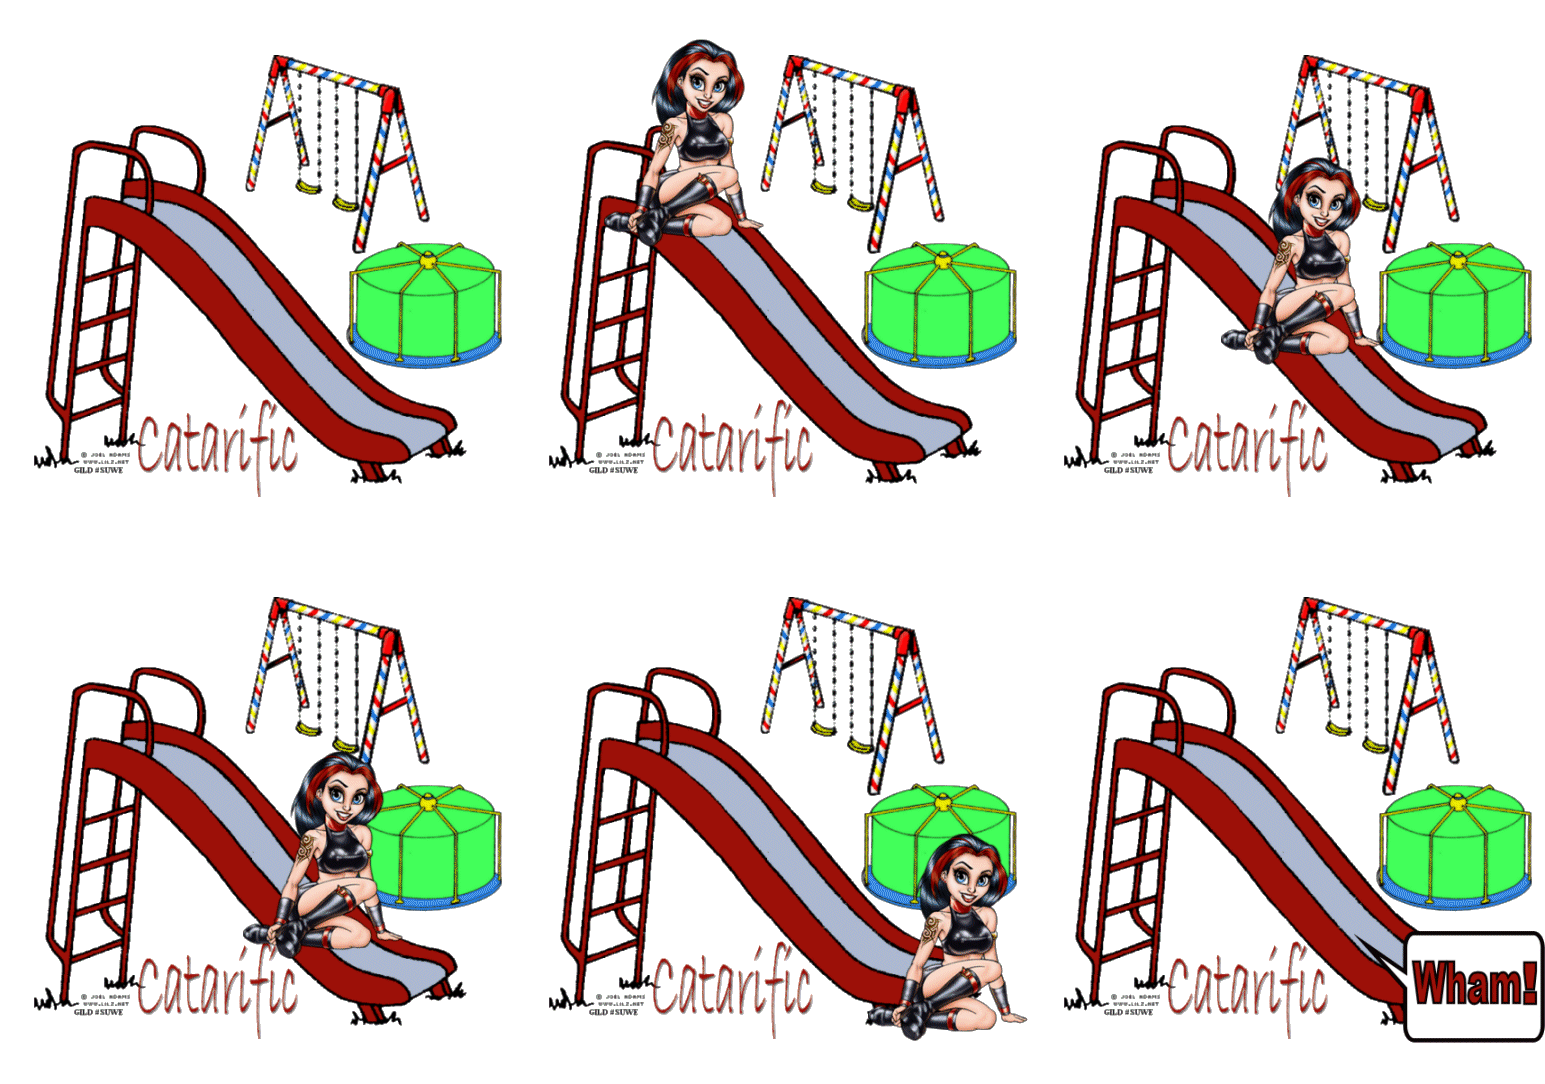
Step 1 At Animation Shop, go to File/Open and locate the tube graphic file (image1.psp) and the playground file (image2.psp). Make the playground file (image2.psp) active. With the mouse, right click on this file and go to Duplicate Selected. Once you do, you should see F:2 which means 2 frames. Repeat the duplicated selected again and you will now see F:3 which means 3 frames. Repeat again, and you will now have F:5 - meaning 5 frames. Do this once more and you will see F:9 - meaning you have 9 frames. Step 2 Go to View/Normal Viewing. Go to Onion Skin Enabled. Right click frame 9 and go to Delete and left click. You should now have 8 frames. Step 3 Make your tube graphic file (image1.psp) active and go to Edit/Copy. Make the playground file active and left click on frame 2 to select it. Go to Edit/Paste into current frame. Holding down the left mouse button, apply your tube graphic at the very top of the slide. Step 4 Left click frame 3 of your playground file and go to Edit/Paste into current frame. Because you have the onion skin enabled, you should be able to see a shadow of the tube graphic image and where you had placed it in the previous frame. This time you will place your tube graphic image overlapping the shadow from the 2nd frame and directly below it. Once your tube graphic image is overlapping the shadow from the previous frame and is placed beneath it, release the left mouse button. Step 5 Left click frame 4 of your playground file and go to Edit/Paste into current frame. Again you will place your tube graphic image overlapping the shadow in this frame and directly below the previous image. Once your image is overlapping the shadow from the previous frame, release the left mouse button. Step 6 Repeat these steps (pasting the tube graphic just below the shadow of the previous frame) through Frame 7. When you reach frame 7, your image should be off the slide and sitting on the ground. Step 7 Open up the wham graphic. Go to Edit/Copy. Make your playground animation graphic active at Frame 8 and go to Edit/Paste into current frame. Release the left mouse button. Step 8 Left click on frame #1 to activate it. Right click on this frame and go to Frame Properties. Type in 0. Step 9 Left click on Frame #2 to activate it. Right click on this frame and go to Frame Properties and type in 200. Step 10 Holding down the control key, left click on Frame #3, 4, 5, 6 to activate them. Right click on any one of these frames and go to Frame Properties. Type in 20. Step 11 Left click on Frame #7 to activate it. Right click on this frame and go to Frame Properties and type in 50. Step 12 Left click on Frame #8 to activate it. Right click on this frame and go to Frame Properties and type in 75. Step 13 Before we continue to save the animation, let's first click the Customize button to make sure you have all the correct settings for this animation. Click the Customize button and you will see three tabs: Colors, Optimizations and Partial Transparency. Here is what each setting should be under the separate tabs: Colors 255 Colors, Optimized Median Cut and Error Diffusion should be checked. Optimizations The middle three selections should be checked. The top and bottom selections - unchecked. Partial Transparency Convert pixels less than 40 should be checked. Yes blend with this color and make sure that the color in the color box is WHITE. After
customizing all the animation settings, click Ok and click Next and you will get
the following screens: Step 14 Make sure to save your image as a gif file. We hope you enjoyed this tutorial. Purrs, Nikki, Nichie and Sue
|
