


The curved wall sections are done now. The curve adds another dimension to the lamp. Each wall has a circle in it. Each circle represents a season. White for winter, Blue for summer, Pink for spring, and Orange for fall. I wanted a good mix of color for each season. The circles are fairly small so the scale had to be very small.
An explanation of each color:
WINTER: The white glass, is a translucent white ripple. I didn't want transparent glass for this part of the project. I didn't want the bulb to highlight any one window. However, this glass works well, the ripple diffuses the light really well. The color naturally represents snow, the ripples, the wind.
SUMMER: The blue glass I found on sale, it simply said "buy me", so I did. It's a streaky sky blue with very small and rather tight white ring mottles. It sat there in my cabinet for years, after looking through all my glass, there it was, a perfect summer color. Why blue? It's the color of a clear blue summer sky.
SPRING: The pink glass, is simple Wissmach. It has a bit of green mixed with the pink. The color represents new born flowers.
FALL: The Orange glass, I think, is Uroboros. It has tiny little white ring mottles. The color represents the changing of the leaves, the white, a bonus, a few more flakes fall from the sky.
On the other hand, when I placed them in a row, it looked a lot like planets. Which would bring a whole new meaning, we'll leave it up to the archaeologists

These are the walls in their non-processed state.
![]()
I used a styrofoam form to make the curve. The form was made by stacking and gluing 6 foam circles.
![]()

This is the floppy glass wall against the form. I should have formed the glass first, then soldered it in place, I really made it much harder for myself then I should have.
![]()

Putting a straight piece of glass in a curved wall, will always bring you troubles. I knew this would happen and actually counted on it. I've always liked the set back look of the window. The gaps were on the large side, I used braided reinforcement tape as a solder baffle. I like this material because it flexes in two directions, and absorbs the solder, keeps it from dripping through.
![]()

The problem with setting it back, is that the glass will stick out a bit. Care must be taken not to throw more shadows on the front of the glass (it creates a sun dial phenomena). Fortunately, this project is OK to have some of those shadows. Since it's a building with tree's, it may help give the illusion of a real building.
![]()

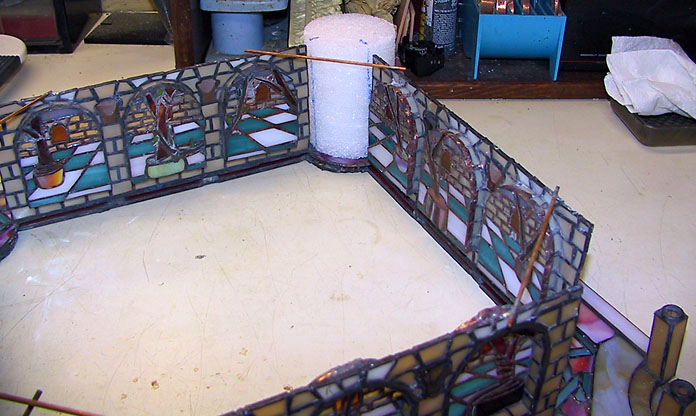
Here's a wall placed on the project which I pre-soldered the main walls already. Patina went on next.
![]()
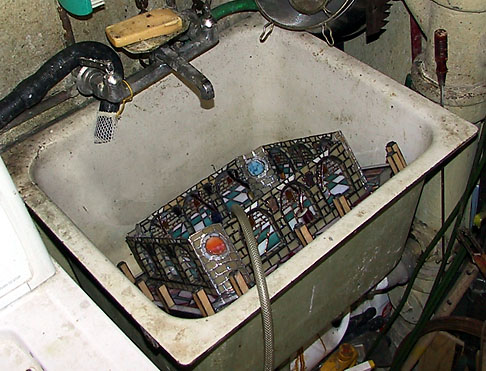
It just barely fit's in the sink. This will be the last time it will fit in here.
![]()
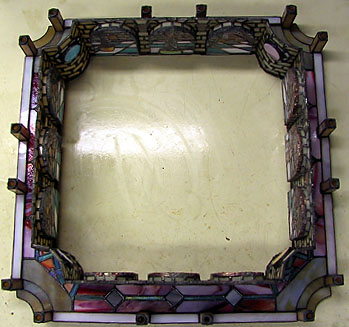
For your viewing pleasure, this is what it looks like from the top.
![]()


Here are two of the four sides completed, in place, and patinaed.
Total Time: 9 Hours 15 Minutes


Home | About Me | Aliens | Foil | Miscellaneous | Shop | Projects | Tips | Shopping List | Links | Awards

Started on 6-27-01