|
PMT Modules |
|
|
Where all tracks leads to friends |
|
|
PMT Modules |
|
|
Where all tracks leads to friends |
![]()
|
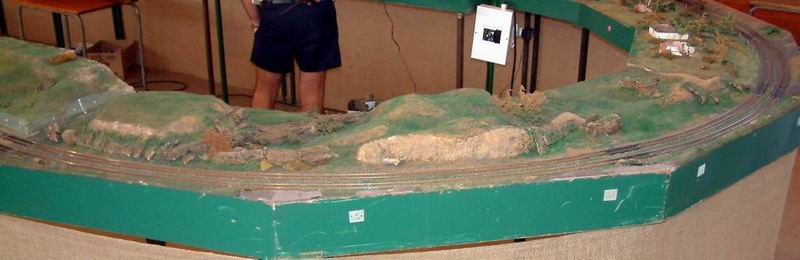
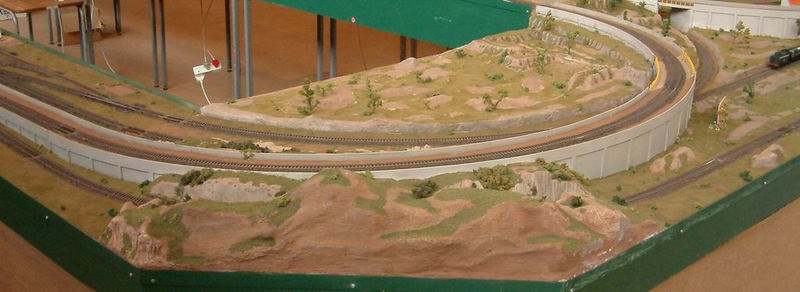
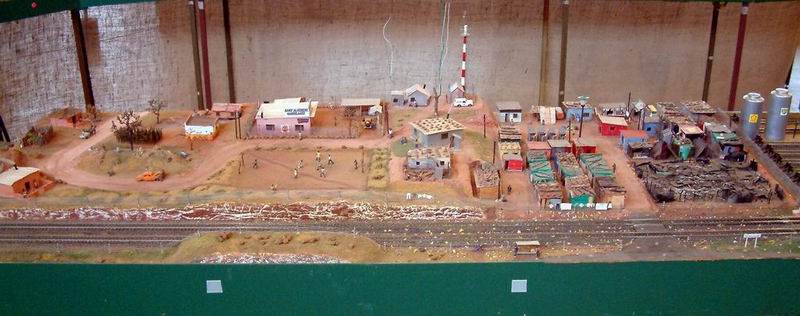
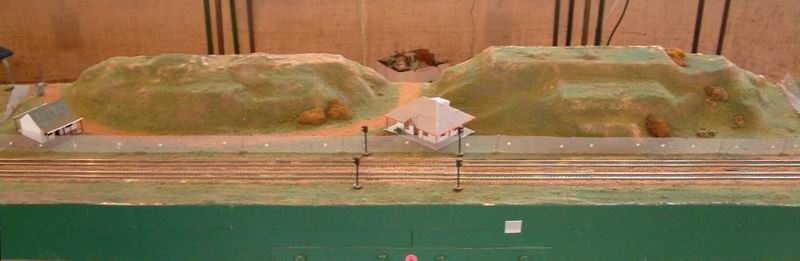
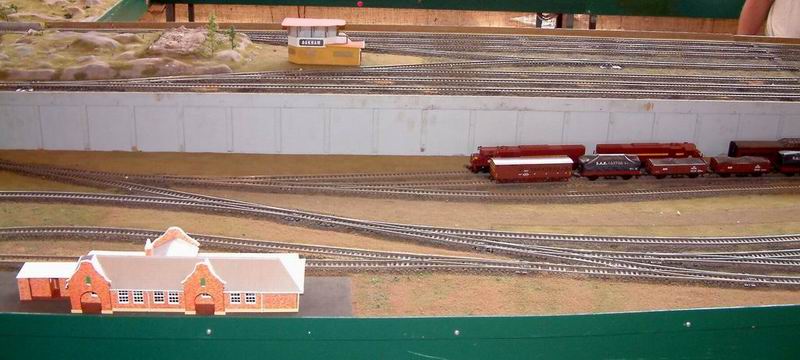
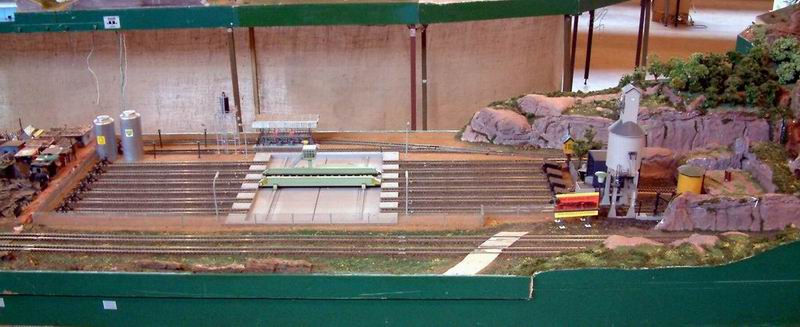
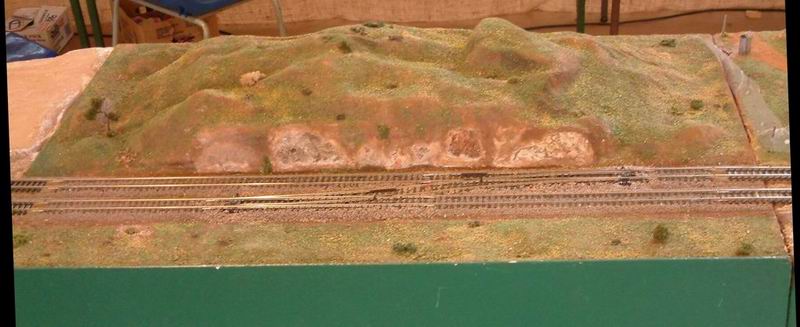
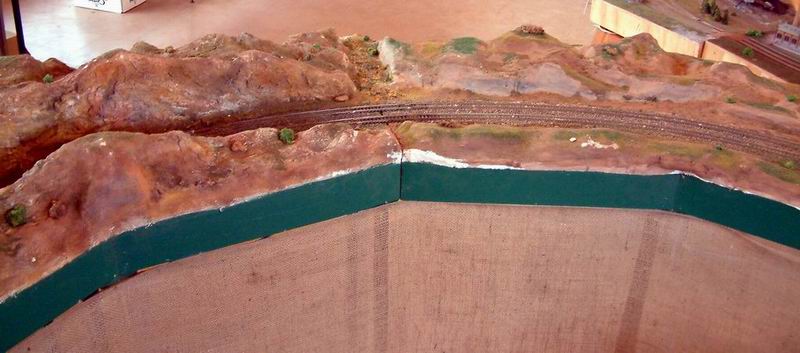
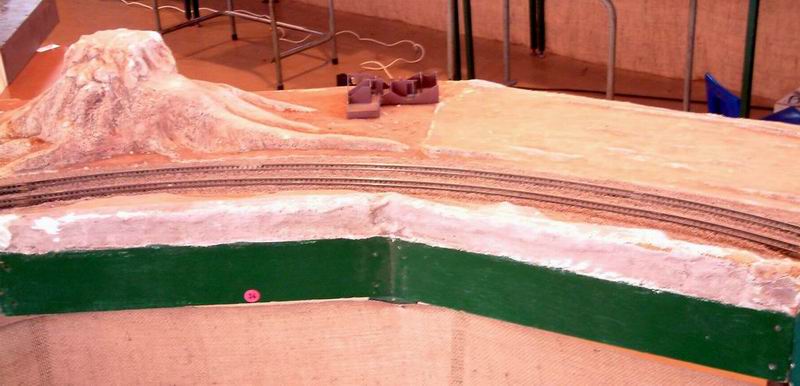
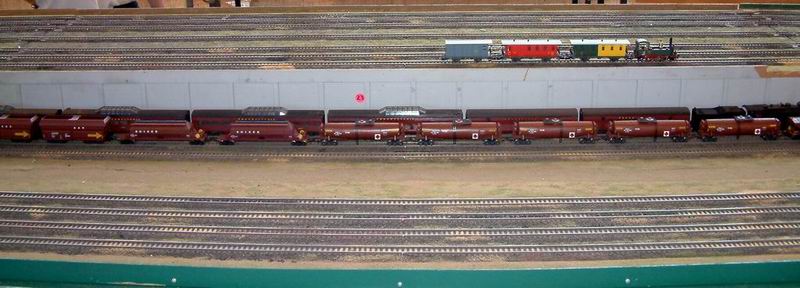
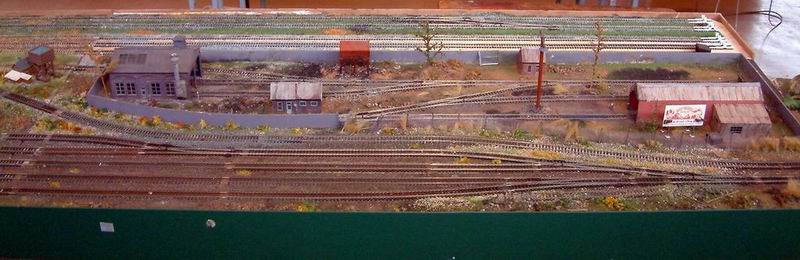
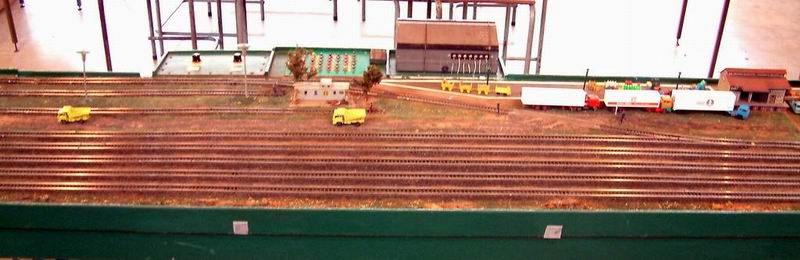
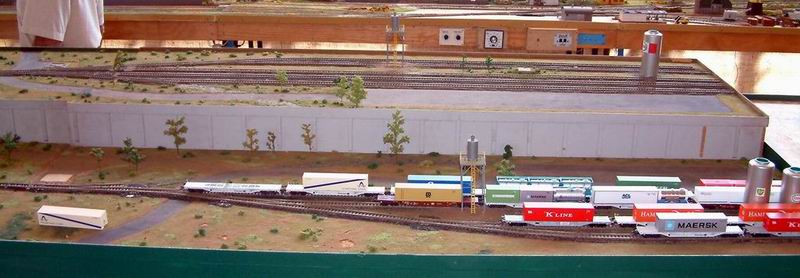
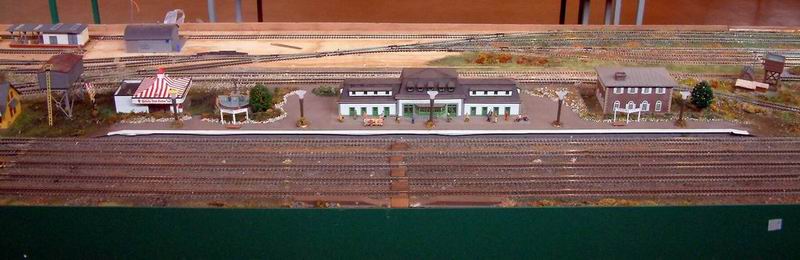
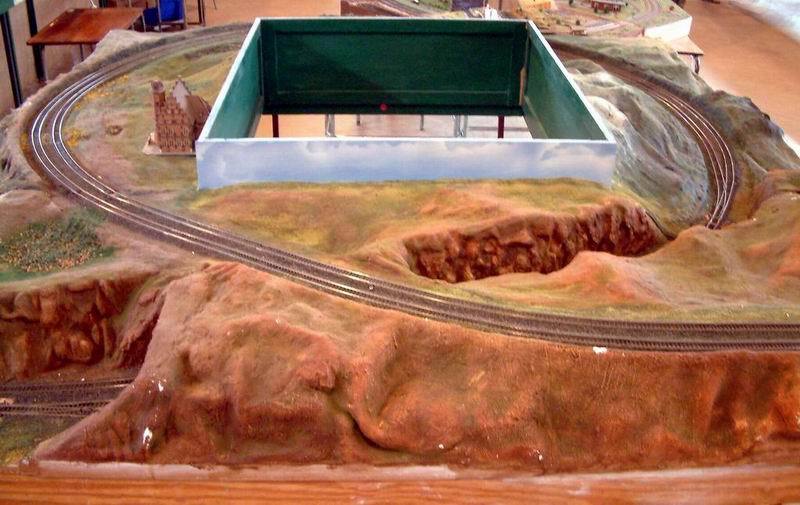
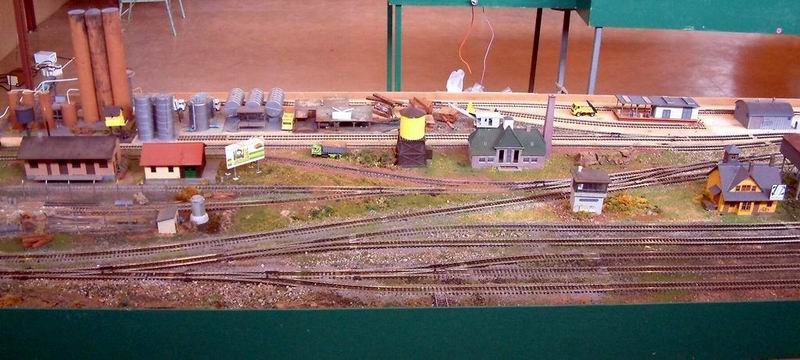
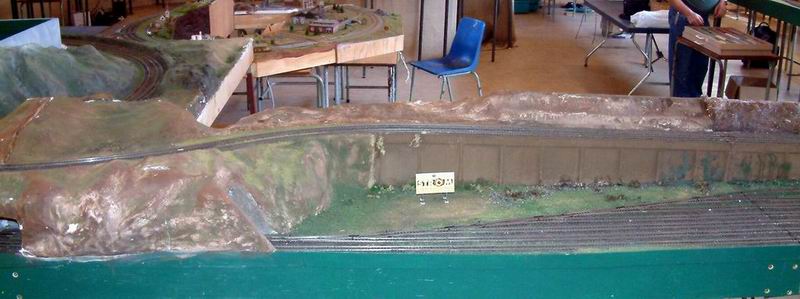
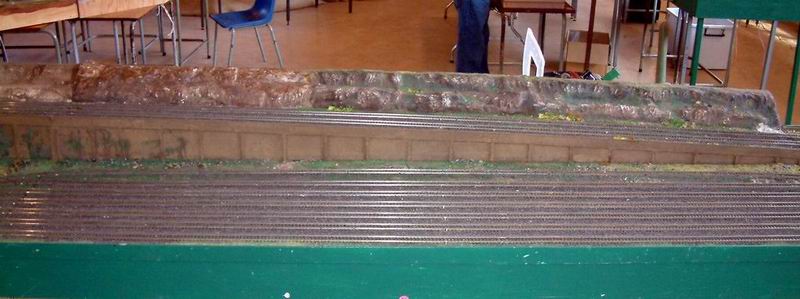
This is almost all the HO modules that PMT and members currently own, only one or two are not displayed here. As mentioned before, the club has a modular approach, and so the modules might not be in the actual position depicted here when we set up our layout. Also, not all the modules are used at all times. This is an example of the layout we can currently construct with the space and modules available to us. Not indicated on the plan, is the placement of the 3 dispatch panels. These are placed roughly in the middle of each of the 3 mainline yards, 1 for the B line fiddle yard, and 2 for the A line fiddle yard. These all control speed and almost all points are electronically controlled. As can be seen from the drawing, most of our track is level, except for the entrance and exit of the A line yard, and the loop on the B line. To see a photo of any part of the layout, simply click on it. You will see a photo of that section. Press 'backspace' or click the 'back' button on your browser to return to the diagram.
|
||||||||||||||||||||||||||||||||||||||||||||||||||||||||||||||||
|
|
|||||||||||||||||||||||||||||||||||||||||||||||||||||||||||||||||
| The
copyright of this page is held by PMT, no images or material from this
site can be used without permission. You may place a link to this
page on your site, but please notify the Webmaster if you choose to do
so.
|
|||||||||||||||||||||||||||||||||||||||||||||||||||||||||||||||||