

How to make a Column
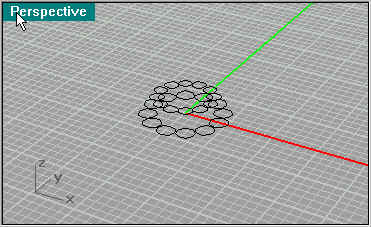
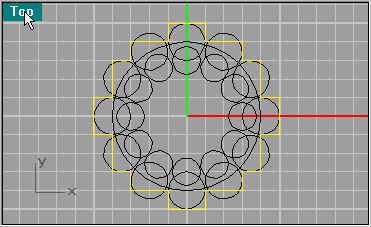
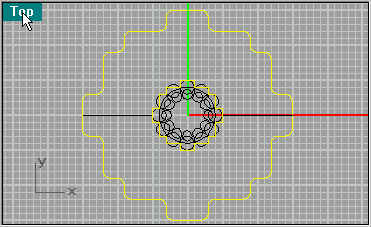
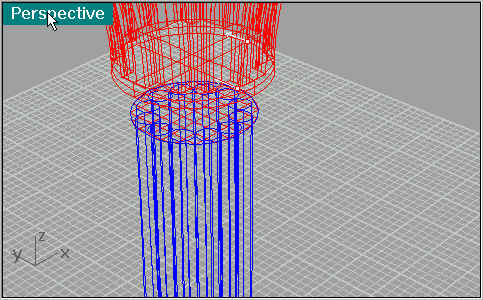
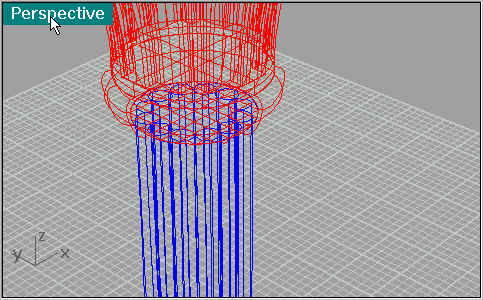
Create 3 rings. The outer is 1 unit radius, the second is .75 units and the 3rd is 3 units radius. Now highlight the smaller 2 and select Transform/Array/Along Curve. The large ring is the curve to put the Array on. Use 12 for replication or more for tighter fit.
Move the 2 sets of the smaller ring so they are about 2 units apart.

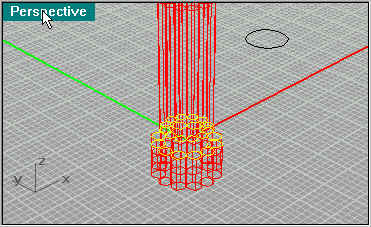
Next use Surface/Extrude/Straight on the circles as shown (5units base 38u top)

Next make a Cylinder on the top using Solid/Cylinder.


Next make a design like the one highlighted, this will be the fluted arch.Then make a copy of it and use Transform/Scale/Scale2-D. Next use Curve/Fillet to round the corners (Fillet Radius=1)
Next create a curve using Curve/Arc/Start,End,Direction. The mirror the Arc using Transform/Mirror.


Next use Surface/Sweep 2 Rails. use the Arcs as the rails , then the two shapes highlighted to be railed.


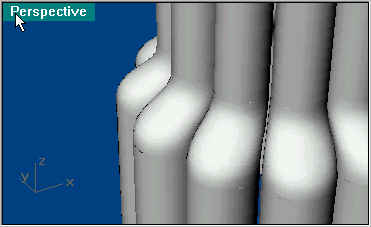
Next we do blending of surfaces. Select Surface/Blend, and apply to the edges of the tubes were you left a 2 unit gap. Make sure you have the tubes above each other selected, it can be disorienting.


Now for speediness, use the Transform/Array/Along Curve again using the circle that you used for the original tubes.


Next move the circle (or create another one) to the top of the tubes, then use Surface/Patch to create a solid. Then use Surface/Blend and select the disc edge and the base of the Cylinder.I always use the defaults for the blends and patches. Also it is helpful to change layers so you can see the parts better.


And their you have it. I find it useful to join the tube sections so you can apply the textures evenly.
