|
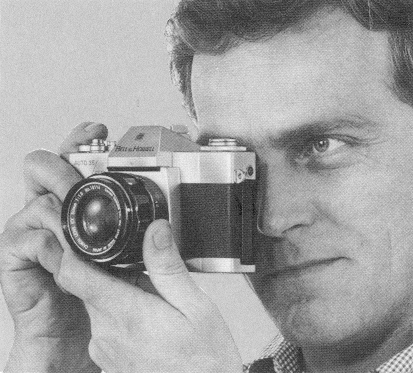
The illustrations that follow show two different ways to hold your
camera for either horizontal (landscape) or
vertical (portrait) pictures.
 |
Note that the right hand is grasping the camera with the forefinger on
the shutter release. The left hand is holding the Lens Focusing Ring for
last-minute focus changes.
Compose the subject in the viewfinder carefully - just as you want it to
appear in the final picture or slide. Hold the camera level, for if the
subject is tilted in the finder, it will be tilted in the picture. Be sure
that you get close enough to the subject to make the picture interesting.
Many pictures are taken from much too far away so that the subject isn't even
recognizable.
|
Once the subject is composed carefully, and you have checked the Exposure
Indicator for good exposure and the microprism area for sharp focus, slowly
press the Shutter Release to take the shot. Then advance the film for the
next picture.
|