Build This Robotic Hand
Page 2
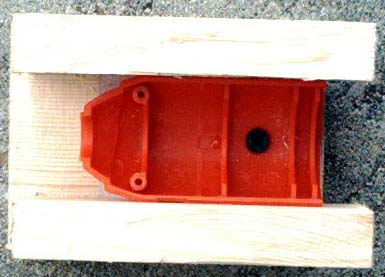
Now we need to build a housing for the motor of the hand. Cut off a piece of wood 4-1/2" long from a 1" by 4" Cut that piece down the middle so that you get two 1-10/16" by 4-1/2" pieces of wood. Cut another piece of wood 4-6/16" by 3-2/16". Nail and glue the 1-10/16 x 4-1/2 piece of wood to the 4-6/16 x 3-2/16" in such a way that the 4-6/16 x 3-2/16" piece of wood is sticking out 4/16" from the edge of the 1-10/16" x 4-1/2" piece of wood.


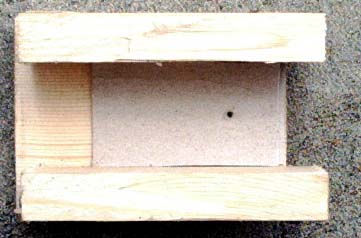
Take the motor and put it in the wood housing then glue and nail the 2nd 4-6/16 x 3-2/16" again in such a way that the 4-6/16 x 3-2/16" piece of wood is sticking out 4/16" from the edge of the 1-10/16" x 4-1/2" piece of wood.

Let's take the cover off the motor by unscrewing the two small black screws.
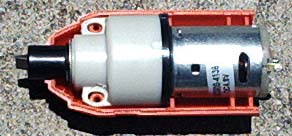
Take the cover you took off and drill a hole thru it so that the drywall screw will fit thru it. Put the motor back together.

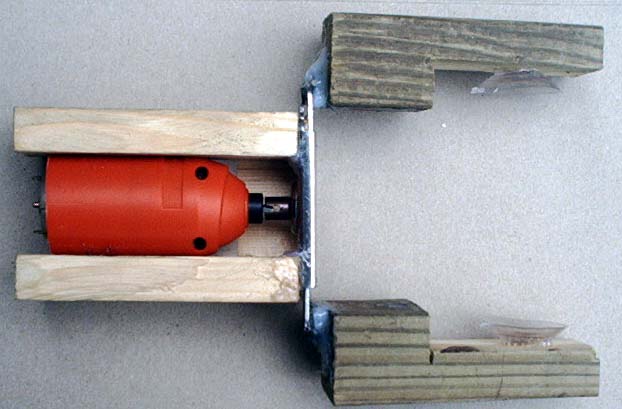
Make sure the rack and pinion assembly is even on the housing and down against the base. Now slip in the motor so that the motor's shaft is inside the slit in the rack and pinion shaft. Mark where the motor's bottom cover is now. Take the top cover and motor out leaving the bottom cover in place. Mark the hole in the bottom cover against the housing base. Drill a small pilot hole and screw on the bottom motor cover to the base using the drywall screw. Cut off the end of the drywall screw if it is sticking out of the bottom of the housing base. Put the motor back together.
We now need to adjust the motor shaft to the rack and pinion shaft. You can use the cardboard from the cardboard box the hand parts came in for this next step. There will be differences because things were cut by hand. Mine took two sheets of cardboard under the motor's case to even up the two shafts; yours may take more or less. Put a hole in the cardboard to match up with the hole in the housing base.
Using the two small screws attach the rack and pinion assembly to the housing. Make sure that the screws go into the center of the slits so that there can be some room for adjustments. Now using 3 volts to the motor; run the motor it both directions. Only tap the lead to the motor, so that it only runs for a second. If the fingers do not open and close smoothly, you may have to adjust the rack and pinion assembly left or right on the housing. You also may have to use more or less cardboard under the motor. When you get it adjusted, you can hot glue the rack and pinion assembly to the housing if you like.

A look at the finished hand.
Here are some test shots.


Home Page