How To Radio Control DC Motors Cheaply
How To Hook Up The VEX Reciever To The Interface Chip
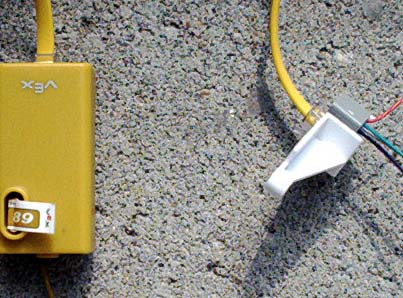
Motors, relays and power supplies will cause radio interference; so pick a spot on your robot where the "VEX" reciever is far away from these things. I mounted mine on a 43 in. long mast that was attach to the robot's base.
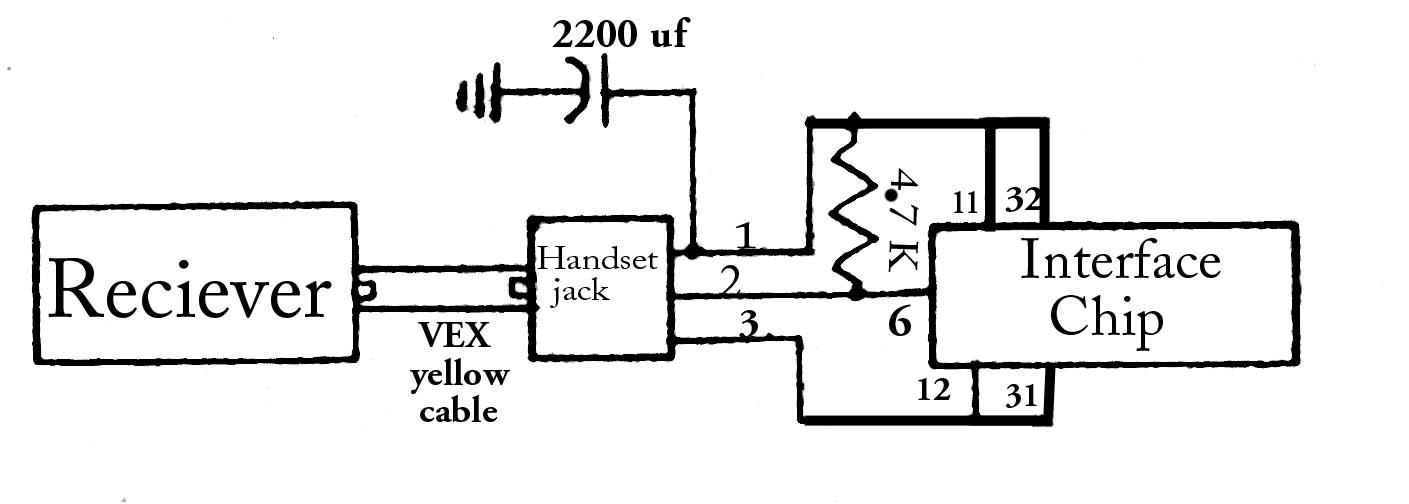
The "VEX" reciever comes with a yellow cable. Plug the cable into the "VEX" reciever, the other end of the cable plugs into a telephone handset jack. You must buy the jack. Since I will not know the colors of the wires coming out of your jack; I will referent the yellow cable wires. If you look at the yellow cable you will see 4 wires which are yellow, green, red and white. The yellow wire gets wired to + 5 volts. The green wire is the signal and it gets wired to pin 6 on the interface chip. The red wire gets wired to ground. The white wire is not used.
You need to wire a 4.7 K pull up resistor from pin 6 on the Interface Chip to the + 5 volts. You will also want to wire a 2200 uf capacitor across the power wires close to the "VEX" reciever.
Pin 2 is an input pin. It must be wired and NOT left floating. It can be wired to + 5 volts or ground thru a 47 ohm resistor. It can also be wired to pin 14.
Option 1: pin 2 high will give the full range of power to the motors.
Option 2: pin 2 low will give half the range of power to the motors.
Option 3: pin 2 wired to pin 14. When channel 6 top button is pressed it gives the full range of power to the motors.
When channel 6 bottom button is pressed it gives half the range of power to the motors.
NOTE: If you do NOT plan to run the robot from a computer or microcontroller then you need to wire a 1K ohms resistor to + 5 volts and the other end of the 1K ohms resistor goes to pin 7 & 33.
Next Page