Builder’s Notes & Comments
Page 4
Back
to Airframe Log Index | Back
to Home Page
19 Oct. 03
Glued the 1-1/4
“Sq. fillets to the lower side of each rib at the trailing edge in preparation
for gluing the trailing edge on to the wing.
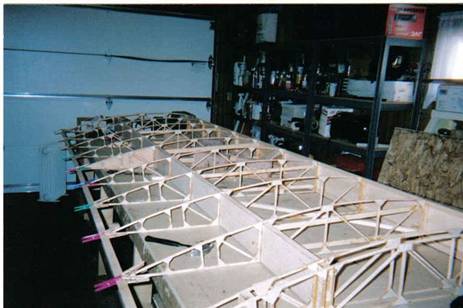
20 Oct. 03
Glued both
trailing edges and top fillets on both wings. Also drilled the lightning holes
in all of the nose ribs with a 1/2” forsner bit. Looks good!!!!
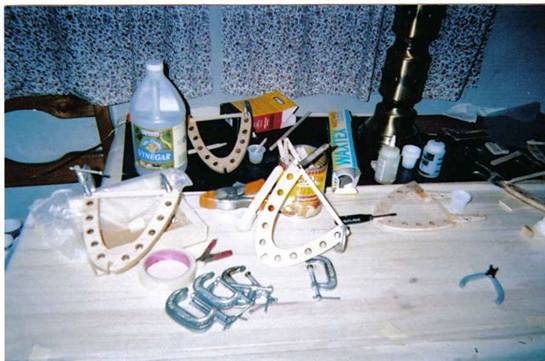
26 Oct. 03
I am using
Jerry Eales (my E.A.A.) Tech Reps. idea for gluing the nose ribs to the front
spar. I cut and glued a piece of 1/4”
cap strip to the back side of each nose rib to make more of a gluing surface
which will be stronger than just butt gluing to the face of the spar.
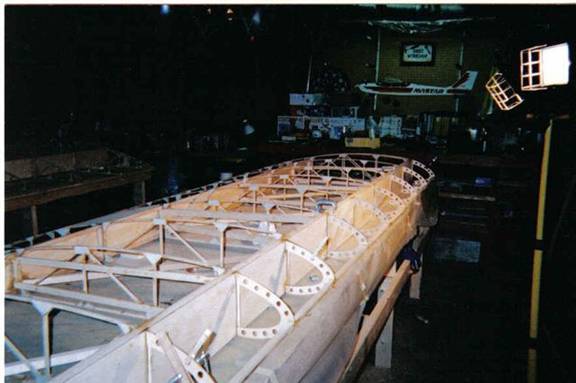
27 Oct. 03
Glued and
nailed most of the nose ribs to each front spar. Also modified the two # 1 nose
ribs by added a tapered piece of 1/4 x 1, this was done because of the need to
notch out where the front spar root fittings are. This will give extra added
strength to these ribs. This idea came from Steve Kiblinger from California,
The guy who has the excellent web site on his building process of his Legal
Eagle.
27 Oct. 03
Glued the
remaining 6 nose ribs after notching out the # 1 nose ribs to fit the root
spars.
28 Oct. 03
Prepared the
front spar to glue the longeron to the nose ribs by marking the proper
alignment marks and adding wax paper to catch any unwanted glue drippings.
Glued both
longerons to each wing leading edge.
10 Dec. 03
Made jig for
the landing gear today out of a sheet of 2 X 4 plywood 7/8” thick. I held it
vertical at the # 2 station where the gear / wing fittings attach with 1/4”
bolts and string.
I then drew out
all of the measurements on the front side of the jig. Cut the axle out of 5/8 X
.095 chrome molly and welded the attach plates that were laser cut from Dan
Ellerbusch cad drawings. Bolted the axle on to the jig and cut and fit both
gear legs that go from the # 2 station to the axle and tack welded them in
place. These were made from 3/4” X 049 which differs from the plans. It should
be much stronger than the original design.
11 Dec. 03
Measured , cut
and fit the rear strut legs that go from the axle to the # 3 station gear
fitting attach points and tack welded in place. Cut and fit the “X “ pieces out
with the use of my dremal tool after making a paper pattern. Cut and fit the
inside or lower pieces that make the shape of a W and tack welded in place.
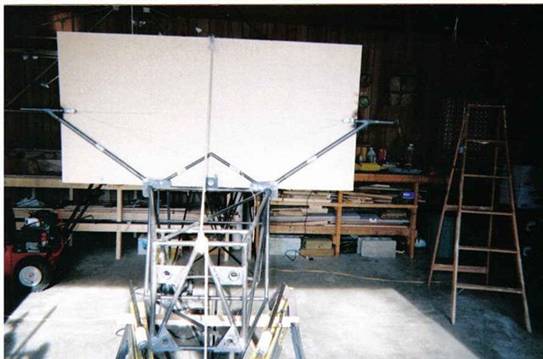
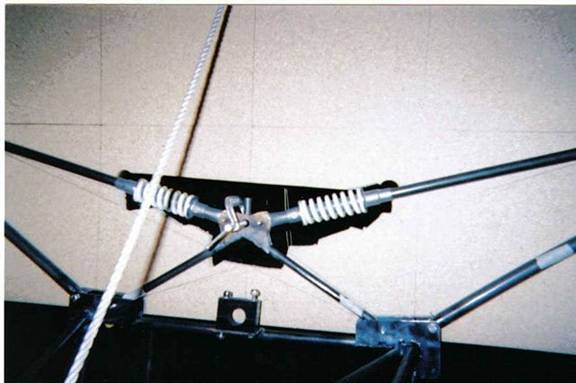
15 Dec. 03
Measured and
cut the hardest part of the gear today, the spring strut assembly. I had the
help of Bauken Noack from the EAA restoration shop. He did most of the work
while I watched in amazement at the great work that is does. After he finished
the struts, I bolted them in place and welded the V plates in place.
01 Mar. 04
Made all of the
reinforcement patches that are used to strengthen the butt welds on the cock-pit
and wing attach tubes. These were made out of .035 chrome molly strips, heated
and tapped with a hammer to acquire the round shape needed for a snug fit when
welded to the tubes.