Builder’s Notes & Comments
Page 9
Back
to Airframe Log Index | Back
to Home Page
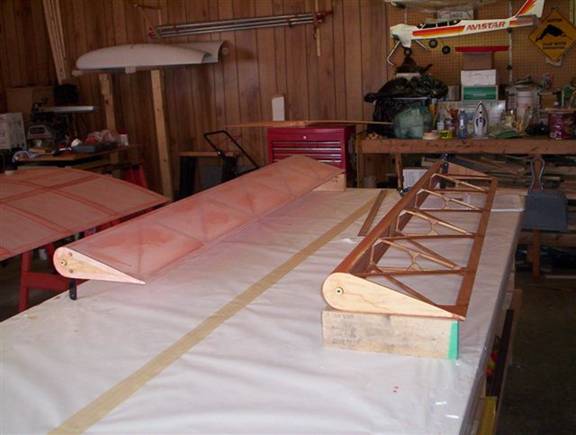
24 Aug. 05
Put anti-chafe tape
on all sharp edges on both ailerons. Pre-coated both ailerons with two coats of
polybrush. Measured and cut the cloth for both ailerons. Covered the right
aileron and shrunk to the proper temp. and put one brushed coat of polybrush.
Covered the left aileron and shrunk to the proper temp. It is ready to have the
brushed coat of polybrush but will wait until tomorrow due to so many bugs.

25 Aug.05
Brushed one
coat of polybrush on the left aileron. Measured and marked both ailerons for
taping, applied the rib stitch reinforcement tape to the ribs. Marked where the
stitches will go and them pre-poked all of the hole in preparation for
stitching. Stitched both ailerons. Each rib was spaced for (4) four stitches.
Pre-coated all of the areas that will be taped in preparation for applying the
tapes.
26 Aug. 05
Taped both
aileron ribs and the length wise tapes
27 Aug. 05
Prep the
fuselage for covering. Layed out the fabric in one big piece, wrapped around the
fuselage and poly-tacked in place. Trimmed off excess, ironed the edges. Shrunk
with the calibrated irons in stages up to the final tempt. Of 350F. Brushed on
one coat of poly-brush to seal the weave.
31 Aug. 05
Marked where all
of the tapes will go on the fuselage. Pre-coated the tape areas. Let dry the
applied all of the tapes. Once dry, applied the second coat of poly-brush to
all of the tapes.
03 Sept. 05
Ironed all of
the pinked edges on the wings and tail surfaces.
04 Sept. 05
Taped and
masked off the fuselage in prep for spraying the poly-brush. Sprayed two
cross-coats of poly-brush through out the day.
05 Sept. 05
Prepped the
wings for poly-brush. Sprayed both wings with one cross-coat of poly-brush.
Once dry, applied another cross-coat on the top surfaces of both wings.
12 Sept. 05
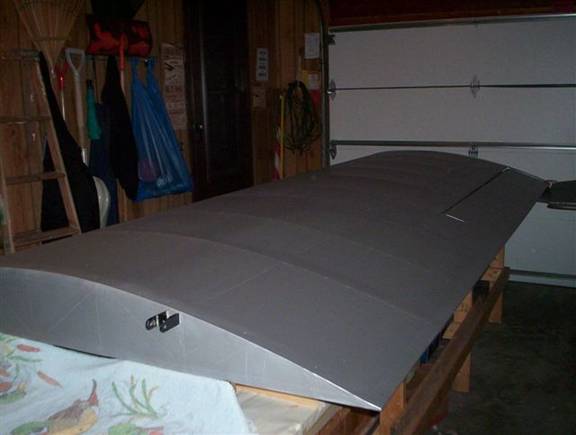
Sprayed the
“Silver” poly-spray on the fuselage. Total of two cross-coats were applied.

Sept. 05
Prepped the wings
and tail surfaces for the application of the poly-spray. Sprayed wings,
ailerons and all of the tail surfaces with one cross-coat of poly-spray. Once
dry, applied another cross-coat to the upper surfaces of the wings and tail
feathers.
21 Jan. 06
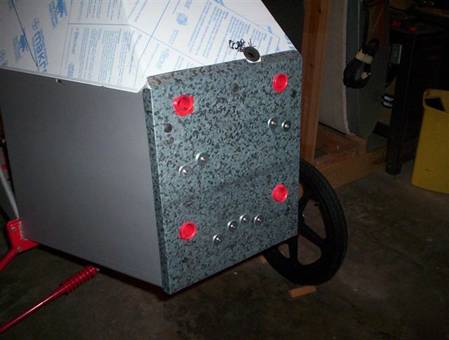
Measured and
marked out the engine fire-wall dimensions on a sheet of 30 gauge galvanized
Steel. Cut it out and took it to the EAA to use their sheet metal brake to form
all the edges with the proper lip. Once this was done, I used (4) four 3/4in.
brass 2 hole clamps to secure the fire-wall to the “V” tubes at station # 1 on
the fuselage.
![]()

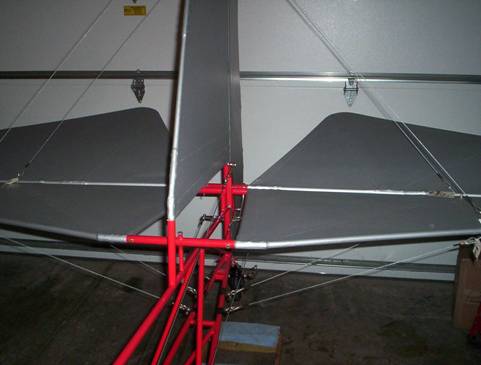
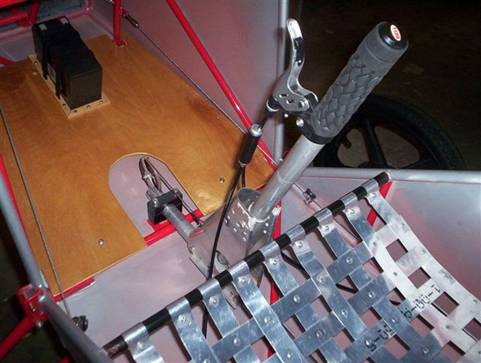
03 Feb. 06
Measured the
required length of elevator control cables. Made a trial fit and once sure of the
length, cut and made the fittings with shackles and turnbuckles. Installed both
cables to the elevator and control stick. Works great!!!
Back
to Airframe Log Index | Back
to Home Page