

Easy Tool Shaded Hair Tutorial
This is how I tend to make the hair on my dolls when I can't be bothered doing anything more time consuming. It's quick, it's easy, it's tool shaded. So if you don't have a graphics program that uses a lighten/darken type tool then sorry this tutorial won't be much use to you.
Important! Nothing on this page must be used as a base for anything. If you wish to use the base I used please visit the base owner's site and take it from there. Thank you
 |
Step 1: Choose your base and prepare it for use. For this tutorial I will be using this base from Lilacblizzard Dollz |
 |
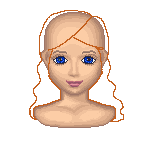
Step 2: Draw the outline of the hair using the paintbrush tool set at 1 pixel width. The colour you use should be a lighter shade than the final colour you want for the hair. Doesn't have to be perfect as this can be altered later. |
 |
Step 3: Fill in the hair using the same colour. Make alterations to the shape of the hair, and add extras such as hair coming over the shoulders if you wish. |
 |
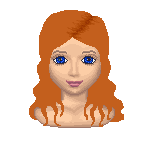
Step 4: Select the darken tool. The settings I used are 1 pixel width and 75% opacity. Closely zigzag this over where the parting in the hair will be. Repeat until dark enough. |
 |
Step 5: Again using the darken tool at the same setting draw the hair. This is done by swishing the tool over the area following the direction hair would go in (see next step for more detail). |
 |
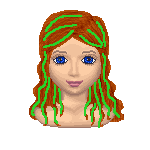
Step 6: The green lines indicate what direction you should be using the darken tool in. It is very important to get this right at the top, but less important at the bottom. Try to follow curves where possible though. |
 |
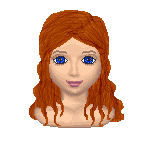
Step 7: Now use the tool to lighten the place wher the light would relect off the hair. These are either side of the head and the outer parts of curves. Darken the parting again if needed. |
 |
Step 8: Similarly darken areas where light would not be reflected, such as the inner parts of curves. This will make the waves or curls look bigger. |
 |
Step 9: Touch up any areas that look too light by using the darken tool and touch up any areas that look too dark by using the lighten tool. |
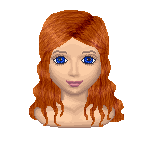
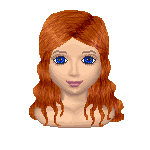
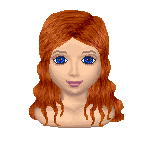
The finished product!
If you decide the colour isn't exactly what you wanted, don't worry. Just alter the hue, saturation, brightness and/or contrast, like I have for these two below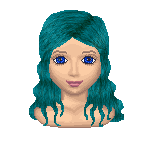
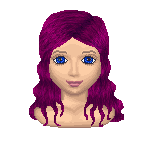
Note: If you want a light haired doll it's best to start with as close to the colour you want as possible. For example if I tried to change this doll into a blonde haired doll the hair would end up slighlty green and grey. It's easier to start with blonde hair, rather than trying to alter it to blonde later.
End of Tutorial
I hope this was of some use to you :)