
First off, I apologize that the pictures are dark. The making of instructions was purely a last minute thing (or I would have done it on a lighter surface), mostly it was done because I had just gotten a new cellphone with a camera. So if you think the pictures stink, that's why. If/when I make another one, I'll try to update this page with better photos.
This is the third one I've made, having made adjustments due to the sticky side of the tape facing inward on previous versions, my pens catching on the edges of the tape in my pocket (that's why the tape goes up and down on this one) and various other things I've encountered in using the ones I made before. I've been using this now for about two months and it works like a charm. It fits nicely in my back pocket or shirt pocket and holds my world. The brown duct tape I think looks ok, though black would probably look nicer, and I might use gaffers tape the next time since sometimes the glue seems to seep out the seams or something. Nothing fatal, but a little annoying.
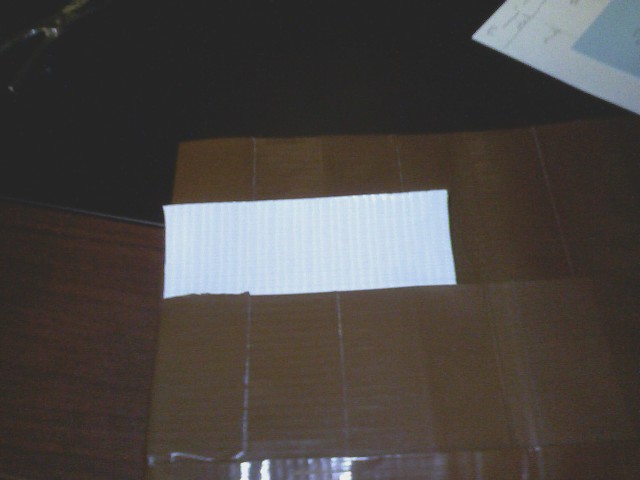
First, we are going to make a piece of duct fabric around 7.5 inches wide.
Take a piece of tape, about 7.5 inches long and put it face up on the table
Then, take another piece of tape (also about 7.5 inches long) and put it face down about halfway up.
Do a flip over and do some more.

Continue, until you have done 9 pieces.
Then, using a guillotine, trim the edges nice and clean.

Trim the other side to make the piece 7 inches wide.

Then, put another strip about 9 inches wide face up.

Continue as before until you have done 9 pieces.

Clean up the edges as before to 7 inches wide and trim the tops and bottoms to 8 inches tall and clean up the first piece too to whatever length it comes to.

Now, take the eight inch piece (using an index card as a guide) and fold it about 5 1/8 - 5 1/4 inches. Outside of that, take the 7 inche pice, lining up one edge of it with the tall end and fold it over the folded edge as shown below.

Trim the folded over part of the 7 inch piece to be about 1 inch. Then lay the
inner (8") piece face down next to the other piece.

Tape the edges together, but don't go past the fold. This way there will be the non-sticky side of the tape will be facing where the cards go. Then put a piece of tape on the other side (don't stick it to your table unless it will release), fold the tape back to the edge and fold the inside piece (the 8" piece) back and stick the tape.

Now take a short (about 2.5 inches) piece of tape and put it down near the fold for the inner pocket. Then fold the new piece back to the edge and put the pocket down on it.

Do the same for the other side of the inner pocket and both sides of the outer pocket. You should now see something like this.
Turn the whole thing pockets side down and put a piece of tape (about 5" or so) over the outer edge.
Fold it over the edge. Do this for both sides. Then turn it pockets up and cut the just applied tape where the pocket tops are.

Then cover the pocket edges with tape. You can do it with a 6 inch piece if you want, but I found it easier to use 2 separate pieces. Do the outer pocket, inner pocket and the back pocket.

Then put in your index cards and enjoy!

