This tutorial is designed to show you how to create a faded or muted background. It is a simple process the uses only Paint Shop Pro 5.01. You do not need any of the special filters you see mentioned throughout the web.Step #1
Step #2
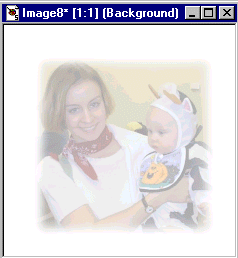
- Select the image you want to use as the background.
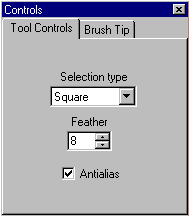
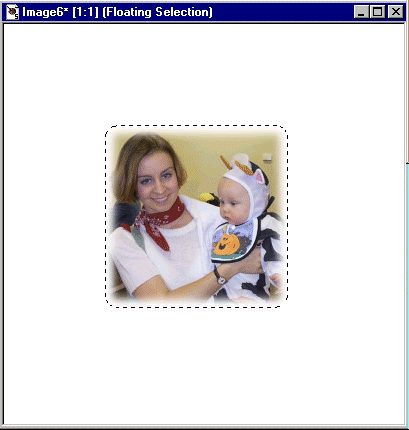
- Now use the Selection Tool choose any tool you want (rectangle, square, circle, ellipse). Set the feather at 8 (to get the fog effect) and besure that antialias is not checked.
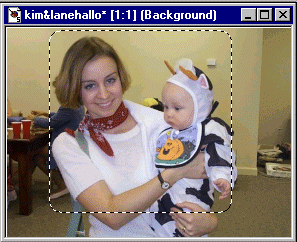
- Now place the cursor inside your image and select the area you want to use as your faded area.
- From the Menu Bar select Edit,Copy.
Step #3
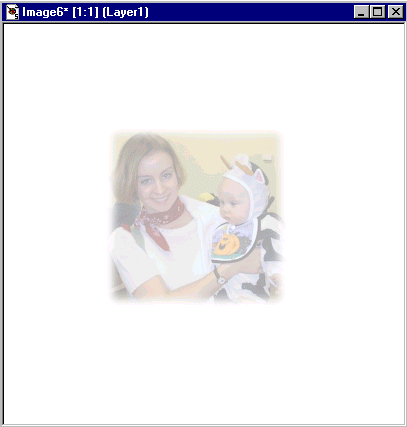
- Open a new Image Window, and set it at 400x400 with a white background or what ever color you wish to use.
- Go to the Layer Palette and open a new layer.
- From the Menu Bar select Edit, Paste, As a New Selection. This will now place the original image that you copy to the clipboard earlier. Center the image in the center of the box.
Now simply save the faded image to your image directory then insert it in the statement of your web page.
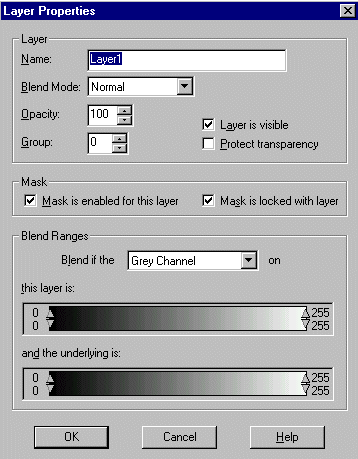
- On the Layer Dialog Box move the slide bar next to the Layer 1 (or what ever you named the new layer) to the left till the image is faded to the shade you desire.
- Again using the Selection Tool choose the square, set the Feather at 0.
- Place the cursor at a point of 75 pixels from the left and 75 pixels down from the top. Drag the cursor down and to the right till you get to 300x300 (lower left corner).
- On the Menu Bar goto Selections, Convert to Seamless Pattern.