ADAM'S HYPERMOTIVE GARAGE
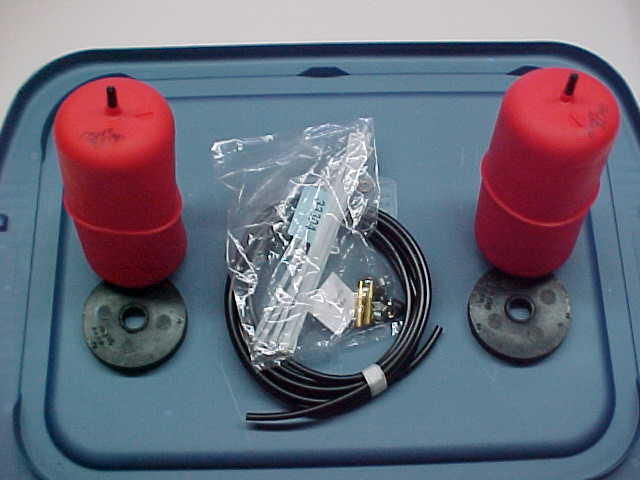
I bought a set of Airlift air bags for my 300ZX. The purpose behind it is to minimize the rear squat under hard launches. As you may or may not know, when a Z31 launches, the rear camber goes full negative due to the single control arm design. This is very bad for traction because the more negative camber, the less contact patch you have. You are basically relying on the outer 1/3 of the tire to provide traction. Case and point, I have 245 width tires on my Z, approximately 10" wide. When I did a dry launch, the marks left were only 4" wide. So I was only using 40% of the contact patch. Not very efficient at all. The air bags, when inflated, basically increase the spring rate of the rear springs by expanding into the coils, preventing them from moving as far under load. I will give you a general step by step how to on installing them into your 300ZX. You will need Airlift part # 60773. These bags were fitted for my SS springs. verify your measurements and contact Airlift technical service to get the proper kit recommendation for your car. I measured my inner diameter and height with the car sitting under its own weight. Basically with the car sitting on its wheels and tires. Pictures are at the bottom of the page.
Step 1: Raise the rear of the car and put it on jackstands. Make sure it's not uneven, or wobbly.
Step 2: Remove the wheel from the hub.
Step 3: Put the jack under the control arm and jack it up enough to just support the control arm.
Step 4: Using 17mm wrenches, remove the lower shock bolt.
Step 5: Let the jack down.
Step 6: Push the control arm down and remove the spring. You may find it helpful to pry the 1/2 shaft out of the diff, just 1" or so. It will give you just enough slack to remove the spring.
Step 7: remove the upper rubber insulator and prepare the airbag for installation. It will go in from the top with the nipple on the airbag, pointing up. I found it helpful to lube the bag with Simple Green, and use a vacuum pump to remove the air form the bag. With a little finagling, it will slide in. Make sure you don't tear the bag during installation.
Step 8: Slide a provided hose clamp over the tubing, push the tubing onto the nipple. Then slide the camp over the hose nipple.
Step 9: Slip the provided spacer through the coils, and thread the tubing through the hole in the spacer.
Step10: Now thread the tubing through the upper rubber insulator and reinstall onto the spring. Make sure the insulator is in the proper orientation.
Step 11: Using a long screw driver, poke it through the hole in the upper spring perch and displace the tape over the inner hole. Using a stiff wire, thread it up through the chassis. it will come out just in front or the rear speaker. Using tape, tape the tubing onto the wire, and pull on the other end of the wire to pull the tubing through. leave yourself plenty of slack, you should only need 4 feet of tubing per side, but just wait till its through to cut it. And plan ahead to figure out where you will locate the filling nipples, and leave enough slack to reach this location.
Step 12: Put the spring back into its perch while pulling the tubing through from the top. Make sure the spring is indexed properly on the bottom seat.
Step 13: Jack up the control arm and re-attach the lower shock bolt. Also make sure you push the 1/2 shaft back into the diff if you pried it out before.
Step 14: Put the wheel back on and torque the lugnuts to spec.
Step 15: Repeat 1-14 on the other side.
Step 16: Lower the car back down to let the springs seat.
Step 17: Locate where you want to put you're inflation nipples. Use a 5/16" drill bit to drill the needed hole. Again, slide a provided clamp over the tubing and push the tubing onto the nipple. Slide the clamp over the nipple and using the supplied hardware, fasten the nipple to the car. Make sure the tubing has enough slack to prevent binding and chaffing on the sheetmetal.
That's it, you're done. I haven't yet played with inflation pressures to determine the best setting. But the more pressure in the air bags, the stiffer it will be. Follow Airlift's instructions for filling the air bags and max inflation pressures.
 |
 |
 |
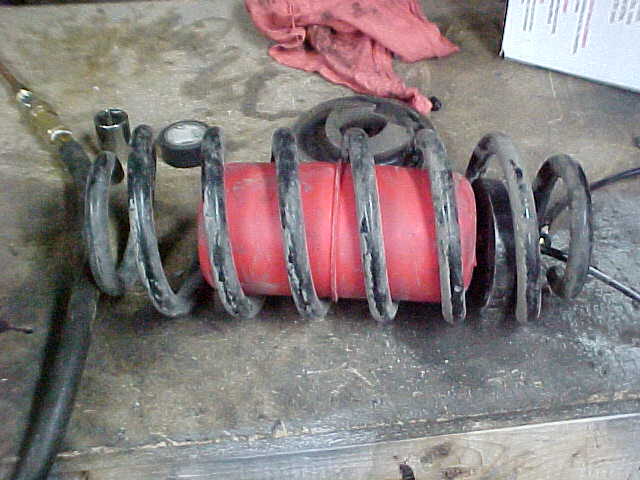
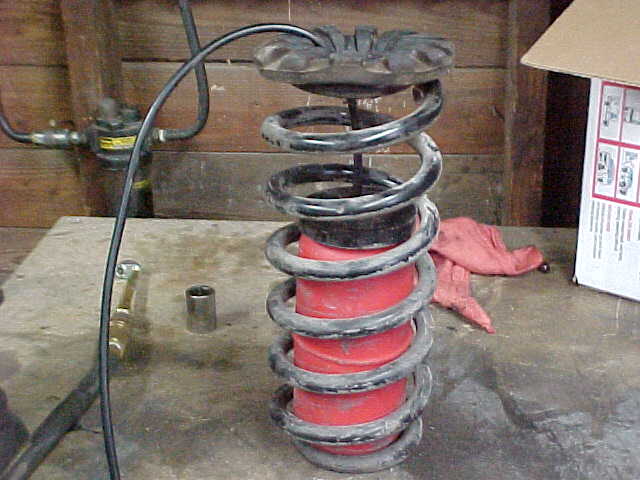
| Air bag in spring | Airbag in spring with tubing attached | Ready to install spring |
 |
 |
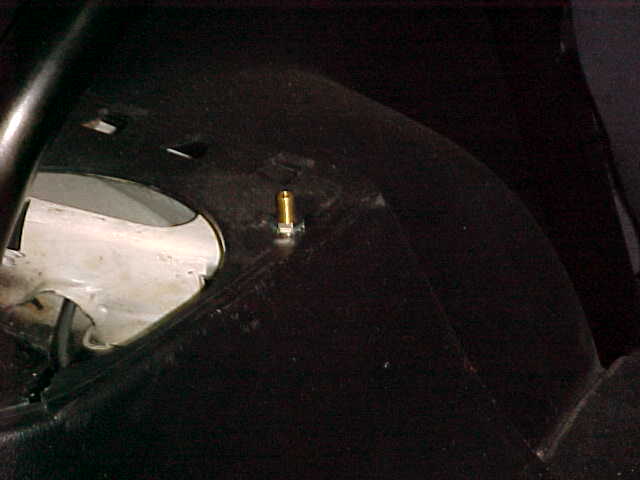 |
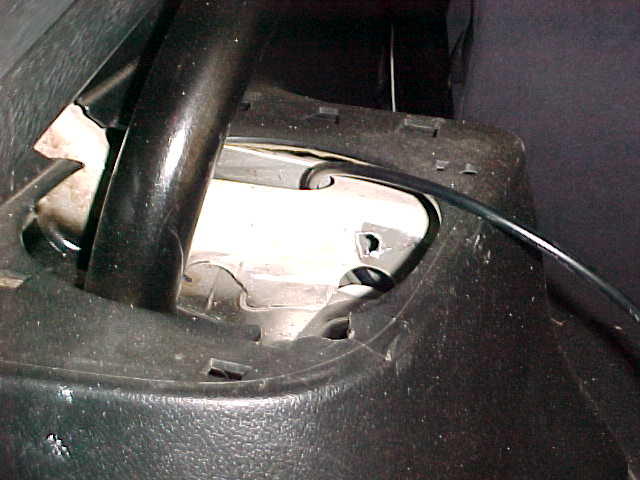
| Spring and air bag installed | Tubing coming through shock tower | Installed inflation nipple |