My Gear
I was surfing the net for ideas on improving my pedalboard when I chanced upon the Tonebone Boneyard pedalboard. The design was the most sensible one I've come across. As it looked relatively easy to make, I decided to try my hand at constructing the board from scratch.
The main materials were the board and the velcro-friendly carpeting. These were easily found on a trip to Ikea. Other materials included the following:
- screws;
- all-purpose contact glue;
- felt floor protector (uncut type);
- blue-tac;
- angled braces
Equipment used:
- electric drill;
- electric saw
Step 1
The first order of business was to cut up the board into the required measurements. The main board is approximately 36" by 16". I then cut up three trapezoid piece as pivots. The final piece was the front edge.
Step 2
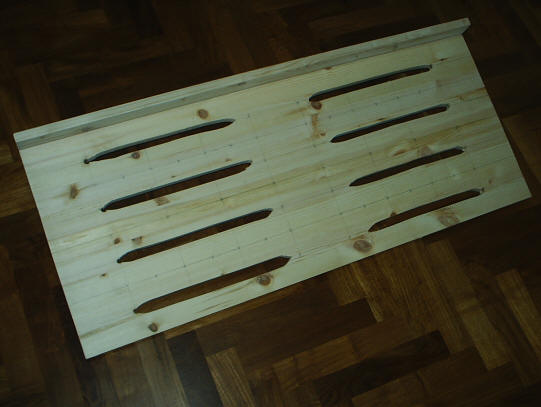
I had originally decided to drill a matrix of holes for patch cords and powercables in the style of the boneyard. But I concluded that a series of slots was more convenient (and easier to cut). If you look at the picture below, you can still see the markings where I had originally wanted to drill the holes.
Step 3
Glueing and screwing the pieces together yielded the following:
Step 4
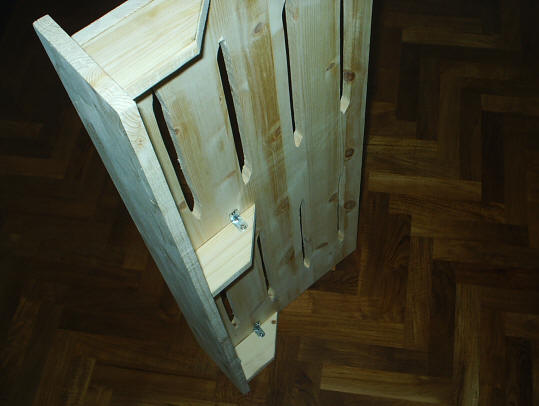
I screwed in the angled braces to further strengthen the joints.
Step 5
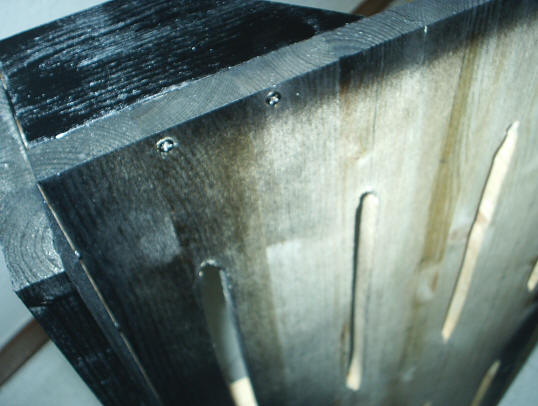
Next was the paintwork...
Step 6
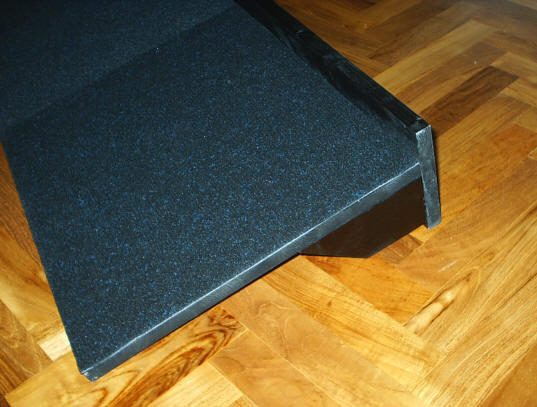
On goes the carpet.
Step 7
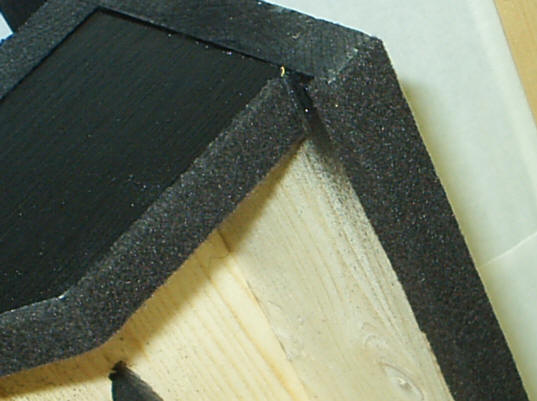
To prevent scratching the floor, I lined the edges with felt floor protectors.
Step 8
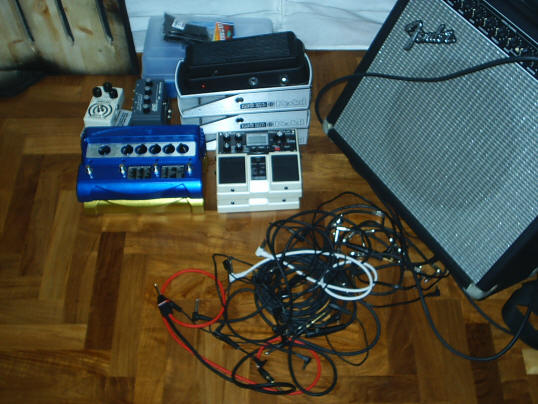
It was a tough process but I finally narrowed down the pedals I wanted on the board.
Step 9
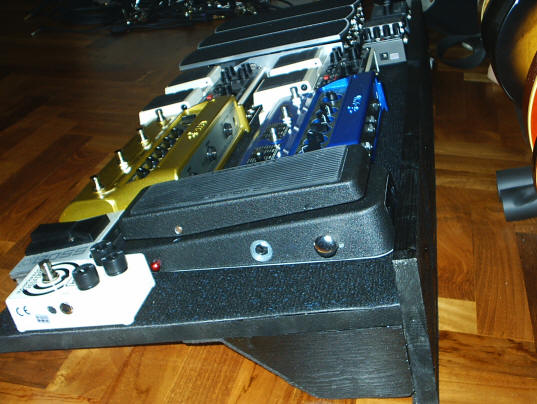
I then lay the pedals out on the board to make sure they will all fit.
Step 10
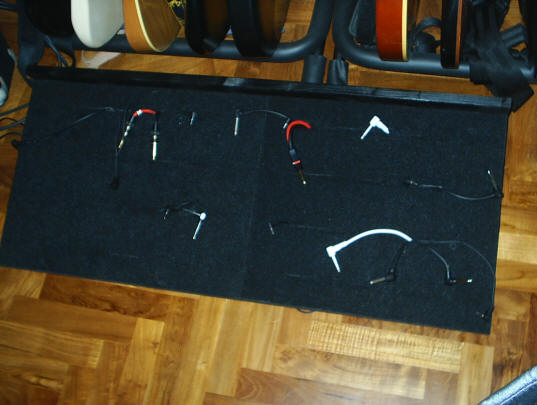
After deciding on the setup, I proceeded to slice up the carpet where the slots are. The patch cords and power cables are then pushed through the slots.
Step 11
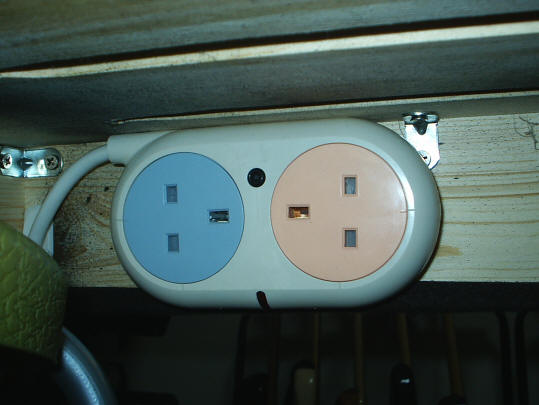
Next up, the power strip is blue-tac'ed onto the underside of the board. At this stage, I plugged in my 1-spot adaptors to make sure that there is enough clearance on the underside of the board.
Step 12
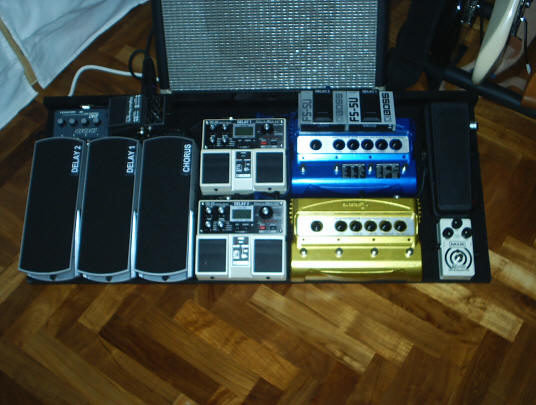
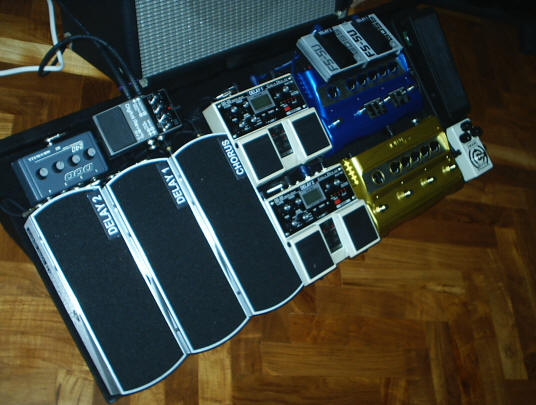
After sticking the velcro strip under all the pedals, it was time to layout and plug in. The final product as follows:
And that's it!
See HERE for the signal chain.