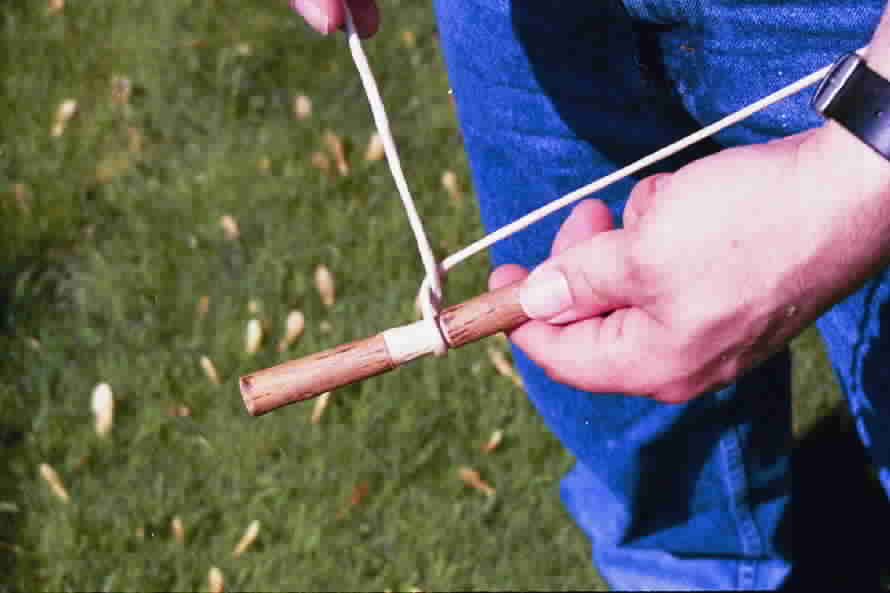
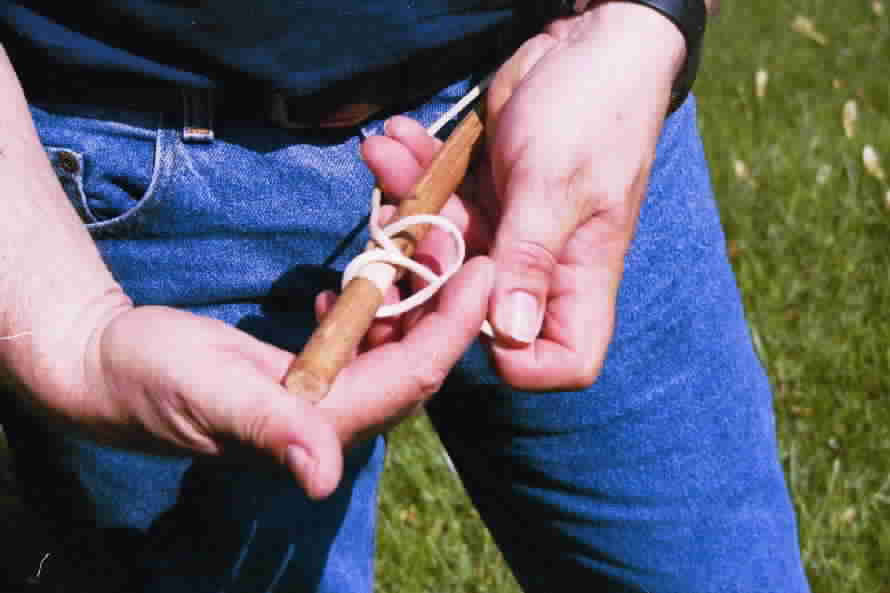
| Why use a clove hitch ? The clove hitch is an adjustable knot. It can be tightened or loosened by pulling the the line on either side of the knot. Since the bowstring needs to be wrapped around the drill at "just" the right amount of tension, it will be neccessary to make frequent adjustments. Pulling the bowsting side of the knot, back and forth, will loosen the string. Pulling the other side of the knot will tighten it. If,when you are drawing the bow, the drill is not turning, you need to stop and tighten the bowstring. The string can also be tightened by manipulating it with your thumb and fingers. This is taught in a later segment. Parachute cord is "slippery". Knowing how to manipulate it is important. |