


Building the Gangway
S/V Synergy
April 27, 2003
Here are pictures showing the custom gangway that was built for Synergy.
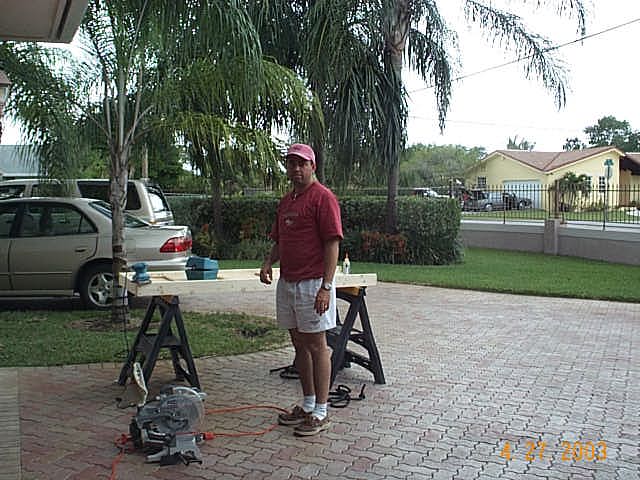
| In the excitement to begin construction, I forgot about the camera until Mariella came outside to take photos. |
|
| Here I was just about to start sanding my masterpiece. The entire project was built without a single plan or directions. |
|
| Rounding of the edges to prevent any injuries when handling the gangway. |
|
| Sanding prior to varnish. |
|
| The plywood used for the gangway was secured to the outer rails by routing a channel in the 2x4's and gluing and screwing the plywood in place. This creates a very strong joint. |
|
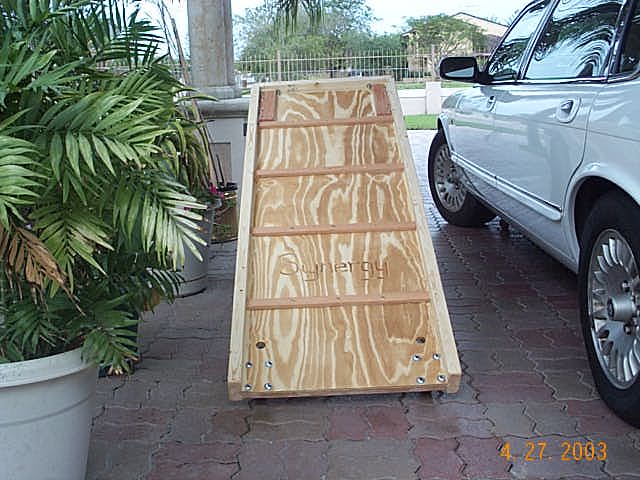
| Full view of the gangway before it was varnished. |
|
| Synergy's name routed into the gangway. |
|
| Close-up view of the stainless steel casters that were installed on the dockside end of the gangway to prevent rubbing when the boat rocks or moves with the tide. |
|
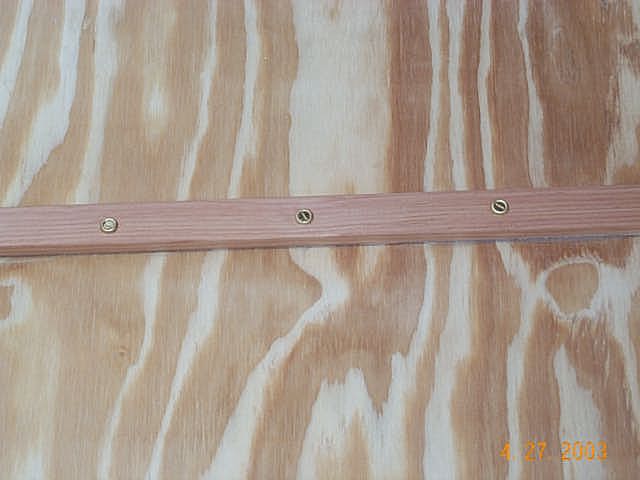
| Detail of the oak step rails with brass screws and finishing washers. |
|
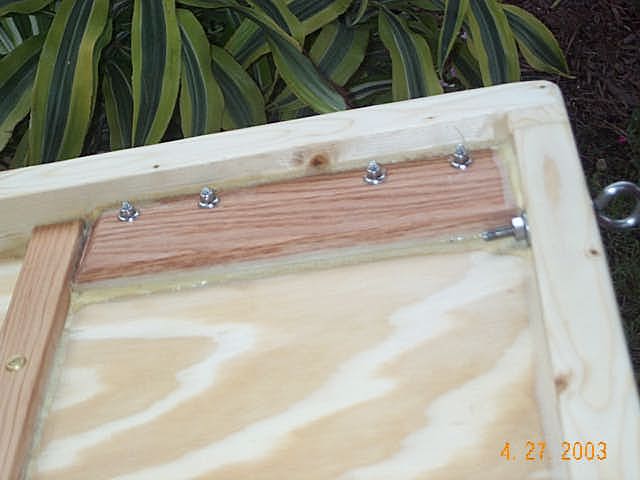
| This is the backing block for the caprail rests depicted in the following pictures. |
|
| Here is a view showing the oak caprail rests that were incorporated in the design. |
|
| Here is a view of the caprail rests extended as they would be when in use. The angles used should allow the gangway to rest securely on the caprails during low and high tides. |
|
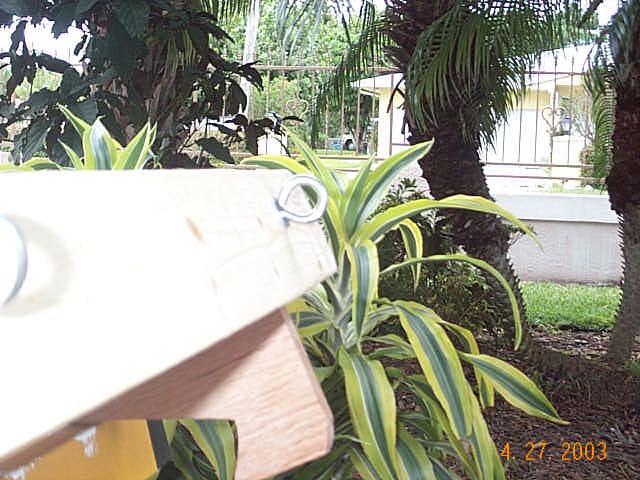
| Here is a picture of the eyebolts which will be used to secure gangway to the boat. |
|
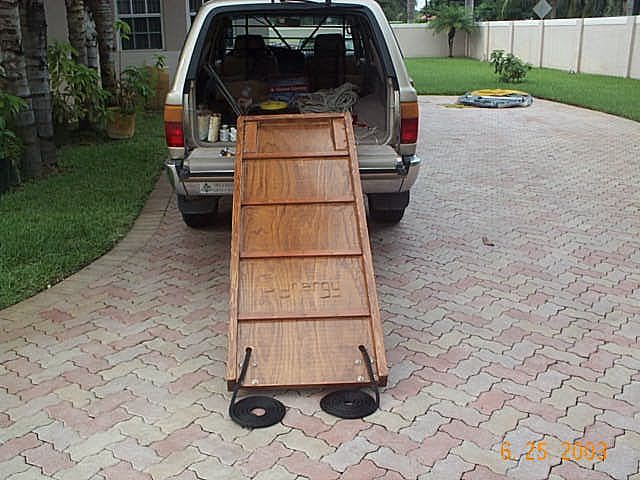
| Lastly, here is the gangway after a couple of months worth of use. I had just picked it up from our old dock in Fort Lauderdale, along with other gear, and decided to take a picture of the final product since none was posted. The old inflatable Avon can be seen in the background. |
|
| This shot shows the rope which is used to secure the end of the gangway when used on unusual dock angles, etc. |
|
| Here is a close-up of the joint used to secure the plywood to the 2x4's. |
|
| I'll post a picture of the gangway in use here. | coming soon!! |