The final touch is to remove the annoying sharp line at the bottom of the clouds, follow me. Pick the Eraser Tool
Clouds Plane Pg. 2
The filter uses the foreground and the background colors for the color of the clouds (white) and
their background (deep blue).
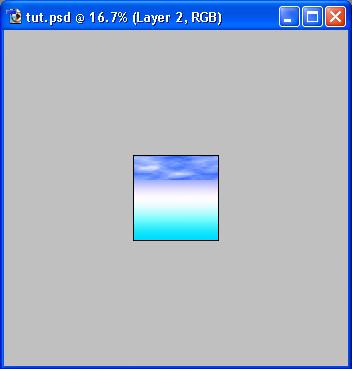
Now, from the Main Menu go to Edit>Transform>Scale, the selected layer (our new clouds) becomes framed,
click the bottom middle square of the frame and drag it up, so the clouds cover only top third of the
document, like this:
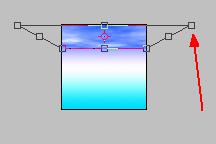
The red arrow points at the square that is used to scale the layer. After you've scaled it as shown, press Enter to apply the scale. Next level is to give the clouds the right perspective. Now, hold the CTRL key and klick the '-' (minus) key to zoom out, until your document window looks much bigger than the document itself, like this:
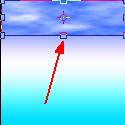
Now, Main Menu>Edit>Transform>Perspective. The clouds layer is framed again. Click the upper right square of the frame and drag it right (out of the document) approximatly half of the document's width:
The arrow points at the square that is used to give perspective to the layer. After you've set
it right, press the Enter key. Return to normal zoom, Main Menu>View>Actual Pixels.
The final touch is to remove the annoying sharp line at the bottom of the clouds, follow me. Pick the
Eraser Tool ![]() , on the upper right
corner of the screen (by default), click the Brushes tab
, on the upper right
corner of the screen (by default), click the Brushes tab
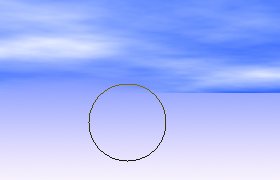
Pick one of the larger, and more blurred brushes for the Eraser, this one should be just fine:
Now, go with the brush's edge over the bottom line of the clouds, and it shoud be perfect.
![]()
![]()