|
||
 |
||
|
by Thomas Since I was interested in having a little variety and a lot of chariots in my goblin army, I decided to scratch build or convert a couple models. This is my first one. Click the images below for a larger version.
Pieces:
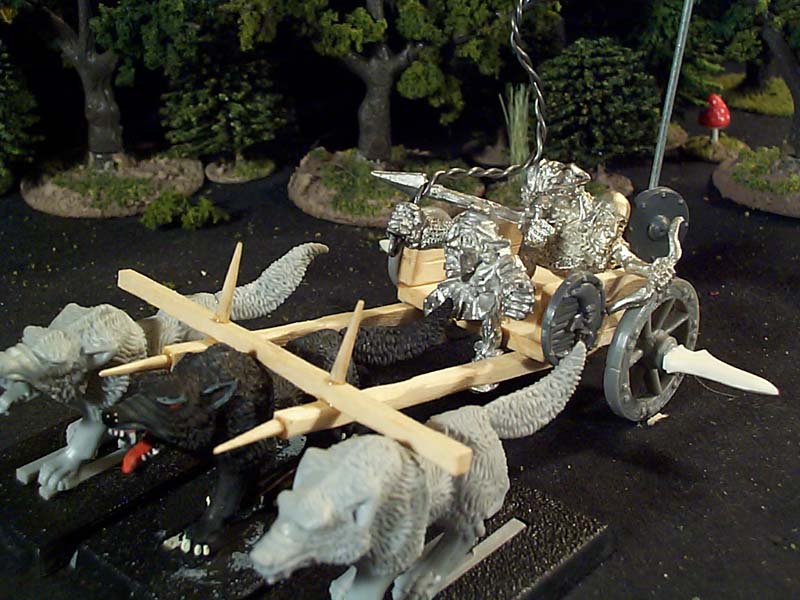
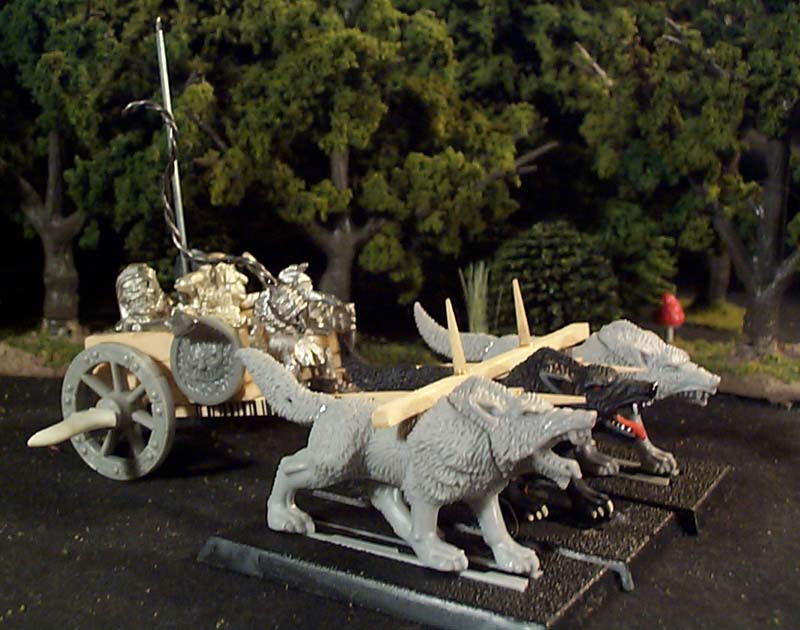
I then arranged the three crew on a piece of basswood to see how big the chassis would need to be, allowing for two side panels. I thien cut the floor and side panels out. Using a hobby knife, I scored them to give the appearance of multiple planks, and chipped at the edges a bit to make them look worn. I then glued the panels to the floor. I measured off the length of the heavier wire for the axel, then glued it and the wheels on to the chassis using two part epoxy. I then added the two wheel scythes (old plastic skaven swords) using plastic cement. The yoke was made by with the 3/32" basswood 'sticks'. These were also chipped at a bit with a hobby knife to make them looked weathered. I added a few tips of toothpicks for a spikey look. I also considered a few other options, like assorted plastic or metal bits from the bin, but wanted to try out the splikey look on the first chariot. (I may still add more.) This assembly was also glued using small amounts of epoxy, then glued to the main chassis. I drilled a hole in the back of the chassis floor, and inserted a wire spear/banner pole, made out of 18 gauge wire. To do this, cut the appropriate length of wire, then flatten the end using flat pliers (no 'teeth'). Then use a pair of snips to cut this into the proper spear-head shape. This was then epoxied into the hole, as well as the side panel. Three shields were glued on as decoraton and extra armour. Two were glued on to the side panels, and one on to the bottom of the banner pole. Two small pieces of 24 gauge wire were added to the back of the last one, so it looks like it is strapped on to the pole. I wanted the driver to have a whip, as well as holding the reigns. I drilled holes in both of his hands. To make the whip, I took two even lengths of 24 gauge wire, and twisted them together. Then I glued this into one of his hands. I added a tiny bit of putty around the bottom of the whip (above and below his hand) to make it look like it has a handle. I then epoxied him into the chariot. (The other two crew will be painted separately.) The last bit to be done will be the reigns, but that will wait until the rest is done and on a perminant base, since I will need to paint the wolves, and glue everything in place first. Here are some pics of the
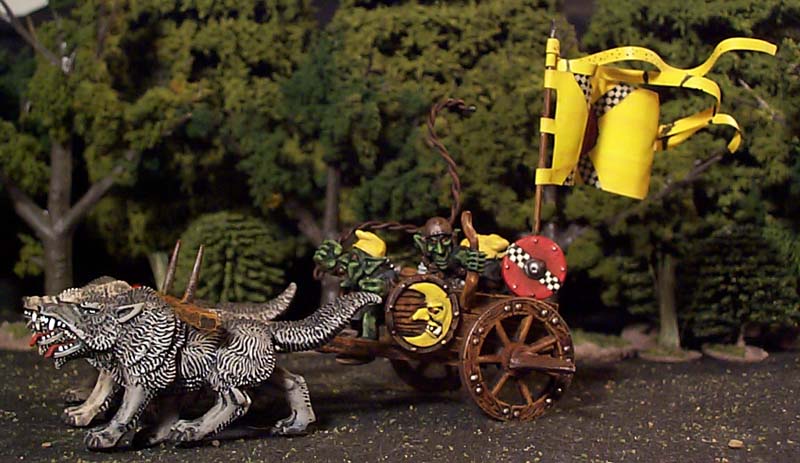
painted model (still minus reigns). Click the pics for larger images.
|
||