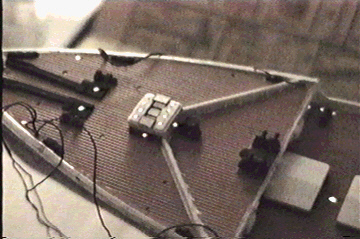
Forecastle Hatch lights
Since I've started this page alot of information has come
in and I've since redisigned this hatch cover.
I used the original part that comes with the kit (G5)
and modified it to be more realistic.
Take the G5 part and bend it in the middle to make somewhat
of an arch so it more closely resembles the curvature of the hatch cover.
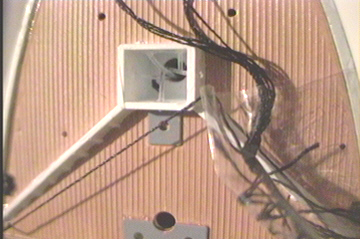
Cut a rectangular hole through the top. I first drilled
3 holes side by side and then shaped
the rectangle using an exacto knife.
Once your rectangle is smooth and precise, cut two tiny
pieces of fiber
and glue them in the rectangle to make the window frames.
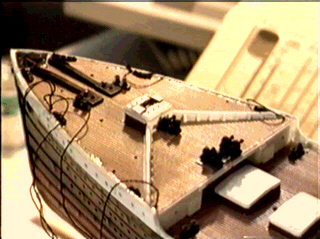
Cut two pieces of plastic as seen in fig. 2 to make the
sliding hatch covers.
Drill 8 holes where you will pass fibers to make the top lights.
Next, paint the new hatch roof and sliding doors Flat
White seperately.
Trim the sliding doors brown on the edges and glue in
place.
On the underside of the hatch glue a small piece wax
paper backing so you can't see through
the window opening.
Cut 8 pieces of FO cable approx. 2 inches long that will
be passed through the center hole in the hatch
where the other fibers pass.
Here's a shot of the finished part.

Where
to get the Fiber Optics ?
Back to Titanic
Fiber Optics
![]() This
page still under construction
This
page still under construction