

This page contains some useful things that can be drawn with a strait edge, compass, and protractor.
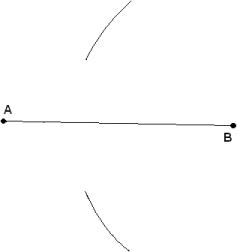
| First draw a line segment you want to bisect. | |
| Take a compass and set its length to be a little bit more than half. Set the needle at one end of the line and draw an arc above an below the line around the middle. In the picture point B was used. | |
| Now without changing the compass's length set the needle to the other point and draw an arc above and below. In this picture point A is the opposite one. | |
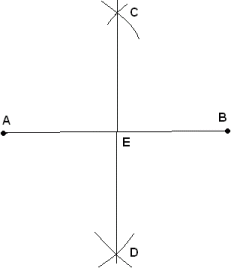
| Draw a line from where the arcs cross to bisect the line. That means that the length from A to E is the same as E to B, and all the angels there are 90°. | |
| First draw the angle you want to bisect. |  |
| Place the compass needle at the angle's base point and draw to arcs intersecting it's lines. |  |
| Set the compass length to be the distance between the two intersections. Place the needle on one intersection and draw an arc around the middle of the angle. In this example point B was used. | 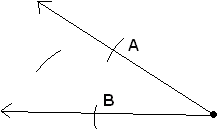 |
| Keeping the compass the same length place the needle on the other intersection and draw an arc around the middle. |  |
| Draw a line from the new interaction to the base point of the angle. The degrees of the new angles are equal. |  |
| First draw a line segment the length of the side of the desired triangle. |  |
| Set the compass size to be the same as the length of the line segment. Place the needle at a point and draw an arc above its middle. In this picture point B was used. |  |
| Without changing the compass's length, set the needle to the opposite point and draw an arc above the middle. |  |
| Draw a line from the each end of the line segment to where the arcs intersect to form an equilateral triangle. That means the lengths from A to B, B to C, and C to A are all the same. | 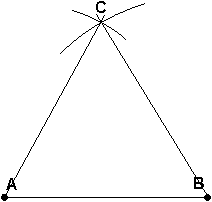 |
| First draw a circle with a compass. | 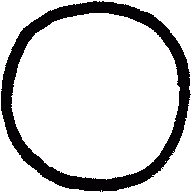 |
| Without changing the compass's length place the needle on a point of the circle and draw an arc on the inside. | 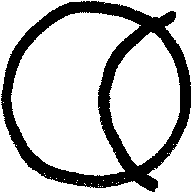 |
| Again while keeping the compass's length the same, place the needle on one of the points where the arc intersects the circle and draw another one. | 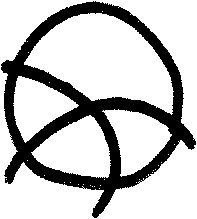 |
| Continue drawing arcs at intersections to finish the rose. Notice that points of the intersections can be used to form a hexagram or hexagon. |  |
| This is how to get all the points of a regular polygon--all the sides are the same length--to be used for any 'gon or star to be drawn from them. Also included is a way to transfer it to a smaller size. Anyways first divide 360 by the number of sides in the polygon. This example will use seven. | 360 / 7 = ~51.5 |
| Now we draw that angle using a protractor. | 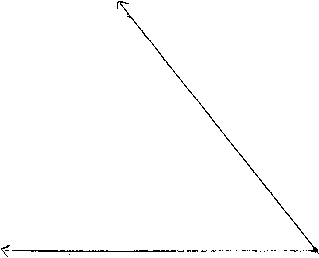 |
| Now draw a circle from the base of the angle to a size of where you want the polygon to fit. If you are going to transfer it to something (smaller) draw the same circle on that object. | 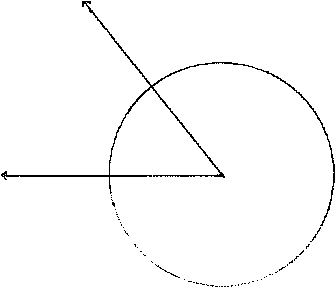 |
| Take the compass and measure the distance from where the angel intersect the circle. Place the needle on the edge and draw an arc intersecting the circle. Since this diagram still has the angel we use one of those points as a base. If this was a transfer it could be anywhere on the circle. |  |
| Now walk the circle using the existing arcs as a base to make new ones. Do this up to the last point, but do not mark it. | 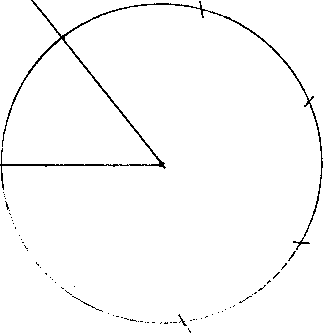 |
| In an ideal world the angels would be perfect but this isn't. Little by little, unknowingly to the drawer, angels have been accumulating due to the thickness of the drawing implement. This is more pronounced the smaller the circle is and the thicker the drawing implement's tip is. So for the last point, just bisect the final angel by arcing as before, but repeat it in the opposite direction from the first point. | 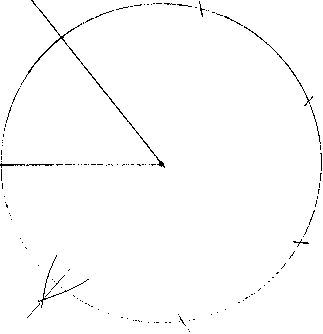 |
| There you have your points. Clean up any marks, connect the dots, and any other stuff. This example reflected every other point giving the polygon for Netzach and the planets. |  |
| Just draw three circles in a row using the Compass Rose technique. Now let me focus certain points. The rest should be easy. | 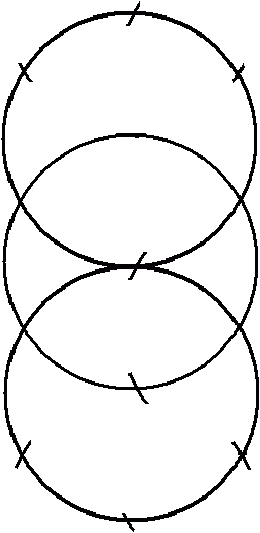 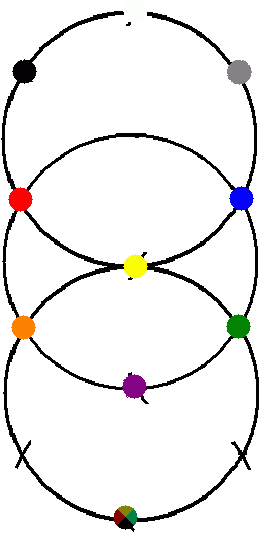 |