Versicles
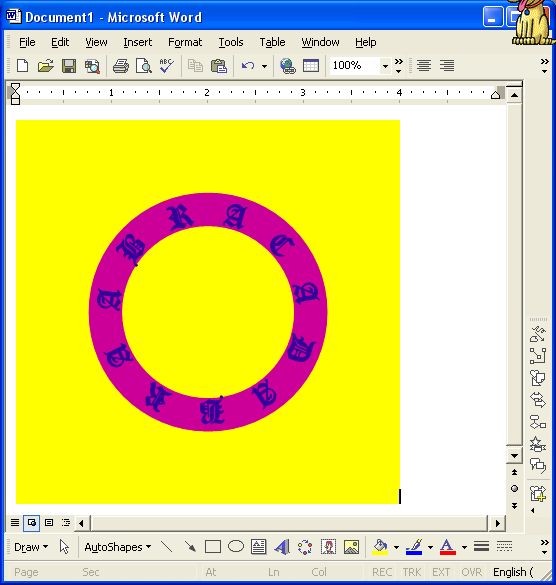
Versicles mean little versuses, and refer to lines and couplets of prayers. It also refers to the words and names written around the edges of talismons. Although it is possible to draw them via a graphics program, for those who don't haven them or want to fidgit they can easily be done in Word or Works.
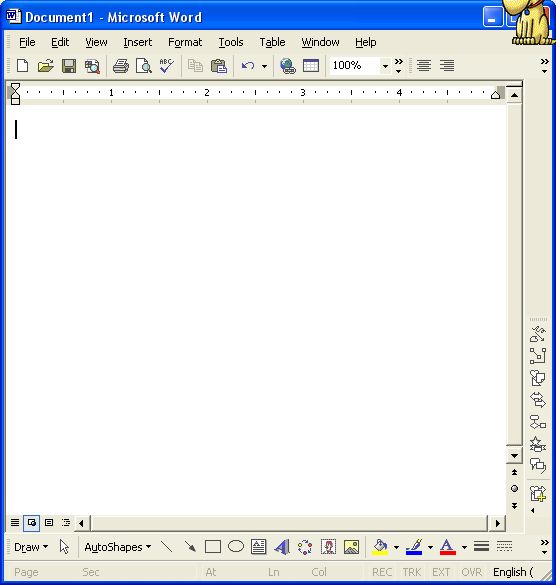
- First open a blank document. Screen Shot
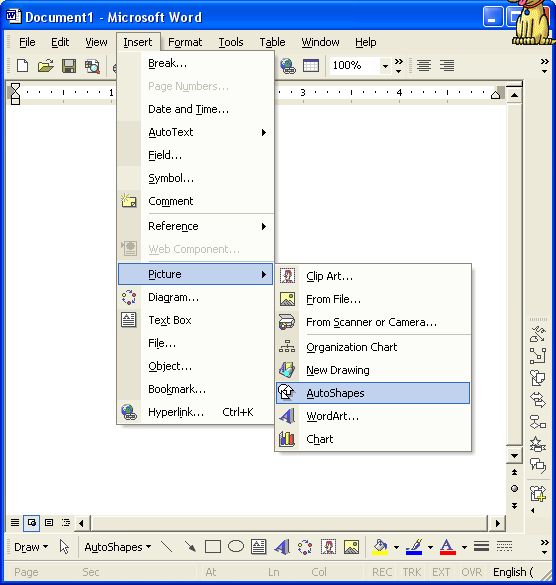
- Now bring up the AutoShape menu by going to Insert -> Picture -> Autoshape. Screen Shot
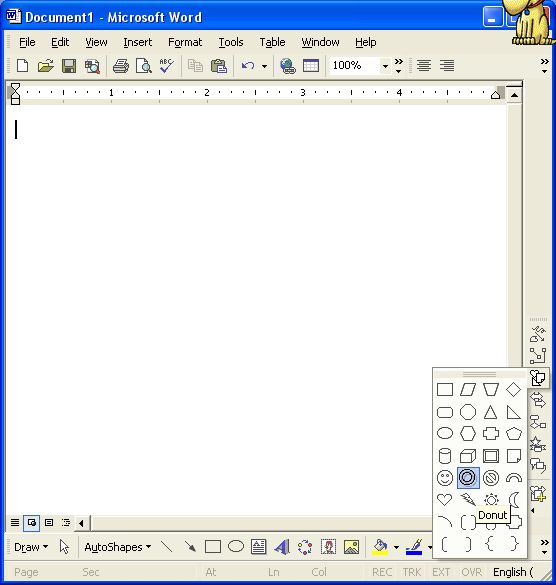
- Click on Basic Shape and select Donut. Screen Shot
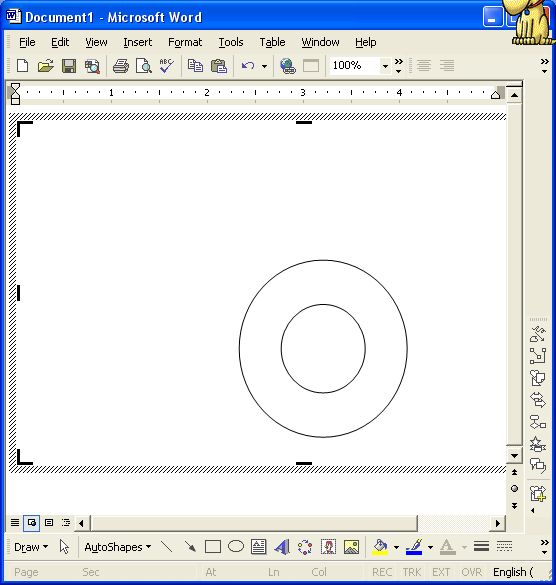
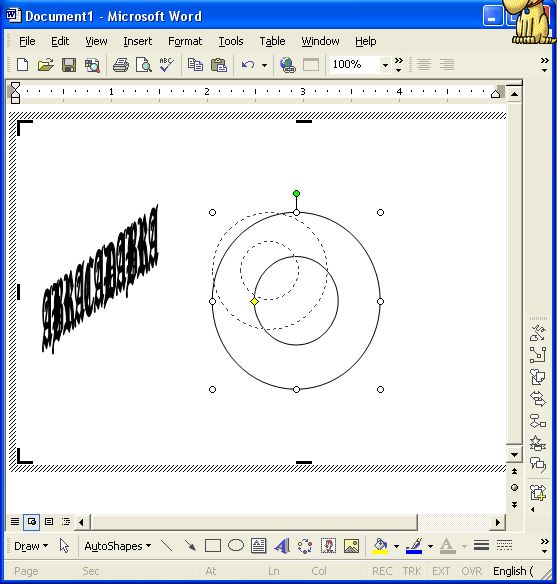
- That box there is the Drawing Object. Drag and drop the mouse to make the donut. Don't worry about the size. Screen Shot
- Now click on the Drawing Object to have it selected. Screen Shot
- Bring up a WordArt by selecting the menus Insert -> Picutre -> WordArt. Screen Shot
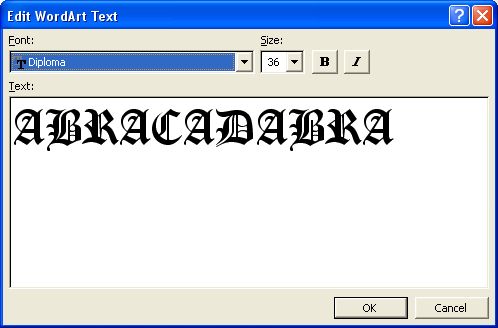
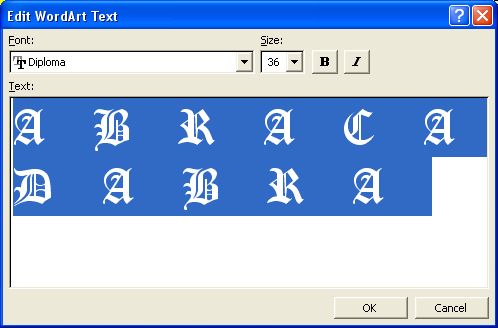
- Depending on the version of Word a window will pop up with choice of styles. Pick any since it'll be changed latter. After that is another window with the text. Now here select the font and type the message. Do not worry about the size yet. Screen Shot
- Next select the WordArt and AutoShape and shrink them down by dragging and dropping the hinges. Screen Shot
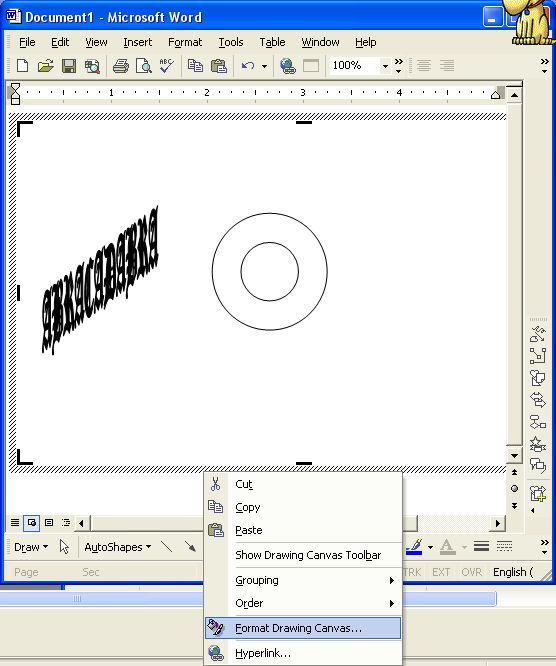
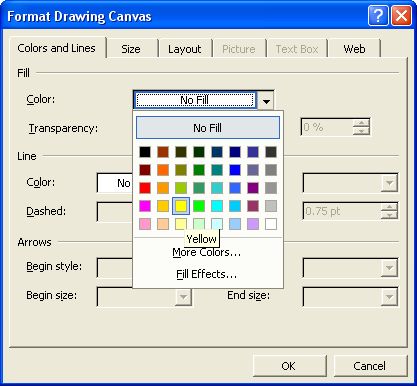
- After that select the DrawingBox. Right click on it and select Format Drawing Canvas.Screen Shot
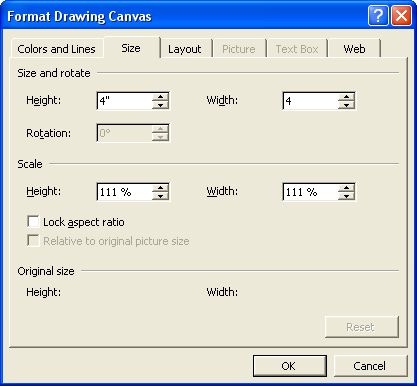
- On the new window change the settings as desired. In this case its let's make it a sqaure since it'll make the math easier. (Uncheck Lock Aspect Ratio to avoid it adjusting the size for you.) Screen Shot
- While here adjust the color to the background of the main part of the talismon. Screen Shot
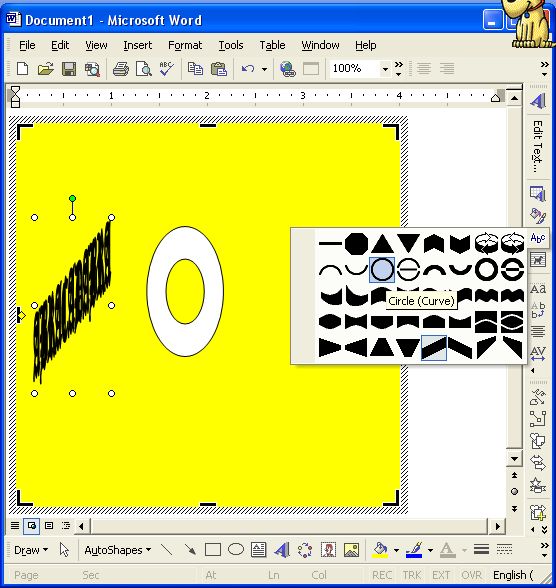
- Select the WordArt. Click on WordArt Shape and select Circle Curve. Screen Shot
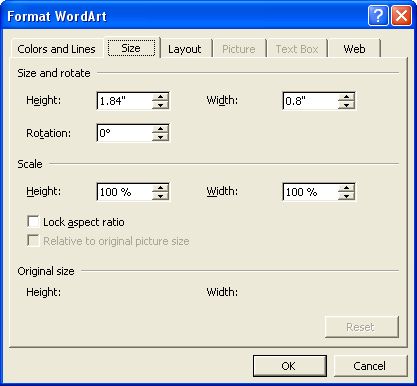
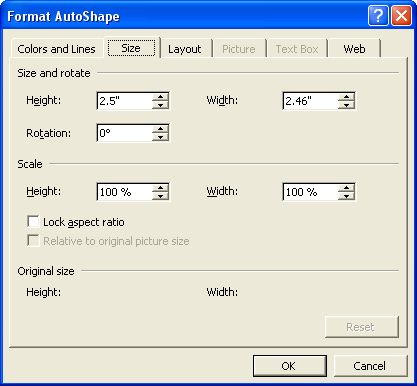
- Right click on the WordArt properites and set the size to be a square to get a nice circle. Uncheck Lock Aspect Ratio if needed. Make sure the WordArt is smaller than the Drawing Box. Screen Shot
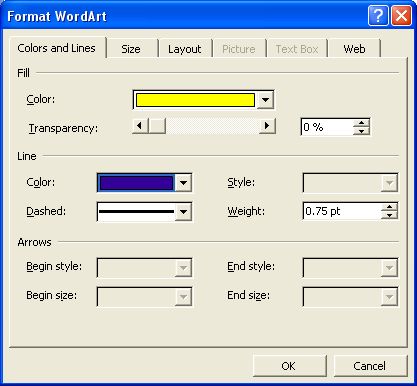
- After that set the color scheme. Line refers to the outline of the letters, which I find useful for tri-color schems. Screen Shot
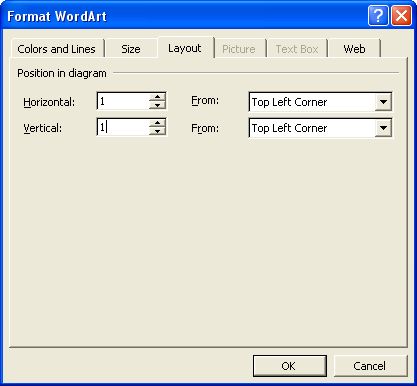
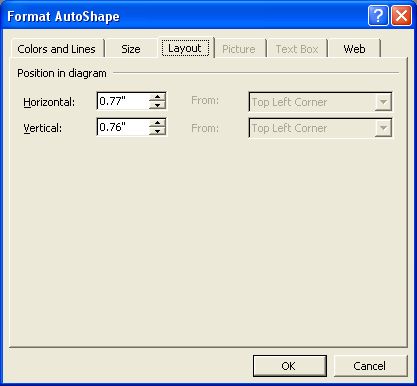
- Finally set the layout. It's best to place the WordArt right in the middle. However Word uses the upper left corner as the point to represent the whole object. In our example the DrawingBox was 4" and the WordArt 2". So the middle of the box is 4/2=2, and half of the WordArt is 2/2=1. So we move the WordArt by that much getting 2-1=1. Screen Shot
- Now we repeat all that with the Donut. The only real comment is that it's best to set the "Line" color to be the same as the Drawing Box to ease the transfering to other programs. Screen Shot
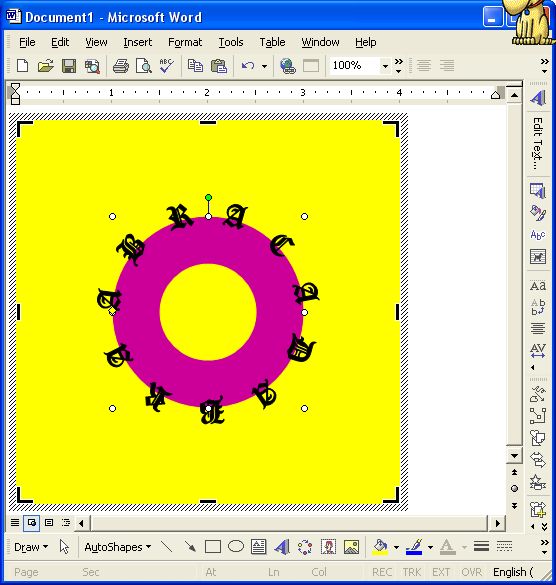
- OK looking at the stuff we see that it does not line up, and that the letters are too big. To make the letters smaller double click on the WordArt and add spaces between the letters. (Don't forget the last letter too.) Screen Shot
- The more spaces the smaller the letters will be. Of course keep the number of spaces to same if you want even distribution. Screen Shot
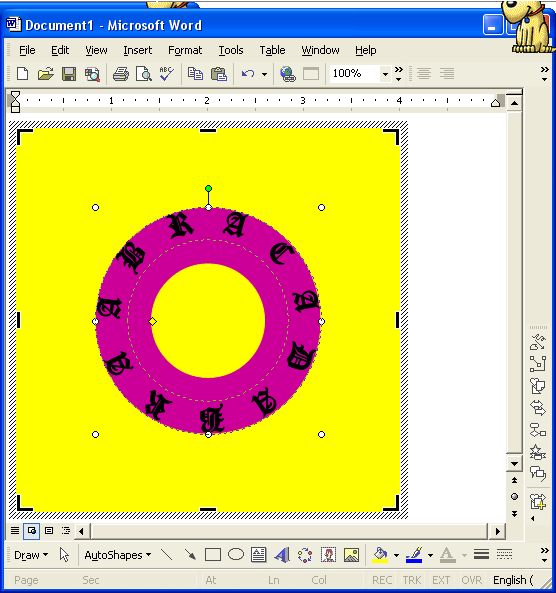
- To resize the Donut just drag and drop the corner handles. Hold down the Shift key when doing so to keep it a circle. When the outer circle is set, drag and drop the yellow handle to set the inner circle. Don't worry if it's a bit off. Screen Shot
- Go back to the properties of the AutoShape and adjust accordingly. First set it back to a true circle if needed. Screen Shot
- Then we recenter it. This time the donut is 2.5, so the offset is 2.5/2=1.25. The Drawing Box is still 4x4 so the 2-1.25 = .75. Screen Shot
- Now all that left is to adjust color if needed and transfer. To transfer it just press PrntScrn to get a screen shot--press Alt+PrntScrn just to get the window. Then paste is in your favorite graphics program. Screen Shot
Home
Last updated on 03-Feb-2006 12:28 PM