
| How I converted my rear indicators |
|
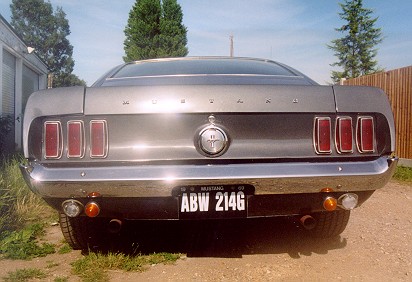
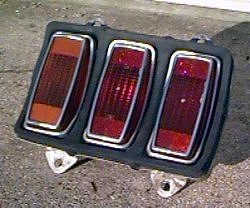
 This is how the car looked when I bought it. The rear lights were combined tail-light, brake-light and indicator, which is standard but not strictly legal in the UK!. |
 At first I had little Mini indicators fitted under the bumper. |
 Close-up view. Then I decided I would prefer the indicators to be higher up... |
 ...So first, I bought these second-hand lenses via a contact on the "Vintage Mustang Forum" and cleaned them up... |
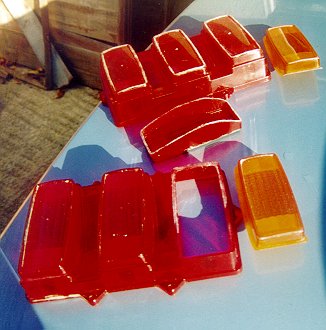 ...then I set about cutting one lens off each set with a hacksaw blade. Here you can see the amber lenses that I had bought from a fellow MOCGB member (who made them himself). |
 I glued the amber lens in place with Araldite. |
 The metal bezels are stuck on with silicone RTV sealant. |
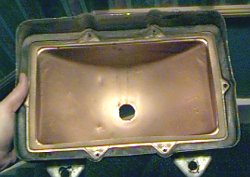 For some reason the tail light buckets had been sprayed gold inside... |
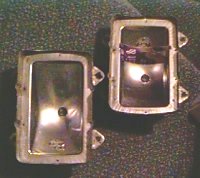 ...so I resprayed them silver. |
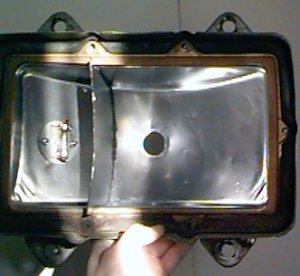 I bolted on the indicator mounting plates (from the Mini units I had fitted before), and fabricated an aluminium divider. This is stuck in place with more RTV sealant. |
 Here I was about to test the first set of lights. |
 The completed left-hand assembly. Note the new rubber seal. |
 It fits! and it looks pretty good, I think. |
 The right-hand components, ready to assemble... |
 ...right-hand side successfully assembled. |
 Testing in progress. |
 The finished article. |
 Night-time view of hazard lights. |