Duct Tape Wallet Construction
Here are step-by-step, illistrated instructions on making a tri-fold wallet from duct tape. Click on the pictures for larger versions.
You will need:
* Duct tape, one roll can make a about 4 wallets...I don't know how many feet/yards/meters that is.
* A knife: any sharp cutting tool will work, I use a pretty standard Swiss army knife.
* A cutting surface: Be sure you don't just do this on a table, it will get cut up.
* A ruler or straight edge, preferably a metal one, so you can cut along it.
You might want:
- Another wallet: Sometimes it helps too look at another wallet and to base yours on it, but you can also just make it from the pics I have here...so not needed.
- Scissors: not nessacary, but helpful...I just use the scissors on my pocket knife.
- Clear packing tape, to make a cover for the ID holder, but it works just as well without this.
Step One:
Make a sheet of duct tape large enough to make the wallet. For example, an 8 1/2" by 4 3/4" wallet like this guide shows requires at least a sheet 8 1/2" by 9 1/2" will be required, but it's best to always leave an inch or more on each side that you can cut off. This guide shows a sheet approximentally 12" by 10", which is plenty.
Start by laying a sheet of duct tape that is as long as you want the longest side of your sheet, in this case one foot. Place it sticky side UP on the table.
Then put a piece of duct tape the same lengh as the first one on top of the first one, face down so taht it runs parallel to the first peice and overlaps half of it. Do this with another piece of tape, also going face down so that it overlaps the first peice and a little bit of the second, then flip it over. It should look like this.

Continue this routine until you have a sheet of the desired size, then fold the ends of the last peices of duct tape over to finished the edges. You can cut off the rough edges on the sides, so it looks like the picture on the right.


Step Two:
Fold the sheet in half and cut it to the size that you want. Depending on how large your sheet is, you can use the excess for something else, like the ID holder.
Fold the sheet in half, being sure to crease it well. Tape up the two short sides, this will form the main pocket of the wallet.

Then fold it into thirds, crease it HARD. You may even want to set it under as stack of books for a while to make sure they're creased.
Here's the wallet after it's been set under a stack of paper for a few hours.


Step Three:
Now it's time to make the things that go onto the wallet, like the pockets and card holders. Make another sheet of duct tape like you did in step one, but smaller. 1 foot by 5" should be plenty.

It's really up to you to decide what types of pockets and how many to put on your wallet, I'll show a couple different types as examples here.
It's a good idea to use a credit card-sized card, like the ones you'll be using to do the measuring for the pockets. Cut a piece of the duct tape sheet that isa little wider than one of the cards (going the long way) and a little less than twice as high (the short way.) Fold this so that it's almost in half, but one side is a little shorter than the other, and tape the two side ends. It should look like this:

Next attach the pocket to one of the sides of the wallet using pieces of duct tape. You can wrap the tape around the edge but be careful not to tape closed the opening of your wallet's main pocket.

You can make verticaly oriented pockets, as well. Use the same method as the other types, but different measurements. Remember, just use one of the cars you'll be insetering into the pocket to get the right size.

And attach it the same way:

Step Four:
The trickiest part of making a wallet is the photo ID holder, this is optional, of course, you can just add a third section of pockets, but it's nice to have an ID holder. This will probably take you a little while and maybe a few tries to get it right, but it's really cool.
Take a sheet of duct tape (like is step 1) that is either just as wide and twice as long, or just as long and twice as thick as your ID card, depending on which side you want to slide it in and out. I chose the former in this example.
Fold the sheet in half, exactly.
Place your card on one half of the sheet and use the knife to make marks on the duct tape for the outline of where you want the whole. This should be far enough in from the sides of your card to hold it securly in place, but not too far as to cover up any of the information.
Cut away a this whole and fold the sheet in half, taping two of the sides. Now slide your card in the open end and test to see if it fits and that the whole is the right size, if not, cut some more away or start again...this might take a few tries to get it right...that's just the way it is.
Attach the ID holder the same way you attached the pockets.
Finished Wallet:
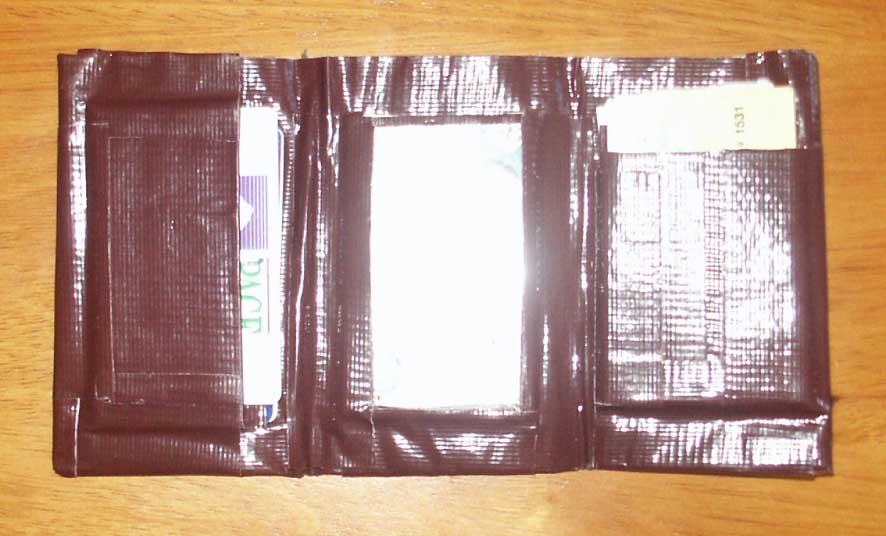
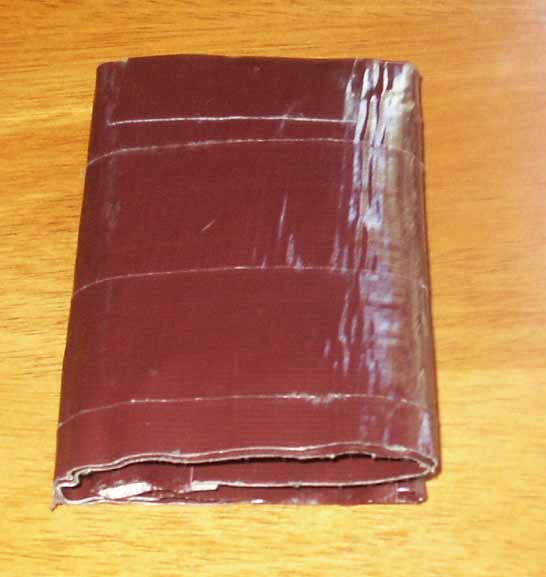
Congradulations! You've made a genuine tri-fold duct tape wallet!
Here's what mine looked like, but everyone's will be different.