Construction
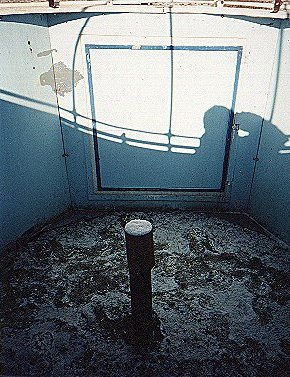
Figure 2: A view of the inside (original state)
The first step was to dissemble the original base, so that I could transport it back to the site. The base consisted of six 4' x 4' pieces of ¼ plywood that was bolted to a steel frame. It would had been an easy to dissemble this had the bolts not been rusted tight. I managed to get it to the site, and when I reassembled it, I used stainless steel bolts, so that if I ever had to do this again, the job would be much easier.
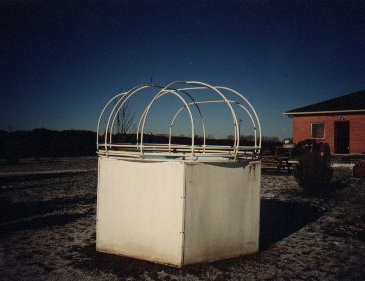
Figure 3: Observatory without tarp covering.
The next issue was to deal with the dome. The original one was made of canvas stretched over a structure made of ¾" PVC pipe (see figure 3 above). The canvas had rotted in several places, but there was enough left to use as a pattern for a new dome, and to provide clues on how to assemble the dozens of PVC pipe I received in a box. I took a trip to the local Canadian Tire store and purchased several sheets of blue tarpaulin. I then traced out the patterns, had a friend's mother sew it up for me and presto, I had a new dome.
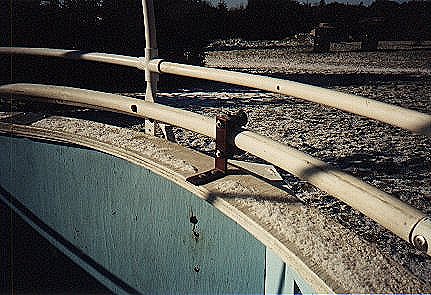
Figure 3B: Roller Details
Unfortunately, I took possession of the observatory in December, which meant I was limited as to what I could do to it at that time. As you can see in figure 4, I didn't even get to level it.
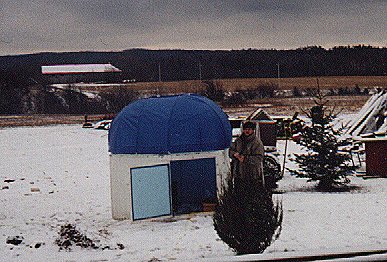
Figure 4: The state of the observatory just after making the new covering.
This spring, I had some time to finish it off. The first thing I did was put in a floor. This was needed because the ground was muddy for about a month after the snow melted, rendering the place useless. It consisted of a pressure treated wood base with a ½" plywood floor.
The next problem was to replace the door. The hinges were rusted out, and the wind was not very forgiving. It also wasn't very secure. I fabricated a new door and then gave the whole building a new paint job (see figure 5 below).
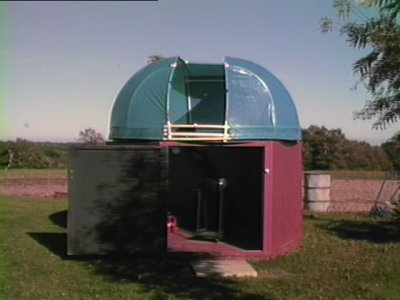
Figure 5: Open view
In the inside, I added a map holder, which also serves as an eyepiece holder among other things (see figures 6 & 7 below). I also added various shelves and things to keep stuff off the floor.
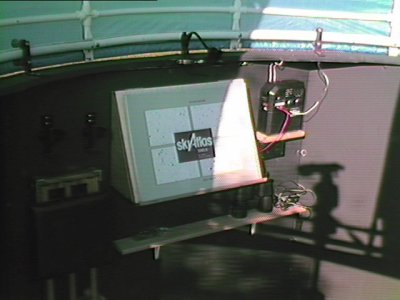
Figure 6:Inside of Observatory showing map holder and 12Vdc power supply
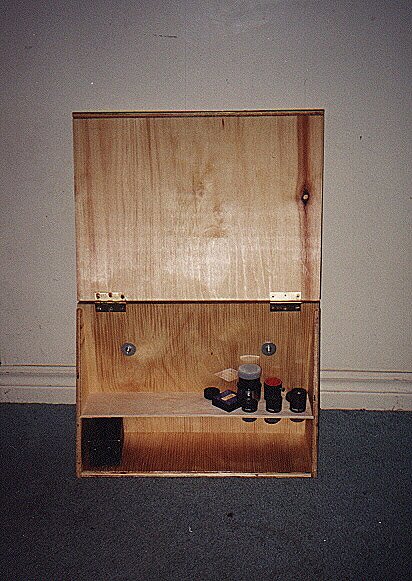
Figure 7:Inside of map holder reveals a storage place for eyepieces etc.
As a nice touch, I place a sundial on the south facing wall (see figures 8 & 9)
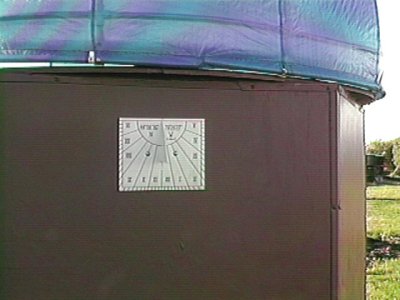
Figure 8:South Wall with Sundial

Figure 9:Close up of South Facing Sundial
Instruments
I used to have an 8" - f/7.5 dobsonian as my main scope, but that has now been replaced with a 8" SCT. I also have a barn-door drive that I use for taking photos of the night sky. All my instruments (& lighting) are powered by a 12 V power supply (seen in figure 6 above), which means that I can easily relocate the entire observatory without worrying about a 110 Vac supply. For the little power I use, it works quite wellLessons Learned:
More Room:
You can never have enough room. In our township, we are limited to 100 square feet before we need a building permit. The area of the observatory is only 41.5 square feet, so I have a lot of room for expansion. When I used the 8"-f/7.5 scope, there was no room to pass between the scope and the wall. Another two feet on the periphery would have helped. This is the main reason that I went to a SCT telescope
Wind-shield:
In retrospect, I am glad this is a dome as opposed to a roll-off roof type observatory. The wind can be quite severe here and of course the winters can be cold with temperatures a low as -25 C. The dome provides a good windshield (unless the wind is coming from where you want to look).Future Directions