 |
| An early picture of my bucket, under construction and nearing completion. |
|
| ARMOR and MODIFICATIONS |
 |
 |
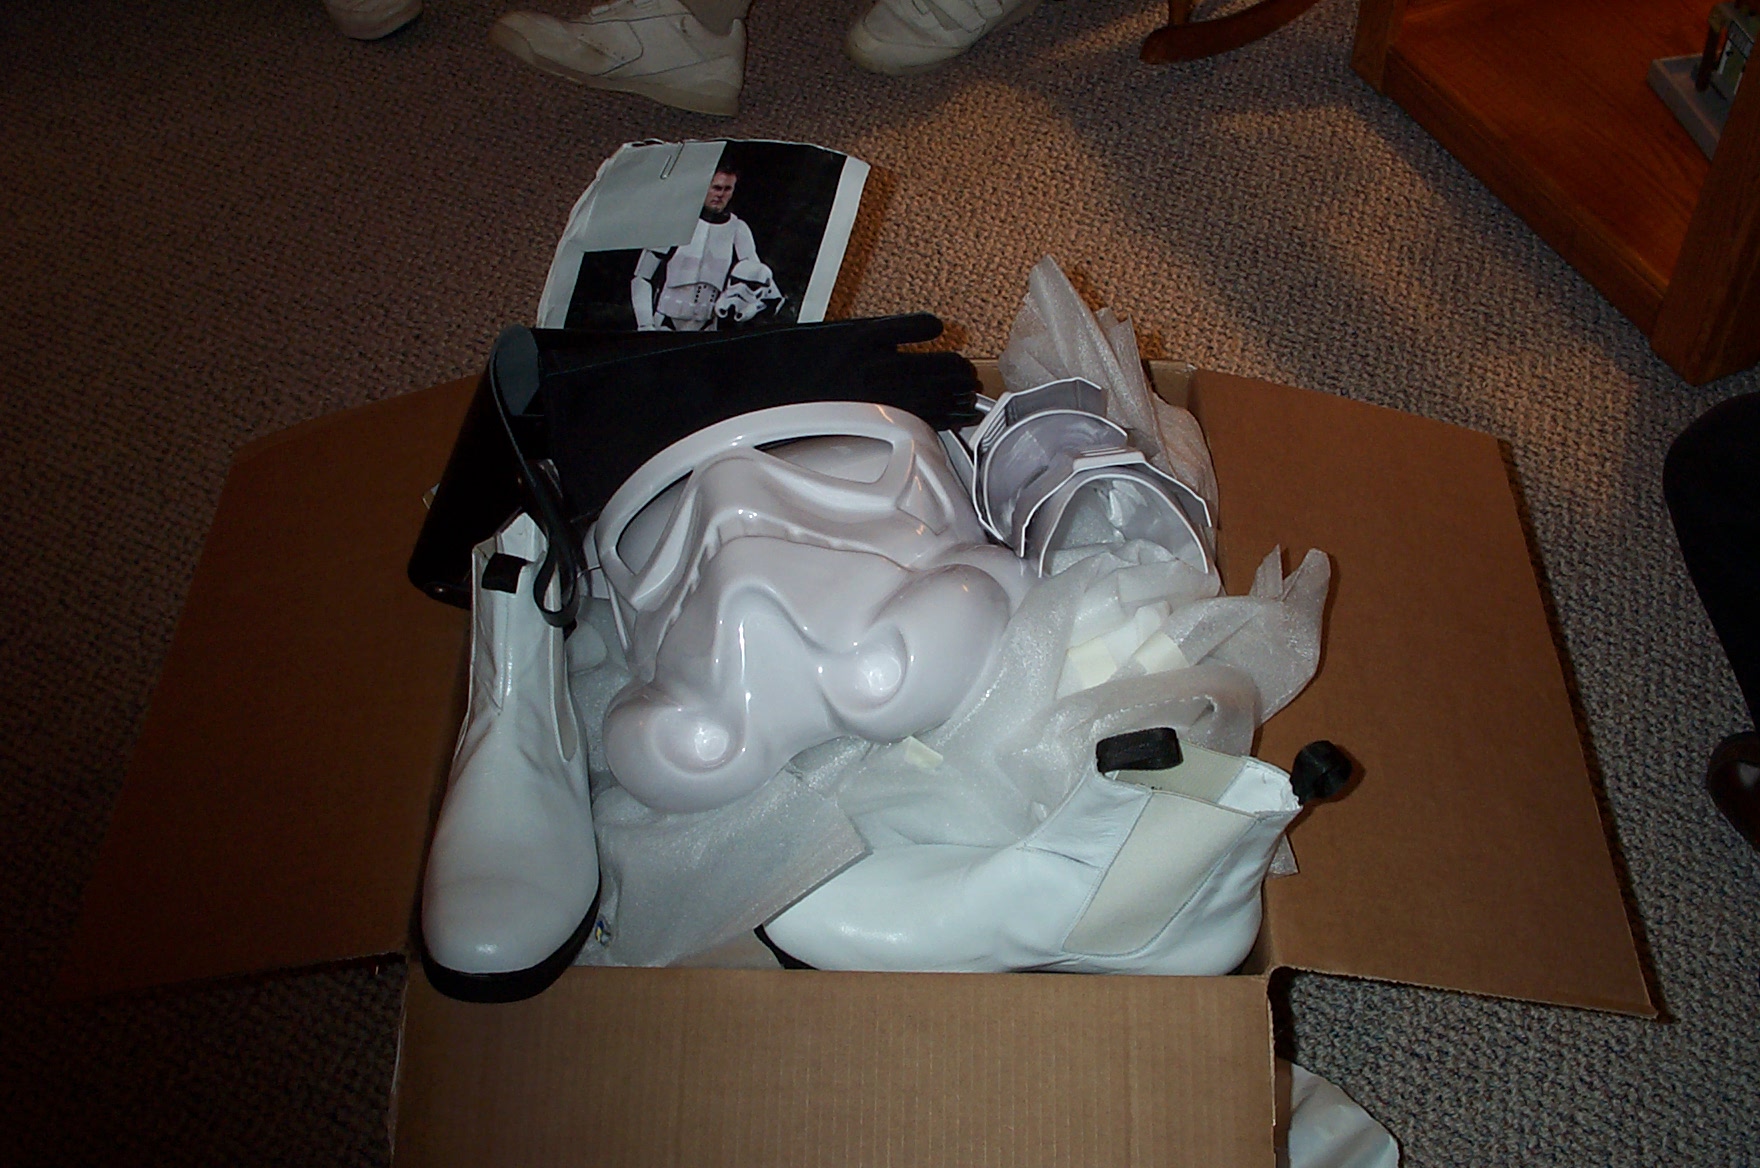
| When the armor arrived, I must admit, I was a little overwhelmed, but I knew I could do it....I just had so many ideas for modifications running through my head! |
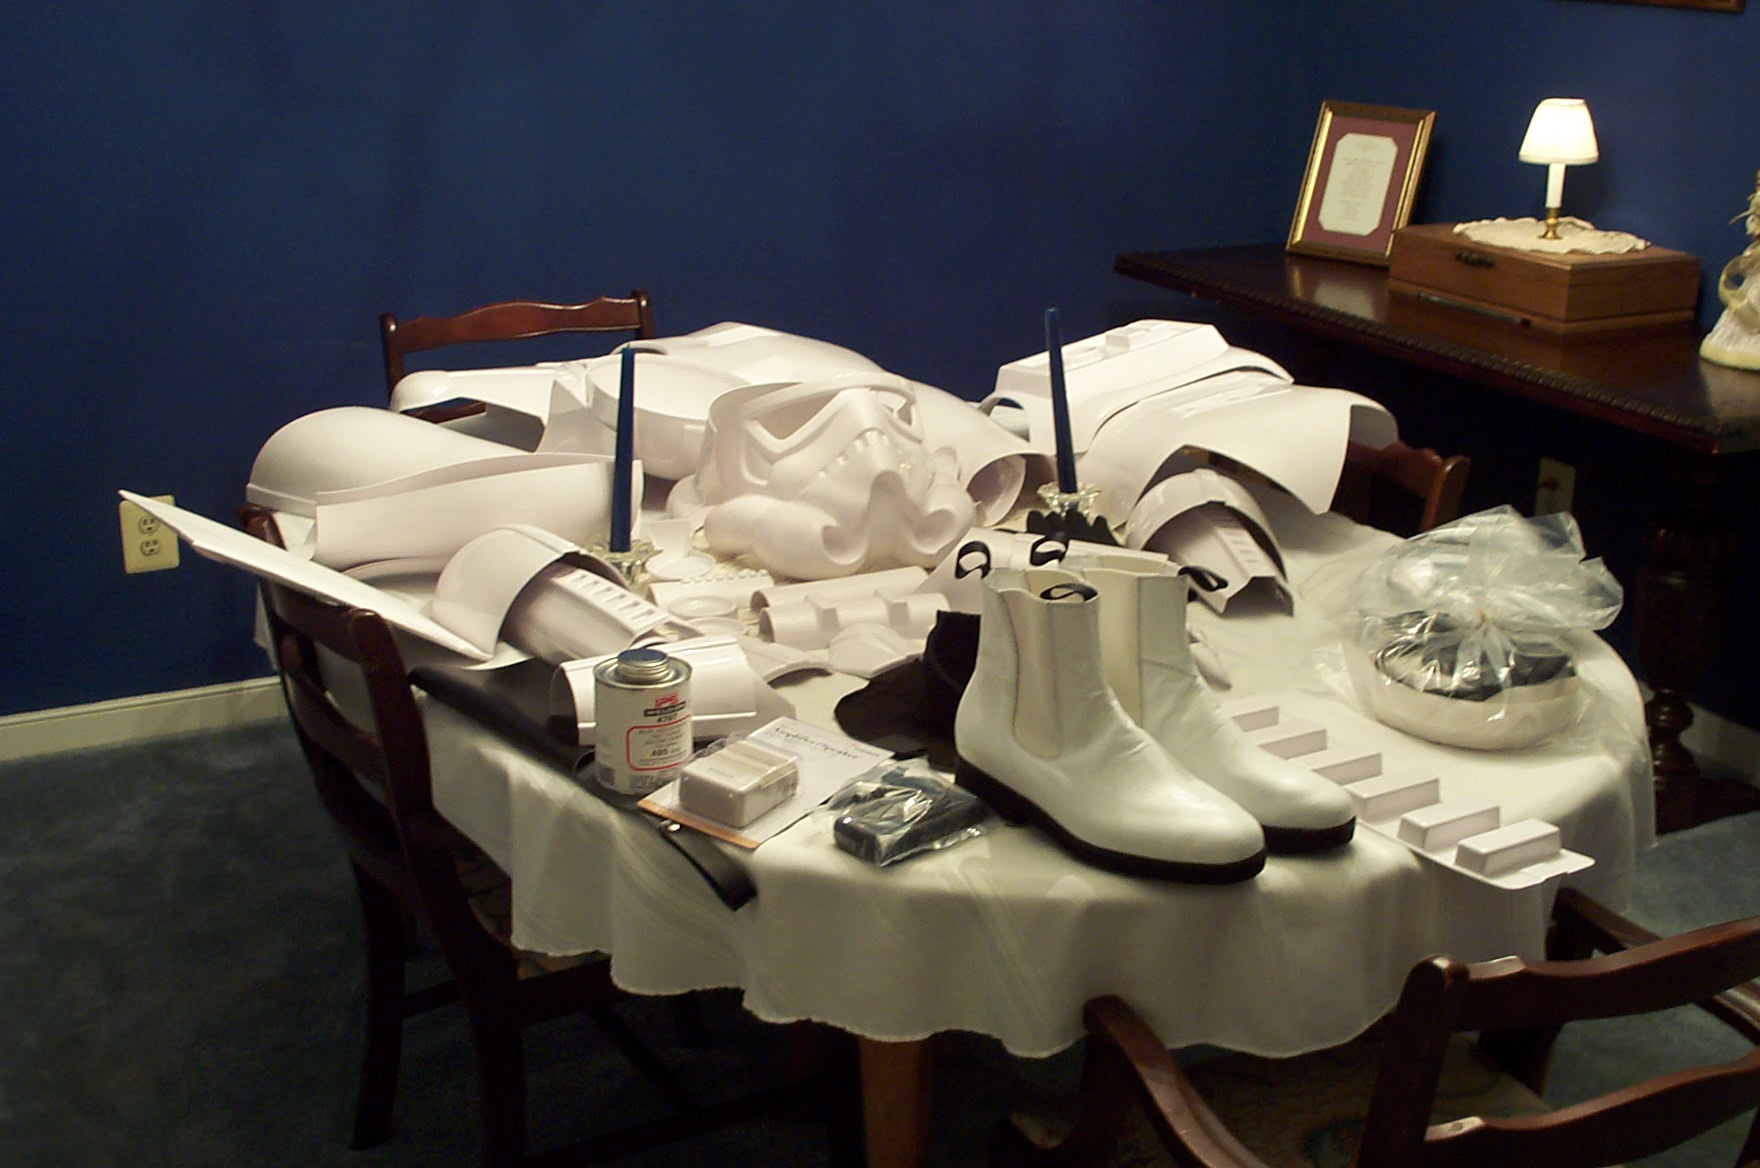
| I laid everything out on my dining room table and got a good look at all the pieces...checked to make sure all were there, and played around with the helmet pieces. I knew that was where I would have to start. The ABS seemed SO thin...I wasn't sure it would ever be as rigid as the helmets in the pictures of the 501st looked. |
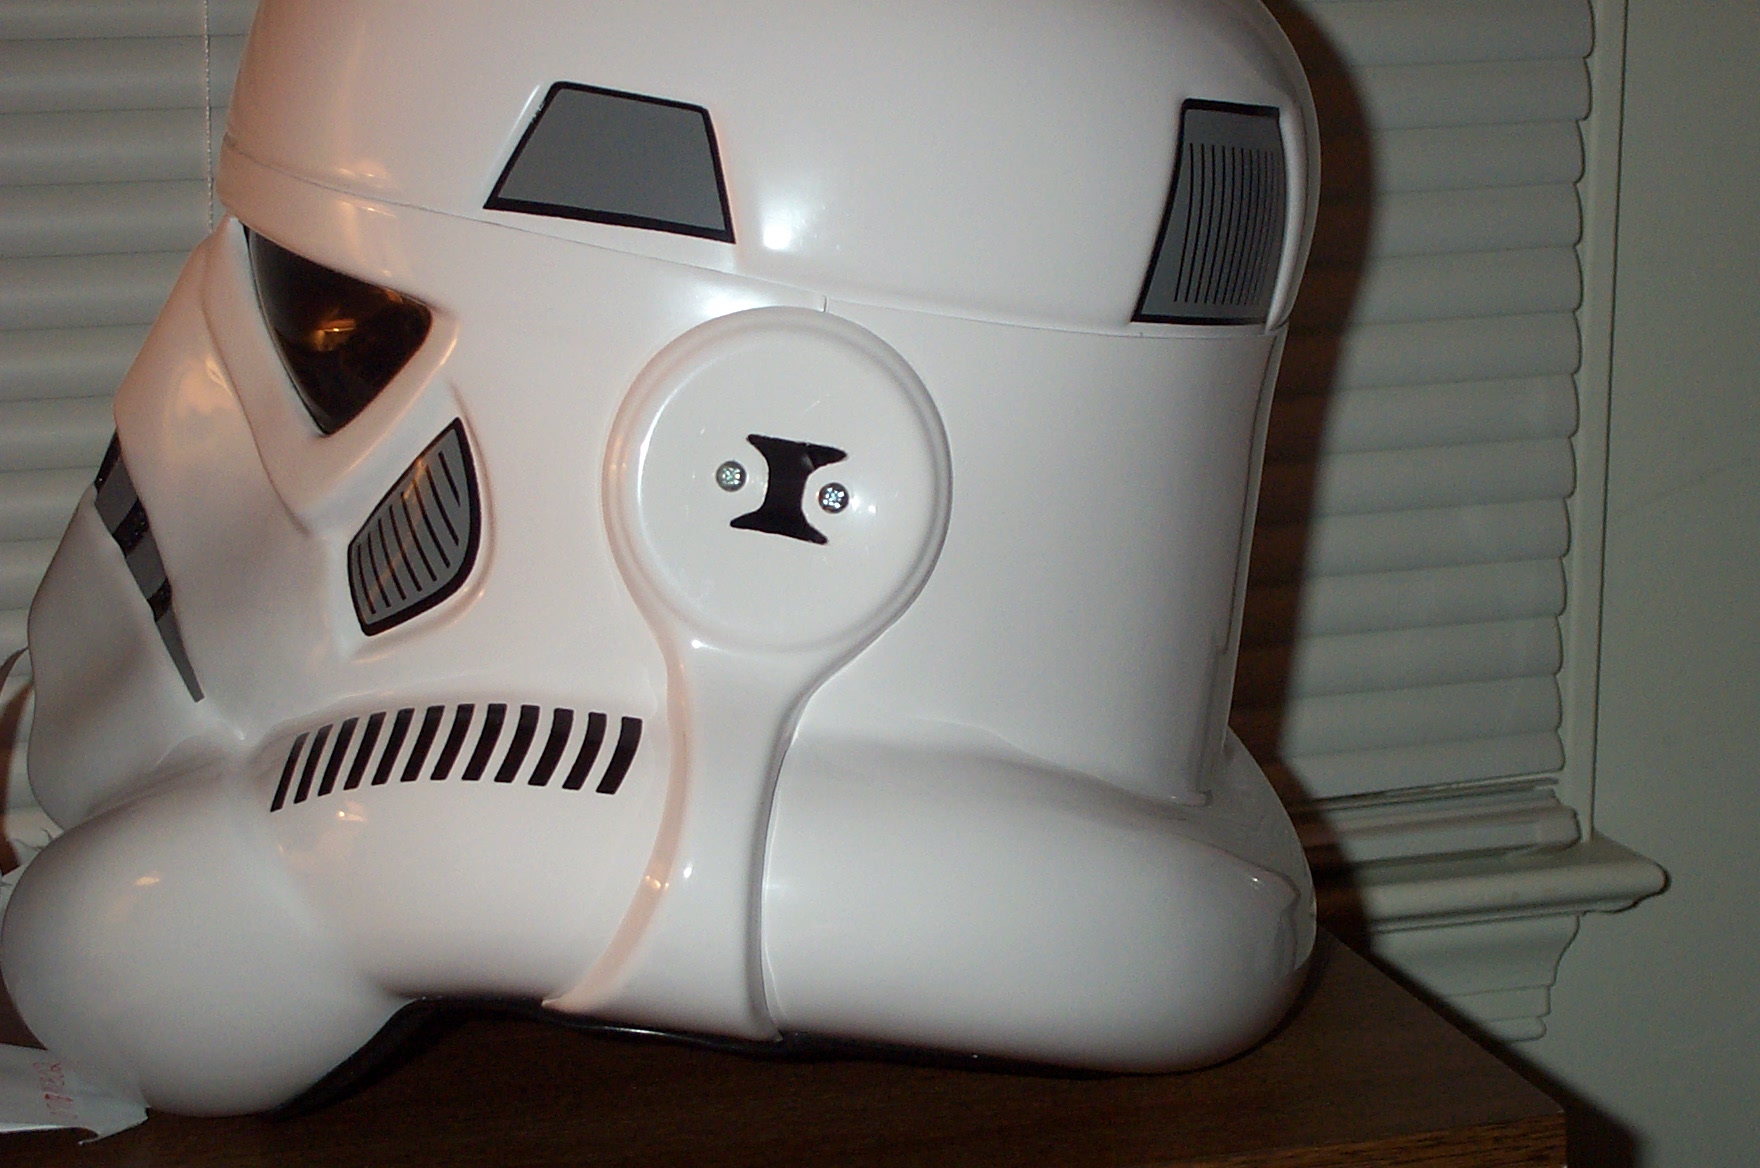 |
| Comm Cover cutout for easier hearing. |
| I drilled straight through the comm cover and bucket to the inside. Take care to leave a safety zone around the bolts as shown here. The "I" shaped cut gives maximum opening behind the comm cover, while maintining the integrity of the helmet. The comm covers will have to be glued in place with ABS cement, as there is little room left for hot glue, and it would fill the new opening. |
 |
| These are the comm covers that I cut out using a dremel tool. I carefully cut out two openings in the center, as that is where the hole would line up underneath. I then lined the inside of the cover with black plastic mesh screening, hot gluing into place. Once that was done, I added the black stripe around the base of the covers. When the black paint dried, I sanded the excess from the part that would touch the side of the helmet. Because the holes must remain open, the comm cover must be glued with ABS cement. This will be strong enough to hold the cover in place and allow sound and air in. |
 |
| Here is a view into the front interior of my bucket. The coiled cords are the feedlines for the front-mounted speakers. The blue spa tubing serves as a conduit for all electrical wiring inside the helmet. It also houses two cpu fans which are in the black housing on the endcaps. The fans are wired and switched for low speed and high speed operation. The boom microphone from Radio Shack can be seen taped in order to find the correct placement. The boom is flexible and stays put when bent. |
 |
| This view of my bucket reveals the rear mounted battery holders. I could not find a 9-volt holder that I liked, so I bought a holder for 4-AA batteries (2 on each side). It had a "ridge" running down the center of the compartment seperating the 2-AA's on each half. I took a sharp wood chisel and cut that out. The result is a compartment that PERFECTLY fits a 9-volt battery. Each holder houses two 9-volts. The holders themselves are mounted to the bucket with industrial grade locking velcro. The black compartment to the right of the batteries is a magnetic "key hider" case from the Wal-Mart automotive department. I ripped off the magnet and sanded the back smooth, then added the locking velcro, and now I have a place to keep a house/car key, and a few bucks neatly folded and safe in my bucket. The switches shown here control the power to the amplifier and voice unit - both bucket mounted, as well as high/low power switches for the fans. The front-mounted speakers can be seen somewhat from this angle. The voice unit / PA system is completely self-contained in the helmet. A remote PTT switch may be added as the VOX microphone function tends to be a bit sensitive. This photo was taken before the comm cover mod drilling was performed, but the hole comes through squarely between the two nuts and bolts above the switches...right at ear level. |