Ann’s Glitter Pegasus Tutorial
 This lesson explains how to use Paint Shop Pro (PSP) to create a glittering
graphic, one that glitters when placed on a Web page. The
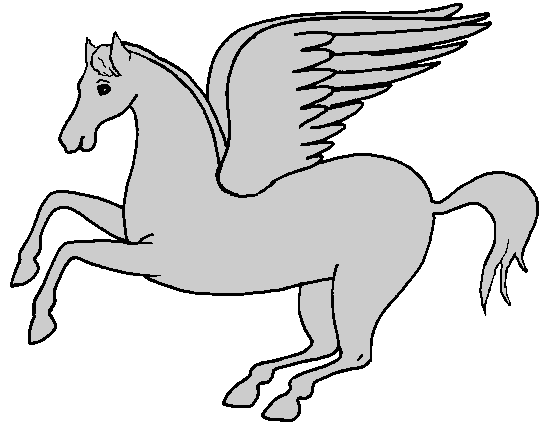
line drawing used in the lesson consists of a gray horse (outlined in black)
on a white background (transparent).
Note: I wrote these directions for PSP version 8, but the later versions
will work just as well.
Save the Pegasus graphic on the left (Pegasus1.gif) to your computer
(graphic size is 543 x 426).
Part 1
- Bring up Pegasus1.gif in PSP. Notice that the horse’s mane and forelock are separated from the horse’s body.
In order to make the forelock, mane and tail a different color from the body,
you need to draw a line between the horse’s tail and the body.
- Type G for the Zoom tool, click to zoom in on the beginning of the tail
- Type Y for the dropper, click anywhere on the black outline to select Black as
the Foreground color
- Type O to open the Tools Options dialog box
- Type B for the Paintbrush; in the Tools Options, set:
shape = square, size = 2, step = 1, density = 100
- Paint a short line around the horse’s hump to separate the tail from the
horse’s body.
Save your changes.

- Click the Foreground Solid Color box to select a solid color from the Palette.
Select a gold color (should be CCCC00 or CCCC33, or close, so that it
matches gold). Click OK.
- Type M for the Magic Wand; in the Tools Options, set:
Value = RGB, Feather = 0, Tolerance = 10
- Follow these steps to color the mane, tail and forelock with the new
Foreground color:
- With the Magic Wand, click inside the horse’s mane to select all
of the mane -- the marching ants should be surrounding the gray area inside
the mane
- With the mane selected, hold down the shift key and click the inside of the
tail
- With both mane and tail selected, continue to hold down the shift
key and click inside the horse’s forelock. All three areas should be selected
(you can release the Shift key now).
- Type F for the Flood Fill, click inside the tail, then inside the mane, and then the
inside the forelock. All three should be gold-colored now.
- Type Ctrl+D to deselect these three areas.
- Save the file in the PSP format (save as Pegasus1.psp).
Increase the color depth to 16 million.
Part 2
- Download these four gold tiles to the same folder with Pegasus1.psp:
gold-1.jpg, gold-2.jpg, gold-3.jpg, gold-4.jpg


- Open each of these gold tiles in Paint Shop Pro, then minimize all five of them.
Minimizing the files makes them available as a Pattern selection.
- Click the black arrow in the Styles box (on the right-hand column)
 and select
the third option (represented by a square of little dots).
- Now, click the middle of the Styles box (not on the black arrow) in order to
launch the Styles/Pattern dialog box.
- Set the Angle at 0
- Set the Scale % at 175
- Click the drop-down arrow to show all the patterns you can choose
- Select gold-1.jpg
- Click OK
- Type M for the Magic Wand tool.
- With the Magic Wand, click in the middle of the horse’s body.
- This will select most of the horse´s body, but not the back two legs.
- Hold down the Shift key and click on the wings, which will select most of the wings, but not all.
- Continue to hold the Shift key and click on the rest of the wing feathers, the back
wing, and the other two legs.
- Now all of the horse should be selected EXCEPT the three solid gold parts (the forelock, mane and tail).
- Type F for the Flood Fill tool.
- One by one, click the selected parts of the horse and wings to fill each one of them with the pattern.
- Check that the all 9 of the selected parts are filled with the pattern.
- Do NOT deselect the selected parts of the graphic.
- Save this graphic (it should still be named Pegasus1.psp).
Part 3
- Now, click the Styles/Patterns box again.
- Set the same Styles/Patterns parameters as before
- Select gold-2.jpg for the pattern
- Click OK
- Click Undo [Ctrl + Z] until all glittery parts of the graphic body and wings have
become gray again, but take care that these parts are all still selected (marching ants).
- The Flood Fill tool should still be selected. Click all of the selected parts
of the horse and wings to fill them with the gold-2.jpg pattern.
- Save the graphic as Pegasus2.psp.
- Repeat this process for Pegasus3.psp and Pegasus4.psp graphics, selecting the
corresponding gold tile pattern for each version of the graphic. When you are through,
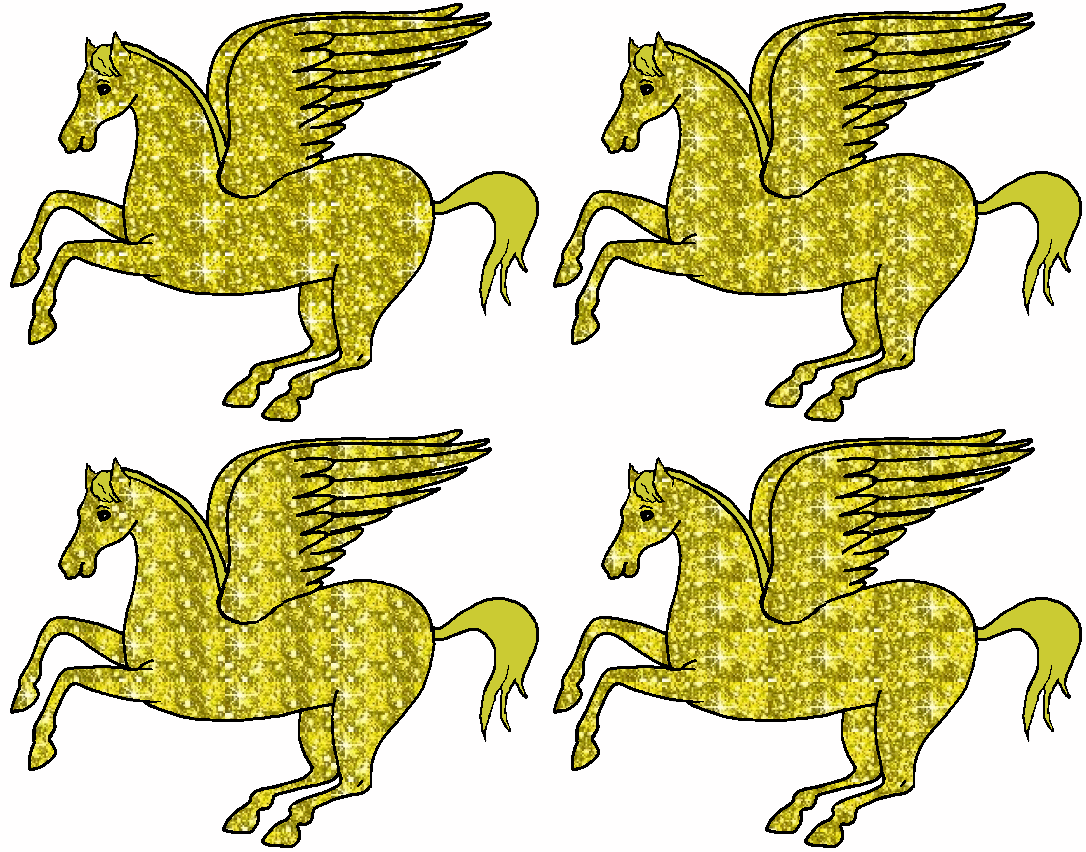
you will have created four Pegasus graphics, each with a different pattern background.
- NOTE:
It is not imperative that you perform the 9 levels of Undo after completing each graphic,
but it is easier to see what sections have been filled with the new pattern and what sections
have not been filled when the sections are gray.
Part 4
- From the Paint Shop Pro application, open the
Animation Shop application (should be under the File menu).
- Under the File menu of the Animation Shop, click the Animation Wizard.
- At the prompts, make the following selections (clicking Next after each one):
- Same as first frame
- Transparent
- Centered in Frame and With the preceding frame´s contents
- Yes, repeat animation indefinitely and 10
- Click Add Image to add the images you have created, one at a time --
Pegasus1.psp, Pegasus2.psp, Pegasus3.psp, and Pegasus4.psp
- NOTE: Use the Up,
Down or Remove buttons as necessary to get your graphics in order; when
you are through adding graphics, click Next
- Click Finish
- Test your glittery Pegasus by clicking on View, then Animation.
- Save. The Animation Shop application automatically saves the animation as a
.gif file.
- When you click Save, Animation Shop presents a few more prompts. You can
accept the default name or type in your own file name.
Hurray! You´ve done it.
When you link the animated Pegasus to your HTML page, you should add the width and
height parameters to help the file load faster. As it is, this Pegasus graphic is
543 x 426, which is a bit large, but it is a fun graphic to learn with.

EXTRA: Since line drawings can be hard to find, I have included three line art
drawings you can practice with (all of these graphics just happen to have wings: an Angel, a Cupid, and another Pegasus).
Click here to view or download the extra graphics.
 Click here
 to
return to the PSP Home Page.
 This lesson explains how to use Paint Shop Pro (PSP) to create a glittering
graphic, one that glitters when placed on a Web page. The
line drawing used in the lesson consists of a gray horse (outlined in black)
on a white background (transparent).

