


INTRODUCTION
The puzzle ring Consist of four loops which look quite different from each other. Let us get acquainted with them and give each ioop a name before we proceed any further:
LARGE NOTCH
It looks very similar to the small notch, but the notches are somewhat longer.


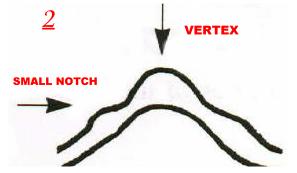
SMALL NOTCH 2
It has a short notch on either side of the vertex.
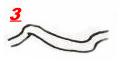
SMOOTH CURVE
The curvature of this loop looks almost like a straight line.
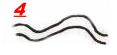
CURLY CURVE
It is very curly, as the name implies.
Please, learn the names of the loops before reading the instructions.
INSTRUCTIONS
Shake the four loops until they are clearly separated from each other. Hold either the small or the large notched loop between your fingers. When either one of thees two loops is held between the fingers, the other one will form the very bottom loop.

Now, use your left hand. Hold the small notch between your thumb and forefinger of your left hand as shown in the sketch
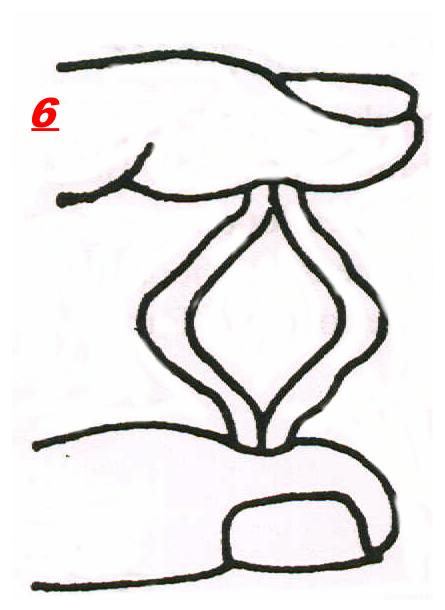
CAUTION:
In the sketch, the long notch points toward the left palm. If you can not put the ring together this way, try it again by holding the small notch toward the left palm. This is because the four cops in some rings might be positioned differently by the manufacturer.
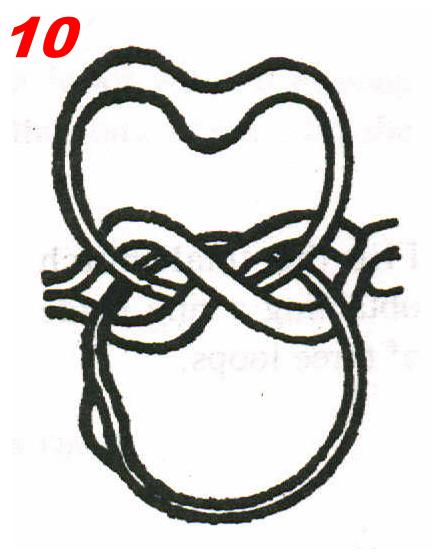
Hold the curly cure loop by the bottom. The curved section should rest on the bottom of notched loops. Turn the curly curve toward your body and hold it in position with the aid of your middlefinger.
Now bring the smooth curve toward the curly by turning it away from the body.
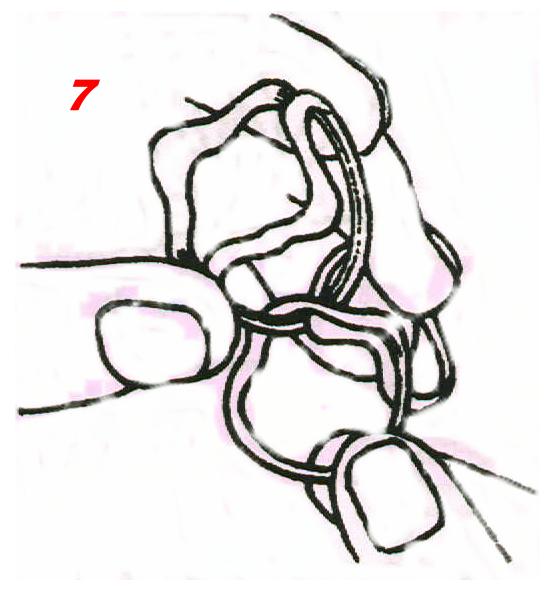
When the curvature of the two loops fit into each other, a figure eight will form
NOTE:; If the letter eight does not form, start all over again by changing the position of the small notch, and the large notch loops while holding them.
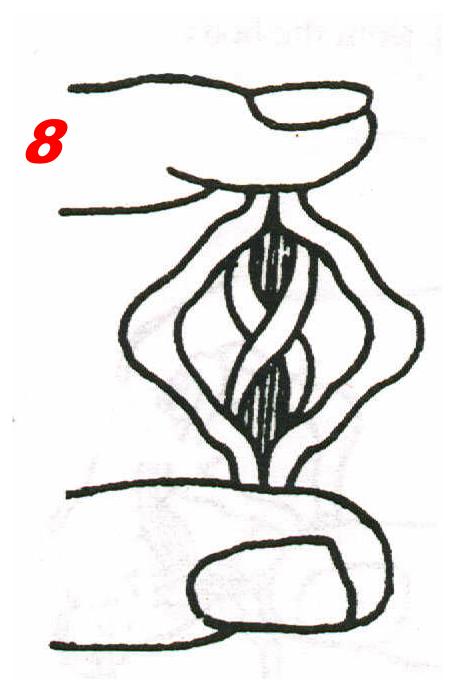
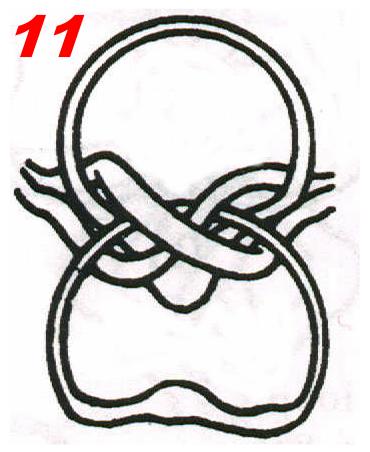
When the 8 is formed, hold it at the bottom of the loops by your right hand and leave the ioop loose.
Transfer the loops making the figure 8 to your left hand in order to have the right hand free for the rest of the work. Now hold the small notch by the right hand and turn it around until the curved section is within the figure 8.
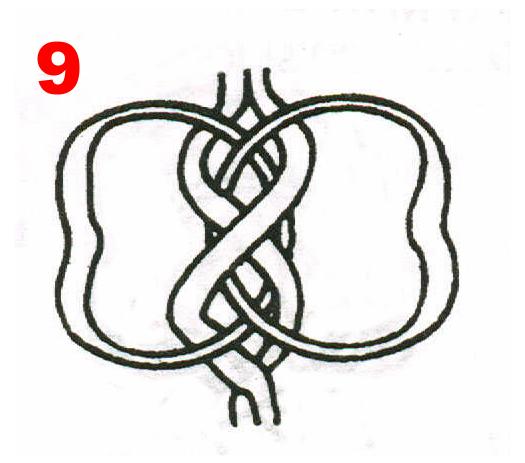
CAUTION: BEFORE YOU FLIP THE SMALL NOTCH TO THE SIDE, YOU MUST BE SURE THAT ITS VERTEX IS WITHIN THE LOOP OFTHE LARGE NOTCH. IF NECESSARY, PUSHTHE LARGE NOTCH SLIGHTLY DOWNWARD.
Flip the small notch obtaining a ring made of three loops.
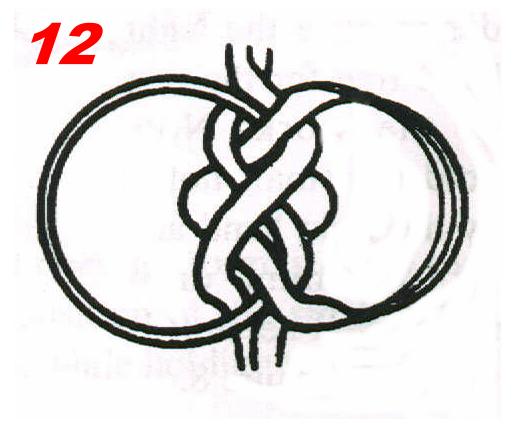
Turn the long notch until you get the curved section in the figure 8.
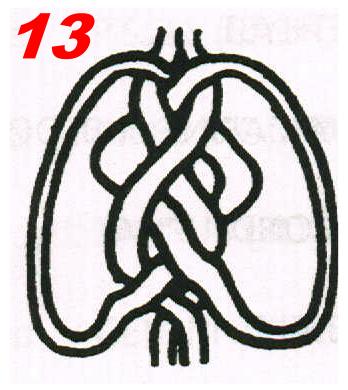
If necessary, ease up the other loops without loosing control over them, then flip the long notch over the side.
YOU HAVE A RiNG
