The following are pictures of a RD400 project my best friend from college gave to me several years ago. I have added a few items to hopefully update its performance. Of course, it will go much faster now that it has a motor!!!

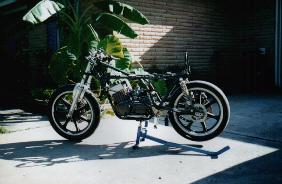
March 2006 - Updated picture showing 2-into-1 filter from Motocarrera installed. Notice the rearstand I welded up myself. It, too, is a work in progress.
May 1996. Rolling chassis as I received it. At one time it housed a TD1 motor and was raced in the San Diego, CA area. I bought the RD350 engine with the intention of using it. I have now changed to an RD400 motor with future plans to rebuild the RD350 for another motorcycle.
July 1996. Tailsection and tank just before the black was sprayed. Yellow paint has already been applied, as has the white stripe.
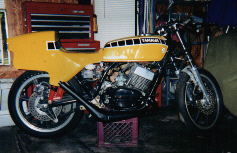
September 1998. You may notice the slicks. The rear is a Goodyear racing slick and the front is a KR108 Dunlop. Here is the completed motorcycle. The exhaust pipes in the picture are off a three wheeler. They came with the RD350 motor, as it was used in a sand 3-wheeler. I had prepared the motorcycle for the Autorama held at the Astro Arena (Houston, TX) during Thanksgiving weekend.

April 2000. Here is another picture taken after I polished the fork legs. By now I've installed the DG Swingarm on with the RS Performance shocks. The picture shows the RD400 motor I put together using stock 28mm carbs (for now) and K&N filters. The SpecII coils can be seen hanging between the rails, just above the head. The stock footpeg bracket is clearly in view here. I have made backing plates for home-made rearsets. I'll have to put pictures of them on the site.

September 2005. This is a picture showing the side cover, the DG swingarm, the new Avons and rearsets (foot controls) I bought from Motocarrera and the new DG exhaust pipes I bought from Dennis Kirk. Why the delay of 6 years? We had more kids, moved and I started and completed my MBA while my wife completed her Math degree. I didn't even get to go racing in this time period.
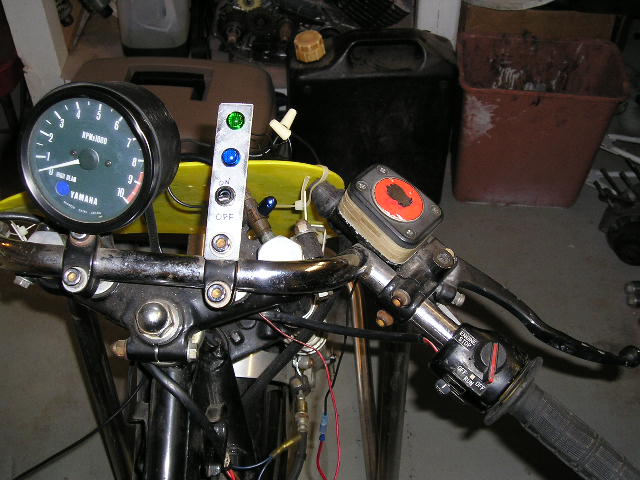
March 2006 - Added test strip with neutral and ON lights along with ON/OFF switch. These will be used to troubleshoot wiring in the stock handlebar ON/OFF switch. Apparently I am not totally electrically challenged. Both the neutral switch and handlebar ON/OFF switch work as intended.
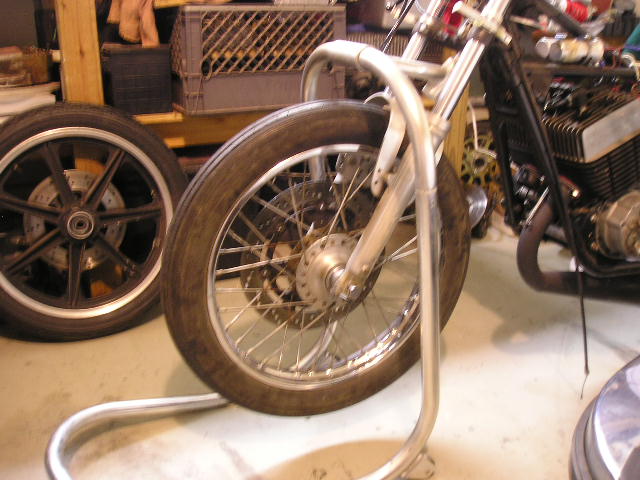

July 2006 - The new wire wheel off an RD350. I've mounted a GPZ1100 rotor that was modified to fit on RD wheels. Also shown is the R1 caliper. Now all I need is a mounting bracket and I'm set. I skimmed 3/32" off the back of the R1 caliper and ended up uncovering a hydraulic hole between the two pistons. I've epoxied an aluminum plate over the hole, but am now looking for another caliper.
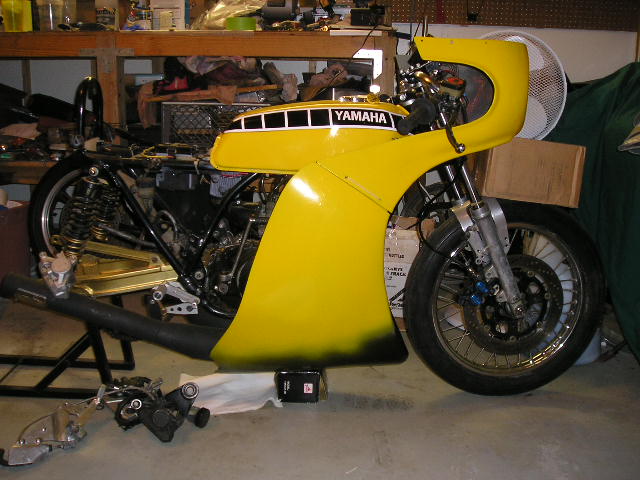
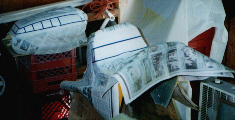
August 2006 - I've been busy sanding and painting the two fairing halves. The top half required a repair, as one of the winglets had broken off.
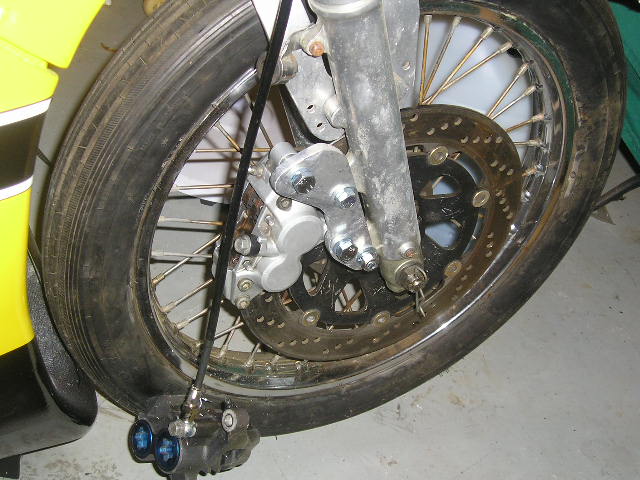
November 2006 - Finally finished the front caliper bracket. Had to wait for my neighbor to repair his mini-mill. Anyway, the FZR600 caliper looks and fits great. Now I have to make the SS brake line and the front brakes are done.
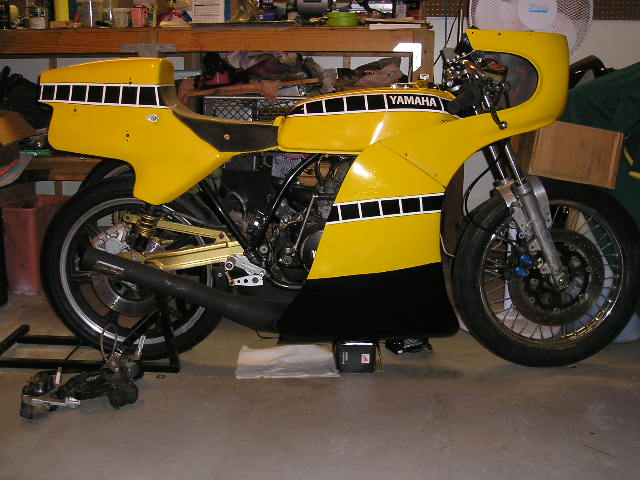
Finished painting and striping the fairing. I still need to spray the clearcoat, but I am waiting until the YSR tank/fender is ready as well as the DT125 tanks are ready. I need to make a decal for the YSR.
I would like to thank my friend, David M. for helping me with the wiring harness (as I am electrically challenged). I would also like to thank Elson at Texas Cycle Center in Webster, TX for all his help and suggestions. If you ever need a local mechanic that has a high level of knowledge and skill working on Yamaha 2-stroke motorcycles, and you live close enough to drive to Houston, give Elson a call. He is a former Yamaha GP mechanic and has raced Yamahas since they hit the roadracing circuit.
- Hardware I have left to install to go racing:
- Transponder
- Future upgrades to make the motorcycle safer and faster:
-
Boost bottle
- Temperature guages
- PVL, Neutronics or Chinoy electronic ignition
- Clip-on handlebars
- For anyone who is following this project I wanted to list the sources for the parts used:
- Avon Tires
- 2-into-1 Yamaha intake w/KN filter
- Motocarrera's own rearsets
Motorcarrera
- Dennis Kirk
- DG exhaust pipes
- Spec II
- High output coils