Part 1: Getting Started
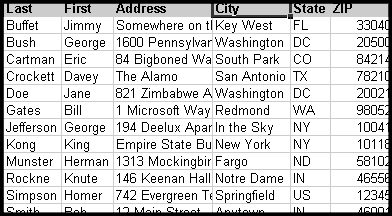
This tutorial will walk you through the process of taking an Excel 2000 spreadsheet contents into Access 2000. No prior knowledge of databases is required, but if you're curious you may be interested in reading the article Microsoft Access Fundamentals.
If you don't have your own spreadsheet and want to follow along with the tutorial, you can download the sample Excel file used in the tutorial.

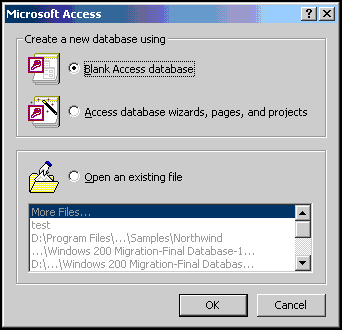
1. Create a new database. Unless you have an existing database that you use to store contact information, you're probably going to want to create a new database from scratch. We're not going to use a wizard to help us this time, we're going to do it by hand. Make sure that the "Blank Access database" radio button is selected (as shown in the figure below) and click the OK button to get started.
2. Provide a name for the database. Our database file needs to have a name to be stored on the hard drive. This name will appear in your Windows Explorer just like a Word document, Excel spreadsheet, or any other type of file. Double-clicking on it will automatically launch Access and open your database.

3. Begin the import process. To get started, simply click on the File menu, select Get External Data and then choose the Import option on the next menu that appears
.
In the next section of this tutorial, we'll select the data we wish to import into our new database. Read on!
Part 2: Selecting the Data
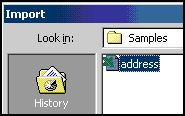
4. Select the file to import. Here's where you select the Microsoft Excel spreadsheet that will serve as the source of data for your new database. Use the browser window presented to navigate through the file system to the correct spreadsheet. Remember, if you don't have an appropriate file, you can download our sample spreadsheet for use in this tutorial. When you locate the file, double-click on it to continue.
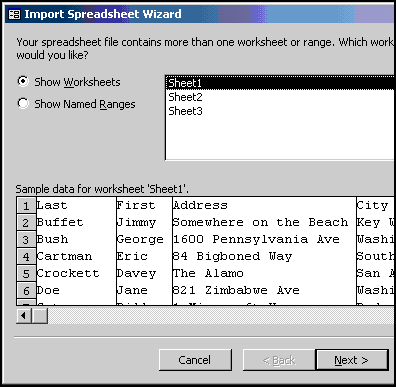
5. Select the appropriate worksheet. After you select the spreadsheet to import, you'll be presented with a new screen asking you to select the Worksheet or Named Range that you wish to import. Most likely, you'll want to accept the default option of Sheet1, unless you have a more complex Excel file. Notice that a preview of the data is provided in the bottom portion of the window. Take this opportunity to give the data a quick glance to ensure that it looks like the right data source. Don't worry about the formatting or column contents at this point, we'll work on those later. Once you complete this step, press the Next button to continue.
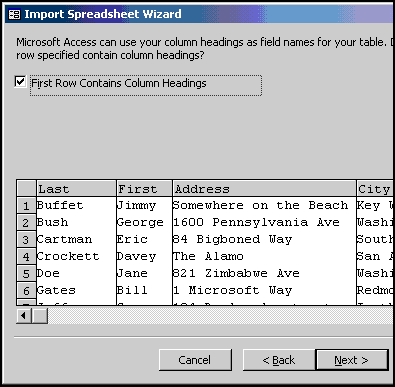
6. Specify whether column headings are present. Often, Microsoft Excel users utilize the first row of their spread sheet to provide column names for their data. In our example file, we did this to identify the Last Name, First Name, Address, etc. columns. In the window shown below, ensure that the "First Row Contains Column Headings" box is checked. This will instruct Access to treat the first row as names, rather than actual data to be stored in the list of contacts. Click the Next button to continue.
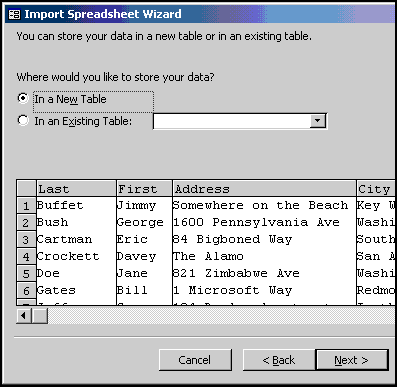
7. Choose a destination type. If you're working with a brand-new database, as we are, you'll want to check the "In a New Table" radio box and press the Next button to continue. If you were importing data into an existing database, you could specify the destination table here. Click the Next button to continue.
In the final segment of our tutorial, we'll customize some of the advanced properties of our new database. Read on!
Part 3 Customizing the Database Properties
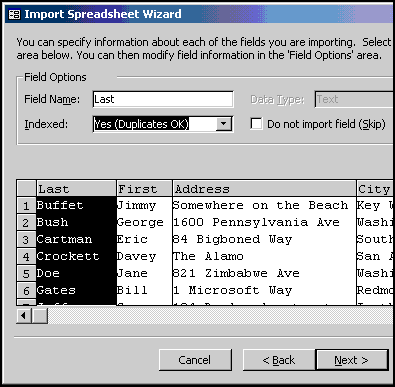
8. Create any desired indexes. Database indexes are an internal mechanism that can be used to increase the speed at which Access can find information in your database. You can apply an index to one or more of your database columns at this step. Simply click the "Indexed" pull-down menu and select the appropriate option.
Keep in mind that indexes create a lot of overhead for your database and will increase the amount of disk space used. For this reason, you want to keep indexed columns to a minimum. In our database, we'll most often be searching on the Last Name of our contacts, so let's create an index on this field. We might have friends with the same last name, so we do want to allow duplicates here. Ensure that the Last Name column is selected in the bottom potion of the windows and then select "Yes (Duplicates OK)" from the Indexed pull-down menu. Click Next to continue.
9. Select a primary key. The primary key is used to uniquely identify records in a database. The easiest way to do this is to let Access generate a primary key for you. Select this option and press Next to continue. If you're interested in choosing your own primary key, you might want to read our glossary entries on keys for more information.

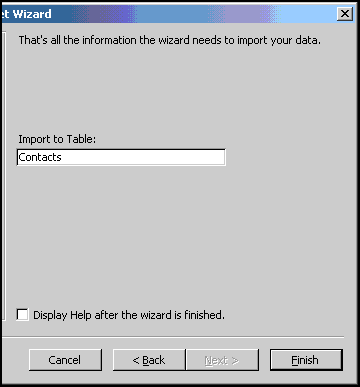
10. Name the table. You need to provide Access with a name to reference your table. We'll call our table "Contacts." Enter this into the appropriate field, and we're finished! Click on the Finish button to wrap things up.
Next, you will be returned to the database main menu. If the "Tables" tab is not selected, go ahead and do that now. You'll be presented with a screen similar to the one shown below. Notice that the Contacts table is now part of our database!
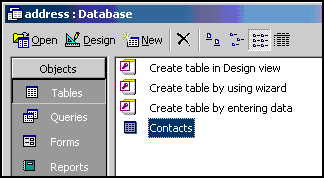
Go ahead and double-click on the Contacts table and you'll be presented with a screen similar to your old Excel spreadsheet listing the contents of the table. Notice that the ID columns has been added -- this is the primary key that we asked Access to generate for us.

That's it! You've successfully created your first Microsoft Access database! Now you might want to look at the other tutorials listed on our Microsoft Access subject page to get a feel for some of the advanced features of Access that will help you get the most out of your new database. You can create queries to retrieve information from your database, create nicely formatted reports to list your contacts in a phone-book style, or even create a data-entry form to make updating your database a snap.