 A nice and simple rim modeling tutorial for total beginners. Tire threads NOT included, but includes about 10 rims in .3ds format for download.
From 3dfuturebits.org/../ Smasher (poster).
A nice and simple rim modeling tutorial for total beginners. Tire threads NOT included, but includes about 10 rims in .3ds format for download.
Start -Open Rhino

In FRONT view, draw a Curve: Interpolate Points like on image. Select from the menu, or type InterpCrv
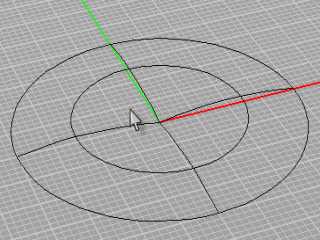
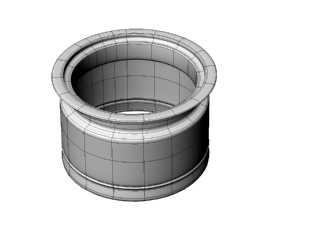
Select that curve and click on Revolve. (Revolve) Start of revolve axis must be at the begining of the curve. So you get something like the above.
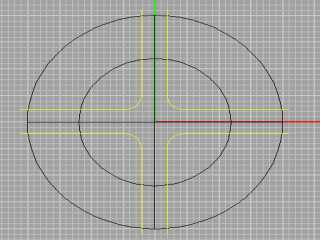
We will create 4-star rim. So you need to split this circle in 4 pieces. Create lines like on the image, and lift them a little up..
Now, type Project (you have selected joined curves in Top view), and click on that surface you created from revolving curved line.
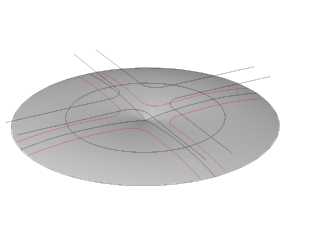
Click Enter, or right mouse button. You have projected those lines on your surface... (image5)
Select circular surface, and type Split, and then select projected curves. Press Enter or click right mouse button.
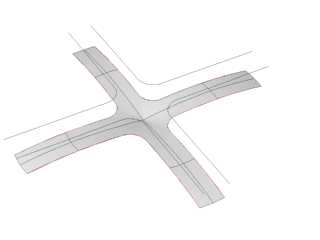
Now, remove all the extra surface. You only need 4-star split part of surface.
Like on image6

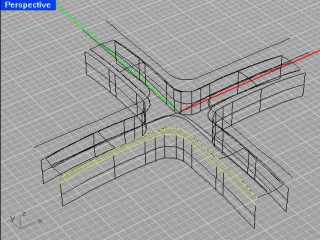
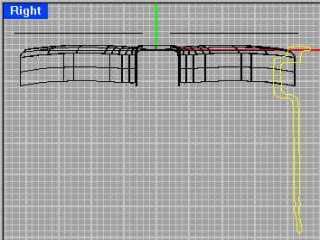
Select one more time all four projected curves and type Extrude. Extrude them like on image.
move those surfaces you extruded from projected curves, like on image(8)
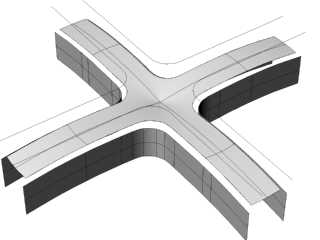
Now, type Blendsrf and select extruded curve and split circle (image9)
You do that for all 4 edges.
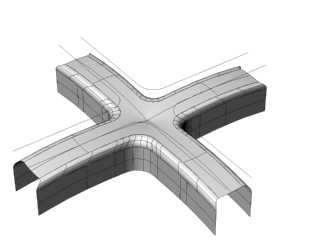
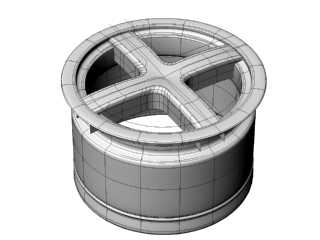
And now you have something like this.
Now, you have to make rim part that tire goes on. So make a curve like this.
image11
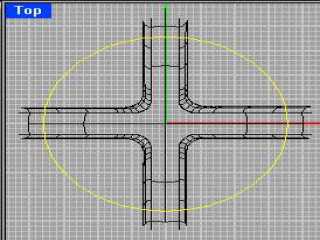
And now, in top view, make a circle line, like on image. This is elipse, because of error, should be CIRCLE.
Now that you created those two new lines (curve, and circle) type Sweep1 (Sweep along 1 rail). Select circle, and then select the curve...
For the end, you should get the result like this one.
You can download sample rims here. These rims CANNOT be used in commercial purposes, ONLY for personal use. -Smasher.