|
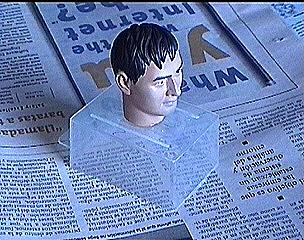
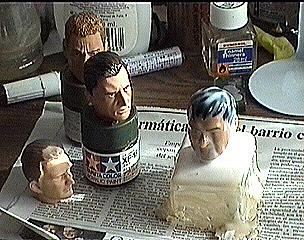
You should glue the
base of the head to a piece or cardboard, or small
plastic sheet. DON'T use superglue. A simple contact or
universal glue will do, it won't leave marks or dirt in
your head base
|
|
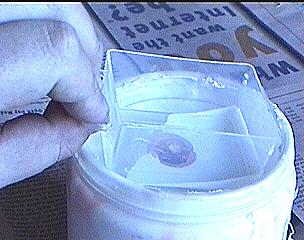
Now comes the 'be
patient' step. You should 'paint' the head with latex.
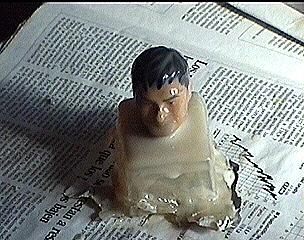
10 to 15 coats are
recommended to give the latex mold, thickness enough to
work with.
For this purpose, you
can either use a cheap/disposable brush or just submerge
the entire head including the base in latex.
I prefer this last
option. Your experience will tell you which method is
better for you or even find out a better way to do it!
|
|
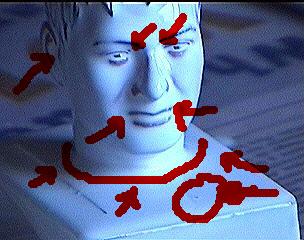
use a toothpick or
something similar to remove the small air bubbles.
Do this when latex is
still liquid and fresh.
Removing ALL this air
bubbles is very important specially on the first coats.
If you don't, you will know why it is so important when
you get the first resin copy...
Red arrows shows
typical places where usually small airbubbles appear
|
|
allow the latex dry
between each coat. Usually 30 minutes between coat and
coat.
|
|
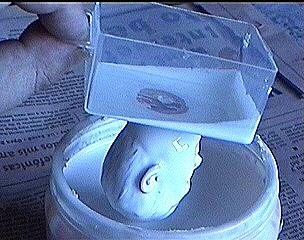
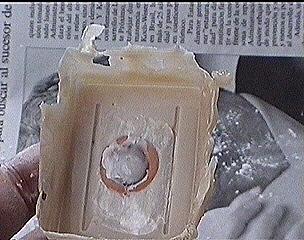
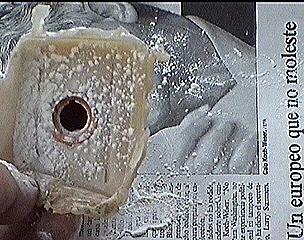
We have given 14
latex coats to this head. Time has come to remove it!
First remove the
cardboard or plastic sheet base. Also remove all the dry
glue still attached to the head neck base
|
|
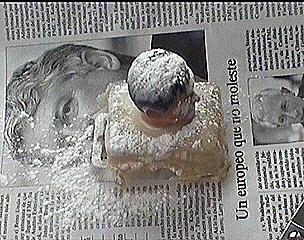
Apply baby powder
generously to all the latex surface.
Be sure to spread the
powder to ALL the surface using a brush.
|
|
Here too
|
|
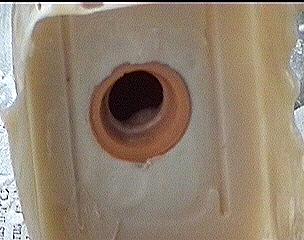
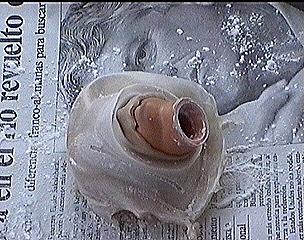
As you are peeling
off the mold, pour some baby powder to the inside part
too.
When you have removed
the entire head, put the mold upside down to eliminate
the excess of baby powder from inside.
|
|
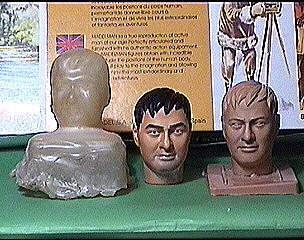
And here we got it!,
a head mold ready to work with!!,
the original head (notice
that latex hasn't damaged the original paint nor left
marks),
and the first copy!
Latex molds don't last
forever. Sometimes you can get 3 or 4 copies or 10/12.
|
