JAG Warhammer 40K
Armageddon The
Rematch
After the first battle of Armageddon (see previous page) the Ork players claimed it was
impossible for the Orks to win. Stung by this challenge the Imperial commander
offered to switch sides and fight as an Ork to show how it could be done. Thus
the scene was set for another massive battle (again about 6,000 points but who
was counting) on Saturday 8th July. Both sides were using different tactics, so
would the result be any different?
The table (12 feet by 8 feet) was split into a front and back
table, as none of us could reach across an eight foot wide table. There were 3
objectives, one on the first table and two on the second. Each objective was
worth 500 points to the Imperial Guard/Marine players and 1,000 points to the
Orcs. Army losses were to be ignored and the game won or lost on objectives. If
the Orcs could take one objective they would draw, more than one and they would
win!
Once the Orcs took the first objective, they were free to bring
any reserves they had not used on to the sides of the back table. All through
the game any player could move or shoot between the two rows of tables.
Two items of combat obstacle were in use; barbed wire which
prevented infantry from crossing - although jump pack troops could fly over it
- and anti tank 'triangles' which stopped vehicles. These were placed by the
defenders to protect their positions.
Two bunkers were made for this game using polystyrene
packaging, shaped with a GW terrain cutter, covered with PVA glue/water mix and
painted when dry.
 |
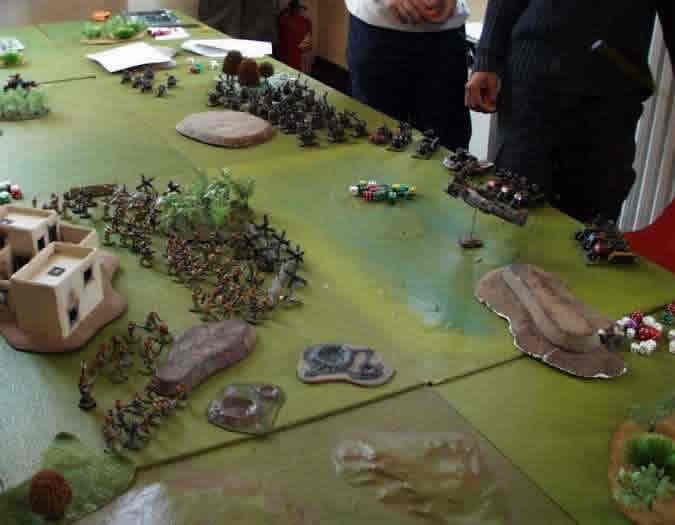
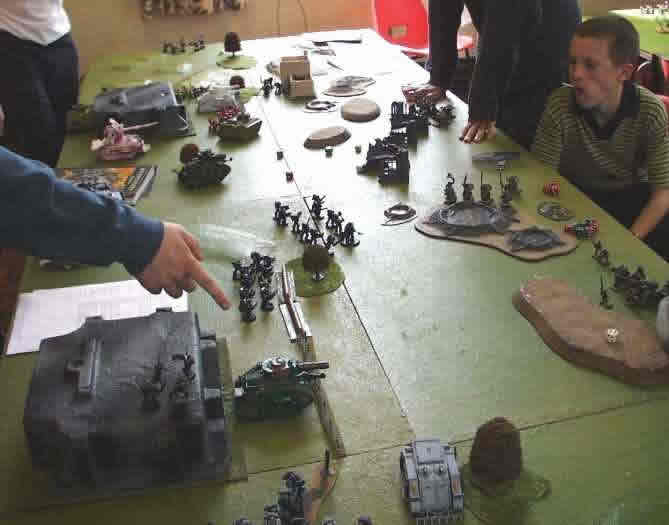
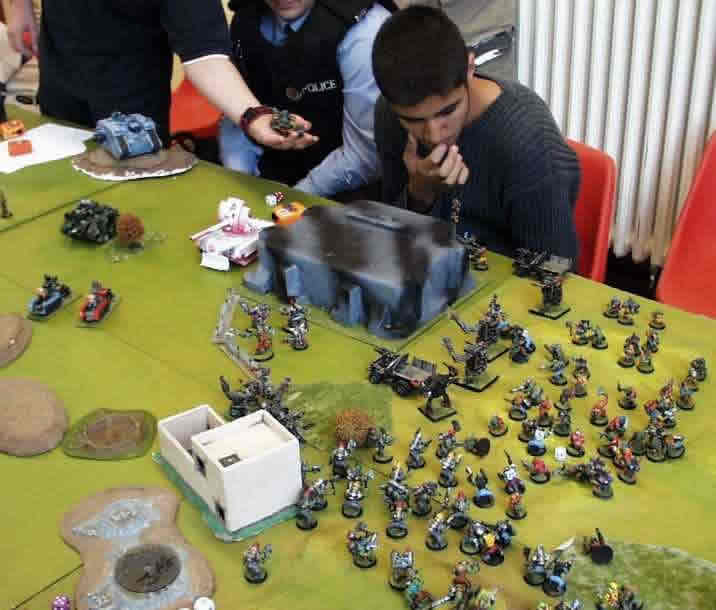
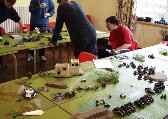
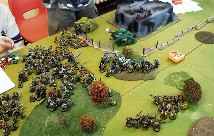
The Orks deploy in front of the first objective. Their plan is
to use massed firepower from the Wartracks to destroy the Imperial Guard
defenders and then take the objective with a massed Boar boyz charge.
Note: the barbed wire and anti-tank obstacles in front of the position mean
that neither vehicles or infantry can move through the defences.
In my opinion some of the Imperial Guard should have been placed in cover, in
the buildings. |
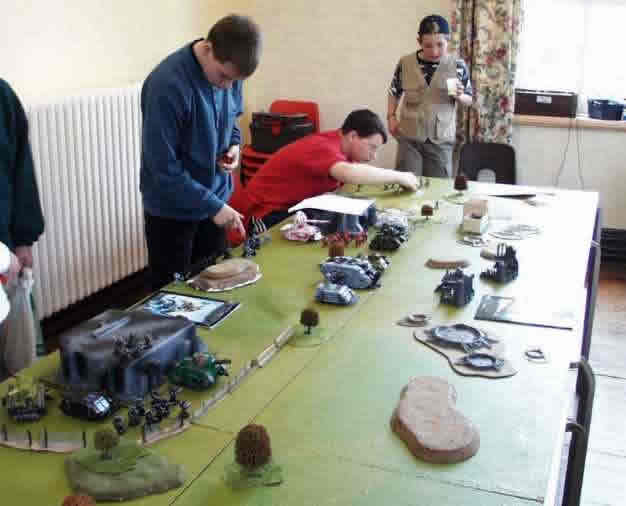
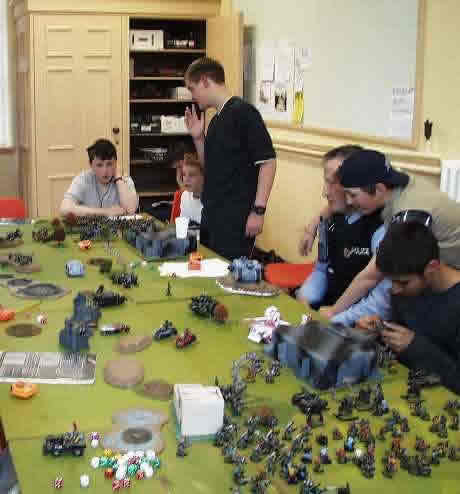
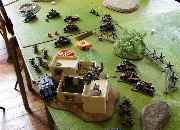
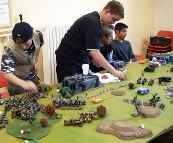
And on the back table wait the Marines
and Imperial Guard tanks |
 |
 |
The Orcs win the die roll for first move and advance toward the
objective on the front table. Three moves of fire have destroyed most of the
Imperial Guard and the survivors attempt to fall back to the next line of
defences. |
| The Orks have swept over the defenders and now occupy the first objective.
A Rhino has been called forward to pick up Commissar Yarrick and the remaining
Guard survivors - only a few are left from the 50+ original defenders. |
 |
 |
By turn 5 the Orks are on the second row of tables but only a few Boar boyz
remain. |
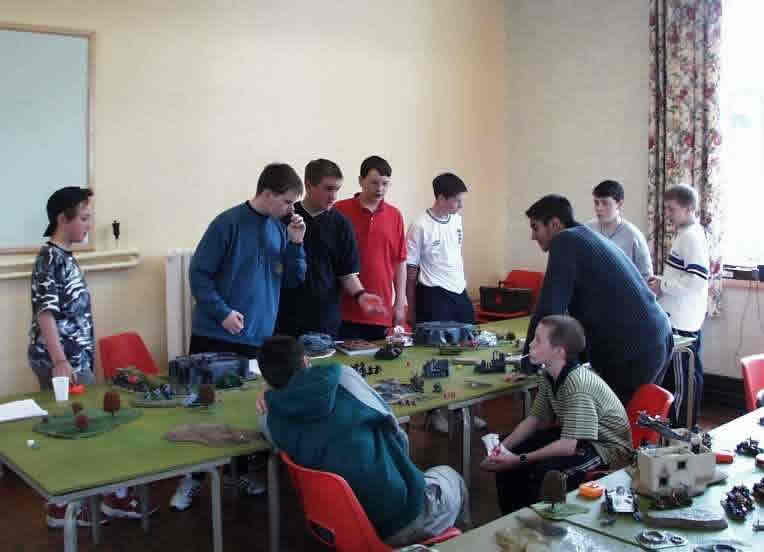
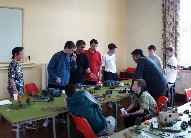
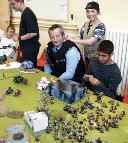
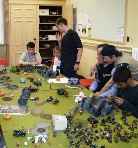
| The players. |
 |
 |
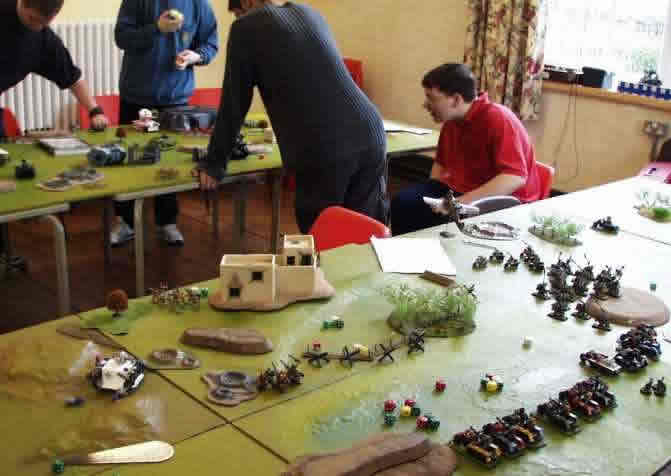
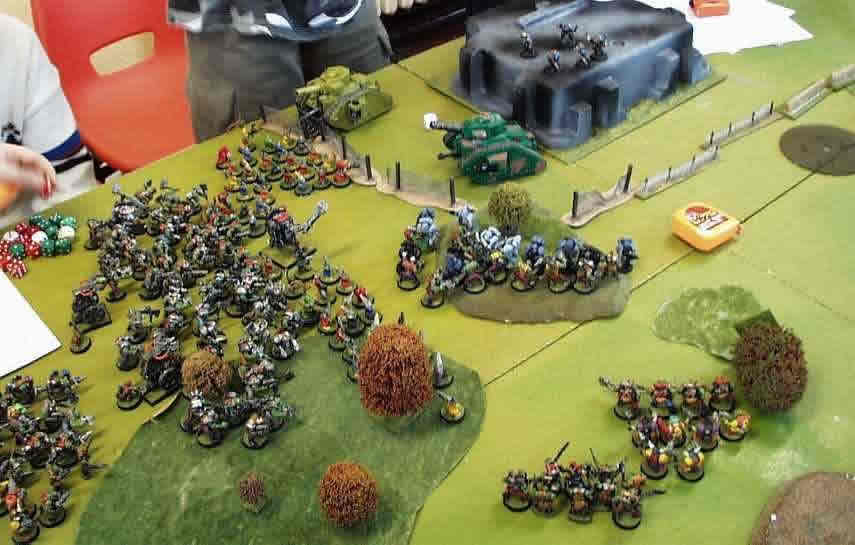
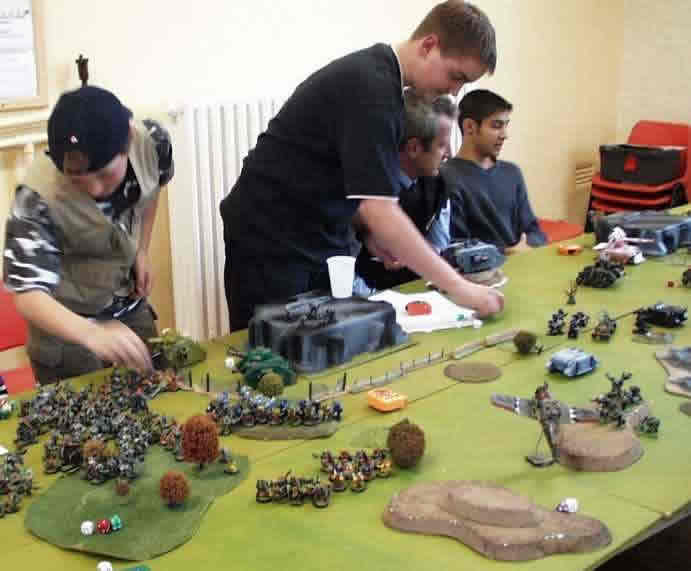
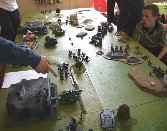
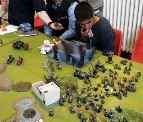
Now the Orks sweep in from the sides of the table to attack the remaining
Imperial bunkers. |
| Imperial commanders try to destroy the hordes of Orks advancing on their
position. |
 |
 |
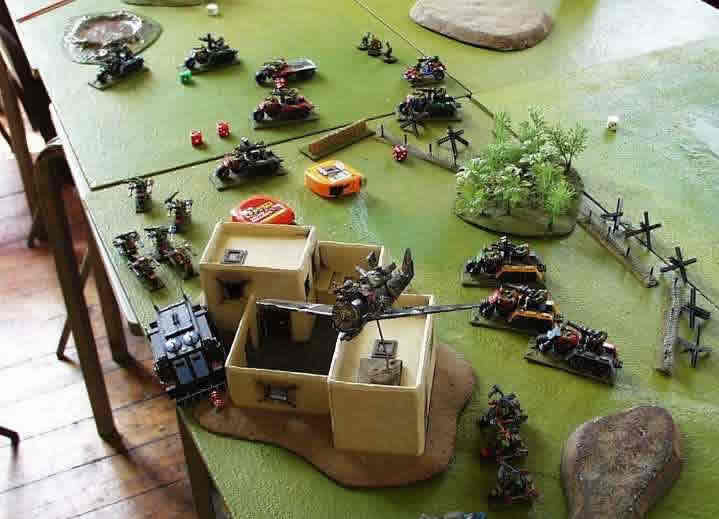
The right most bunker falls to the Orks, lead in person by Ghazgkull Thraka
and his best troops. |
| Imperial police are brought in to help the defenders. |
 |
 |
At 6pm the game ends on the high water point for the Orc attack.
The right flank has fallen to the Orks and although on the left the Orks have
failed to break though the defenders it is only a matter of time before they
are joined by their friends and sweep the Space marines away.
A stunning Ork victory! |
| |
|
Back to home page
back to home page