Activity 1: Student Worksheet
A. Making a Model of an Active Galaxy
The Styrofoam ball represents the black hole at the center of the active
galaxy. In the next few steps, you are going to make an accretion disk,
cones that represent the jets of the active galaxy, and the torus that
surrounds the accretion disk.
|
|
1. Accretion Disk: Measure the diameter of your
ball, just to be sure of the size. Note the size both in inches and
centimeters here (1 in = 2.54 cm)
|
|


![]()
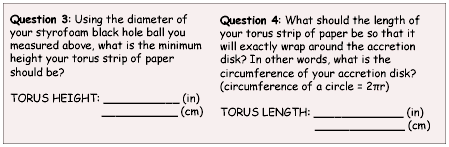
| 3. Torus: Using your ruler, mark the dimensions of your torus strip on the lightweight construction paper and cut it out. Color and label the strip with descriptive terms and then wrap it around the accretion disk so that it has equal height above and below the plane of the disk. When viewed edge on, the torus should obscure the accretion disk and the black hole. Attach it to the accretion disk with tape. |
 |
B. Drawing the Active Galaxy Model from Different
Perspectives
View your active galaxy model from the following three views:
1. Down a jet
2. At an angle to the jet (not 90 degrees!)
3. 90 degrees from the jet

Attach your drawings to this worksheet before you hand in your work.