 |
|
| LESSON
- PERSPECTIVE ELEVEN - ROAD
TIME:
Aim:
Materials: The sketch pad, HB pencil, ruler. In this, the first part of this lesson the teacher will need to demonstrate the following on the chalkboard or pad ... Alternatively, if the teacher deems necessary, these first six explanatory diagrams can be printed and handed out. However a quick demonstration on a chalkboard will give everyone confidence. The teacher could do this with just ten minutes of preparation ... OK, I know your time is valuable, and I must admit, I never prepared a lesson in my life. I just did it by sensing the needs of the student and seeing where that might lead ...
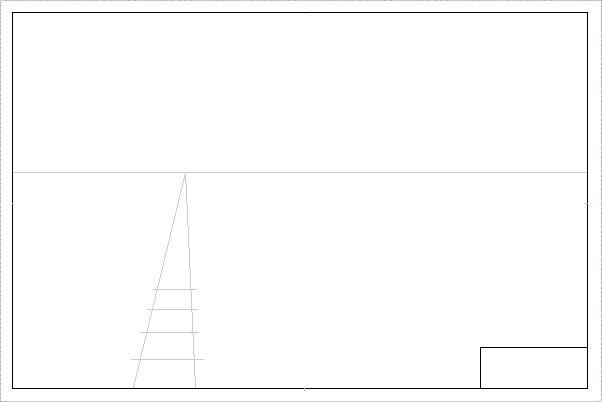
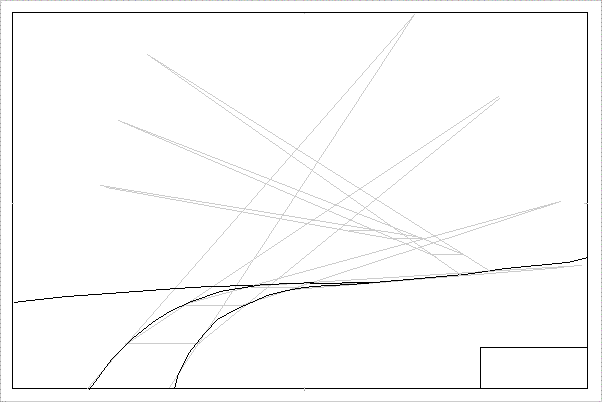
... in a classroom of thirty odd students that is called living on the edge. But then again I am easily bored; anyway, remember our railway line in a previous lesson?
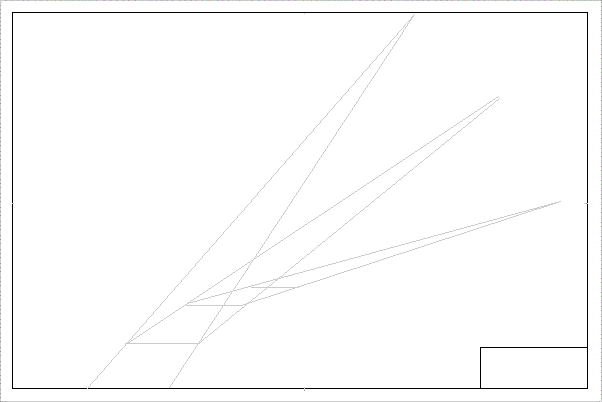
Move the vanishing point along the horizon line to the right as above. Just use common judgement to place the sleepers ... as you might do in any grammar class.
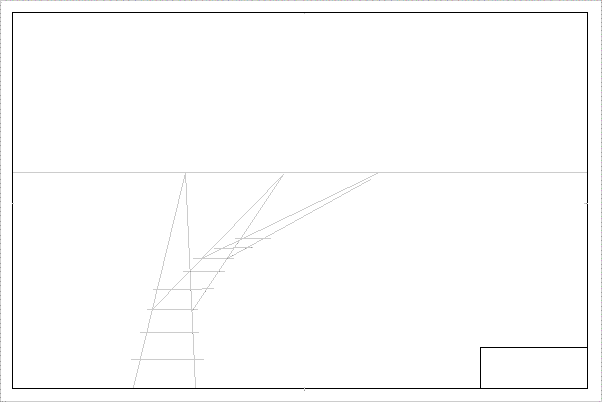
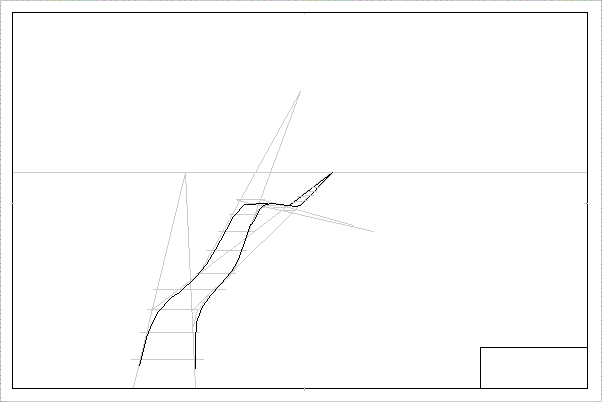
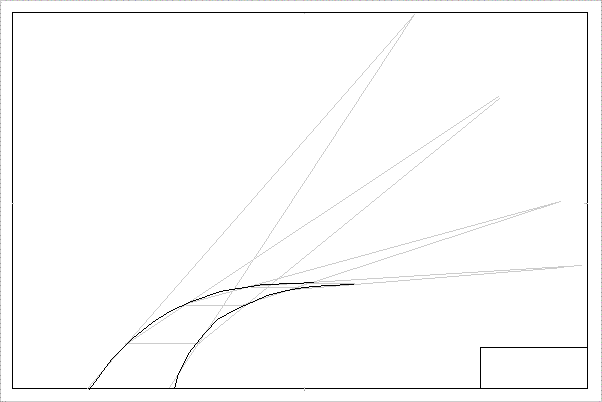
Of course, as the line bends, it does with a 'curve'. Draw in the freehand curve as shown.
Next, we find a vanishing point 'above' the horizon! This will have the effect of making the line appear to rise up. See above.
Then go down again ... with a vanishing point now below the line.
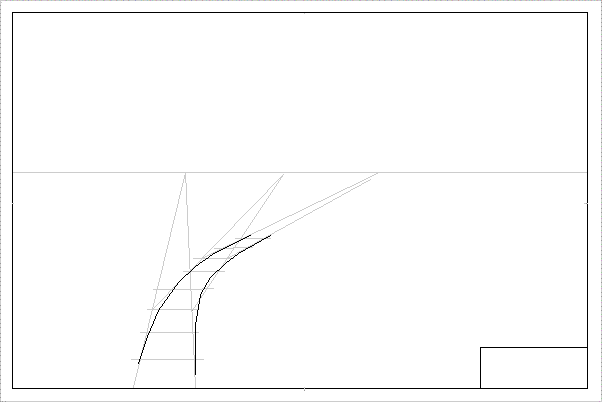
Firm in the lines and explain that every 'regular' object can be placed in space to have its own vanishing point. Here we have merely joined a few together. Students construct margin and title box on a new page then:
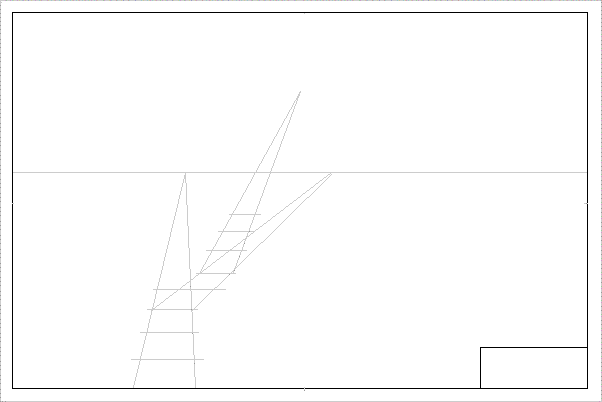
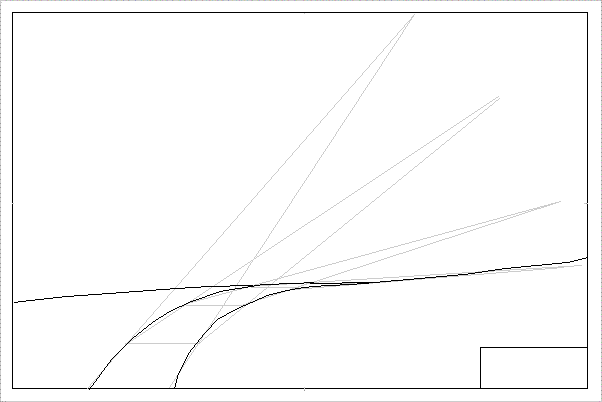
a) In approximate positions, as above, lightly construct a road bending to the right and descending. ...
b) Firm in until the curves transcend the horizontal ...
c) and add a nice curving hill.
d) Change direction and do the same thing again. Your own 'judgement' should be used to determine the 'new' width of the road. Logically it must be smaller than its width as it disappears over the first hill. Point out that this width will determine just how far the first hill is from the second. CONTINUED.... lesson menu |