 PART 2: LESSON 2
- SHADING PART 2: LESSON 2
- SHADING
TIME: Allow 40min Aim: To introduce reflected light and its effect on shadows and shading. To develop the use of shading for a textural effect. Materials: The sketch pad, HB and 4B pencil, eraser
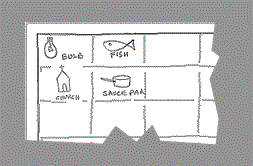
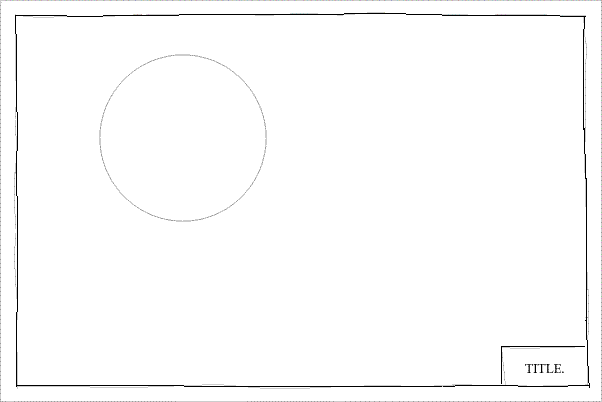
a) Without using the ruler (or any other straight edge) prepare the page with margin and add the freehand boxes as shown previously.
'The grisaille legacy' .......
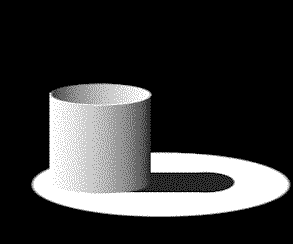
If a cup was placed in a spotlight the shadow it cast would be as black as the surrounding darkenss while the shading on the cup should move from a grey at the 'turning point' to a similar blackness.
However, if there was some other light in the room the 'black' shadow would look out of place - as shown above. The reason for this is that in our normal life we mostly don't live under spotlights. Usually, there are many sources of 'reflected' light around us. In a room or outside our shadows are rarely completely black as they are modified by the 'general lightness' of the day - or the room.
Therefore a more 'realistic' rendition of shading and shadow would be as shown above. This can be better understood by referring to my general lesson on side light and turning points in the 'painting' section. b) Lets now go back to our prepared sheet and our lesson for making a quick drawing of a tennis ball.
Using the method we learnt in part 1 for making a freehand drawing of a large circle - draw one of the approximate size and position shown.
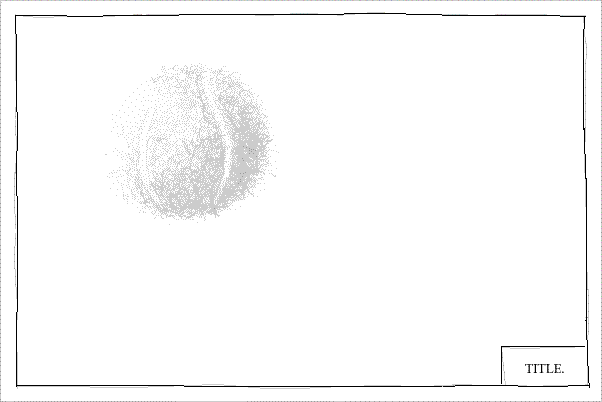
Employ the figure 8 and smudging method to shade the ball ( medium to light weight pressure) ... but leave the two 'S' shaped 'tracks' as shown.
Increasing the pressure with your 4B pencil show some of the 'fluffy' hair at the turning point and at the edges. HOMEWORK lesson menu |
